How to Paint Bedroom Walls Like a Professional

This post contains affiliate links, and we will be compensated if you buy after clicking on our links. Read our disclaimer.
Read our editorial process
A bedroom can feel outdated, dull, or unfinished even when the furniture and décor are in good shape.
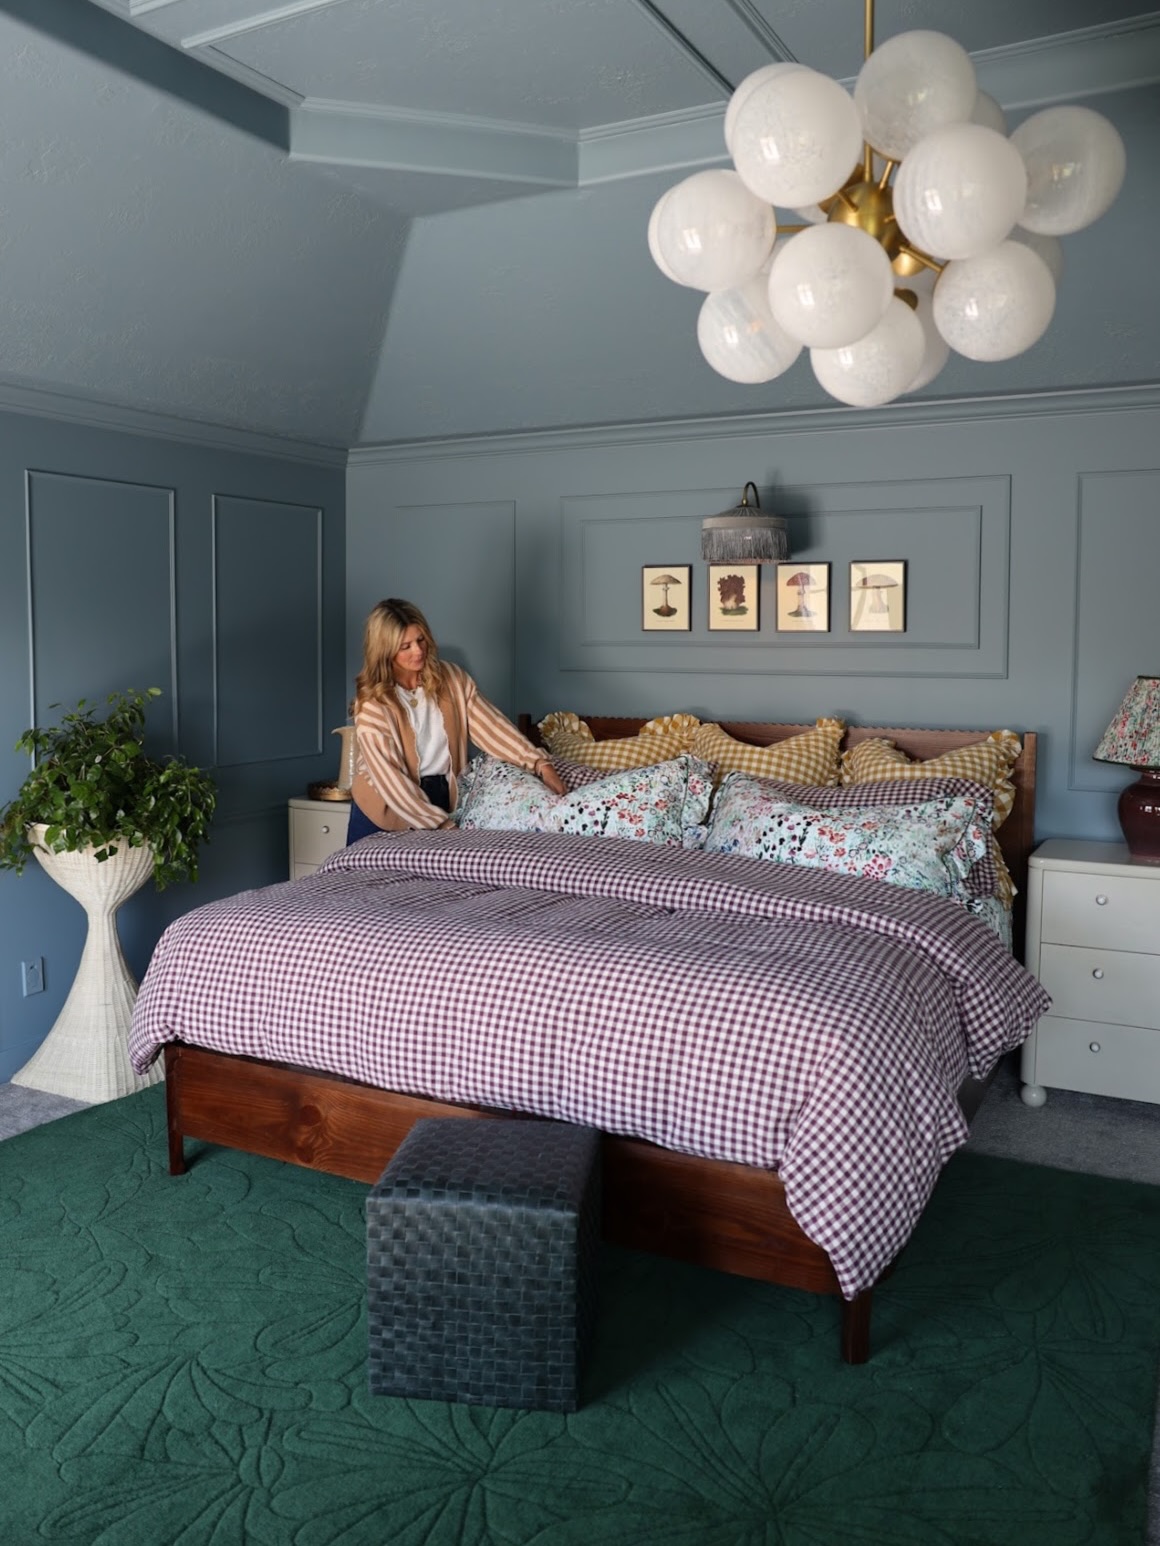
In many cases, the walls are the problem. Scuff marks, faded paint, and old colors can make the entire space look tired. A fresh coat of paint is one of the simplest and most affordable ways to refresh a bedroom and give it a completely new look.
However, painting a room is not always as easy as it appears. Many homeowners end up with roller marks, uneven coverage, visible brush strokes, or patchy areas that become obvious once the paint dries. These issues are usually caused by poor preparation, incorrect tools, or rushed application.
When you prepare the walls properly, choose the right paint finish, and follow the correct painting process, you can achieve a smooth and consistent finish that looks clean and lasts for years.
Below, you’ll learn how to paint bedroom walls step by step, from preparing the room and selecting paint to applying even coats and avoiding common mistakes that can affect the final result.
Tools and Materials
The right tools can make painting easier and help you achieve a smoother finish. Many common painting problems, such as streaks, lint, and uneven coverage, are often caused by low-quality supplies rather than poor technique.
Basic Painting Supplies
- Interior wall paint
- Primer
- Paint roller frame
- Roller covers
- Angled paint brush
- Paint tray
- Extension pole
- Painter’s tape
- Drop cloths
- Sandpaper
- Spackling compound
- Putty knife
For best results, use a 9-inch roller frame. A ⅜ inch nap roller works well on smooth walls, while a ½ inch nap roller provides better coverage on lightly textured surfaces.
| Tool | Purpose |
|---|---|
| Roller | Covers large wall areas |
| Angled Brush | Paints corners and edges |
| Painter’s Tape | Creates clean paint lines |
| Primer | Improves adhesion and coverage |
| Drop Cloth | Protects floors and furniture |
| Extension Pole | Helps reach high areas |
Quality tools may cost a little more, but they often produce cleaner results and make the job easier. Before you start painting, gather all supplies in one place so you can work without interruptions.
Choose the Right Paint Finish for Bedroom Walls
Paint color gets most of the attention, but paint finish plays an equally important role.
The finish affects how much light reflects off the wall, how easy the surface is to clean, and how well imperfections are hidden.
Choosing the wrong finish can leave you disappointed even if you love the color.
Paint Finish Comparison
| Finish | Best For | Durability |
|---|---|---|
| Flat | Older walls with imperfections | Low |
| Eggshell | Most bedrooms | Medium |
| Satin | Higher traffic areas | High |
Consumer Reports commonly recommends eggshell and satin finishes for residential interior walls because they offer a good combination of durability and cleanability.
For most bedrooms, eggshell remains the safest and most versatile choice.
How Much Paint Do You Need for a Bedroom?
Running out of paint halfway through a project creates unnecessary delays.
Buying far too much paint wastes money.
A little planning can help you purchase the right amount from the start.
Begin by measuring each wall.
Multiply the wall length by the wall height to calculate square footage. Repeat this for every wall in the room and add the totals together.
Next, subtract large windows and doors from the overall number.
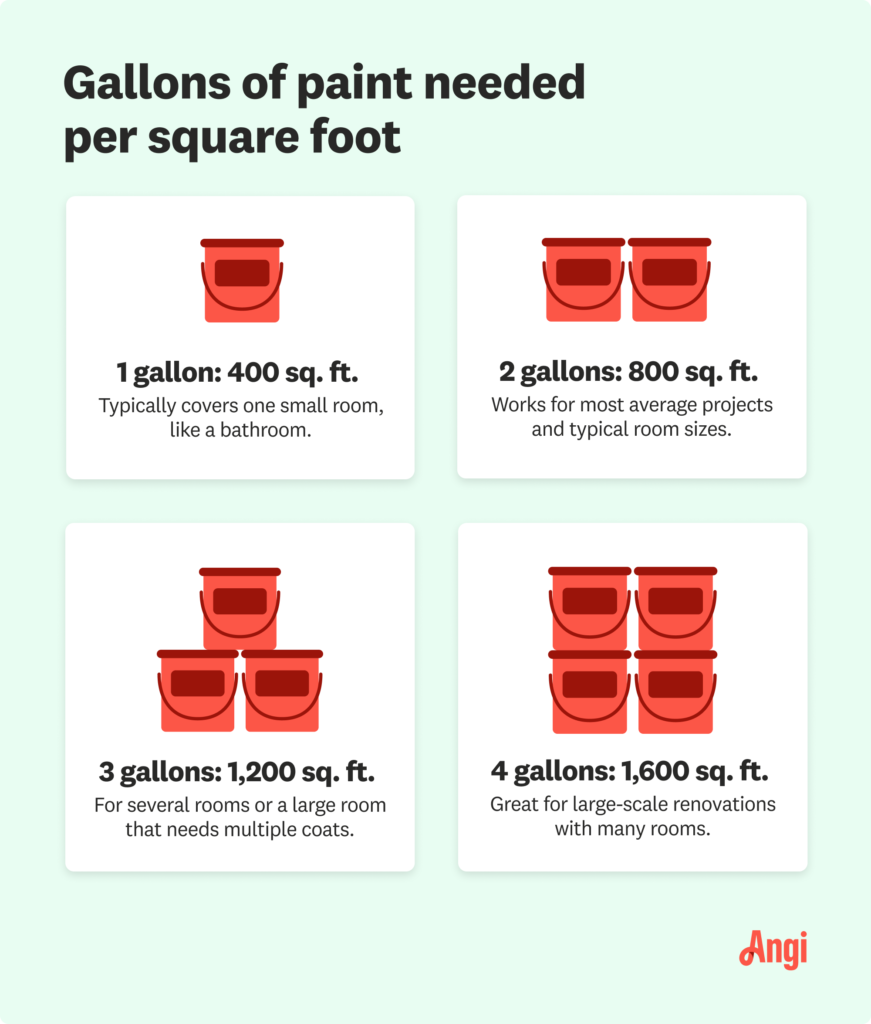
Most paint manufacturers estimate coverage based on square footage. According to guidance used by the EPA, one gallon of paint generally covers about 350 to 400 square feet, although actual coverage can vary based on wall texture and product type.
Example Calculation
For a bedroom that measures 12 feet by 12 feet with 8-foot ceilings:
- Total wall area is approximately 384 square feet
- One gallon may cover a single coat
- Two coats often require 1.5 to 2 gallons
Keep in mind that dramatic color changes may require additional paint.
For example, painting a light wall dark or covering a dark wall with a light color often requires extra coats for full coverage.
If primer is needed, factor that into your calculations as well.
A few extra minutes spent measuring now can prevent extra trips to the paint store later.
Step 1: Clear the Room and Protect Surfaces
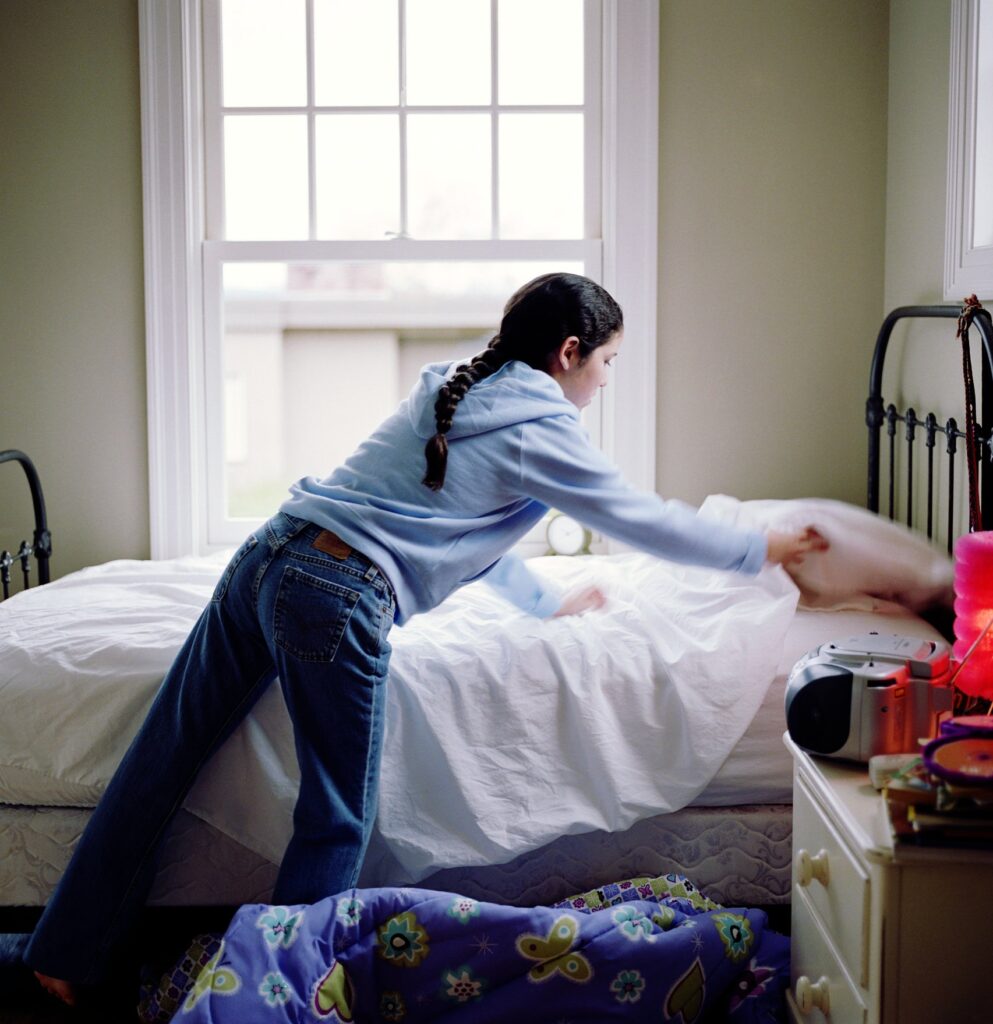
Before you start painting, create a workspace that is safe and easy to move around in.
The more open space you have, the easier the project becomes. Moving furniture out of the room is ideal, but that is not always possible. If large items must stay, place them in the center of the room and cover them with plastic sheeting or drop cloths.
Remove anything attached to the walls.
This includes:
- Artwork
- Mirrors
- Shelves
- Curtain hardware
- Decorative items
Next, protect the floor.
Canvas drop cloths are often easier to work with than plastic because they stay in place and absorb small paint drips.
Remove outlet covers and switch plates before painting. Label them if necessary so they can be reinstalled quickly later.
If you are painting around electrical outlets, switch off the power to the room at the breaker box for added safety.
Many professional painters spend almost as much time protecting surfaces as they do painting. That extra effort helps prevent damage and makes cleanup much easier when the project is finished.
Once the room is protected, you can focus on preparing the walls themselves.
Step 2: Clean, Patch, and Sand the Walls
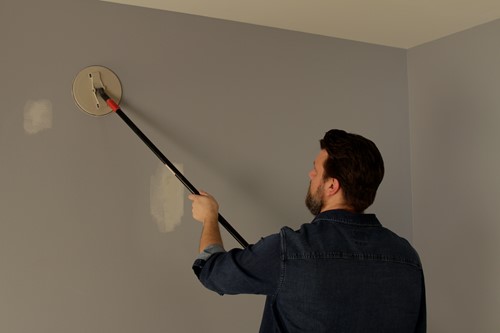
Fresh paint highlights imperfections.
A small dent or nail hole that was barely visible before painting may become obvious after the new color is applied. That is why wall preparation is such an important part of the process.
Start by cleaning the walls.
Dust, dirt, and body oils can interfere with paint adhesion. Areas around light switches, door frames, and bed headboards often collect fingerprints and grime over time.
Use a sponge and mild soap solution to wipe down the walls.
Allow the surface to dry completely before moving to repairs.
Next, inspect the walls carefully under good lighting.
Look for:
- Nail holes
- Screw holes
- Small dents
- Hairline cracks
- Damaged drywall areas
Fill minor damage with a lightweight spackling compound.
Use a putty knife to smooth the repair as much as possible. Once the patching material dries, lightly sand the area until it blends with the surrounding wall.
According to This Old House, patching and sanding before painting helps prevent repaired areas from showing through the final finish.
After sanding, remove all dust with a damp microfiber cloth.
Run your hand across repaired areas.
If the wall feels smooth, it will usually look smooth after painting.
If you can still feel a bump or rough edge, continue sanding until the surface feels even.
This step may not be the most exciting part of the project, but it often has the biggest impact on the finished appearance.
Step 3: Prime the Walls When Necessary
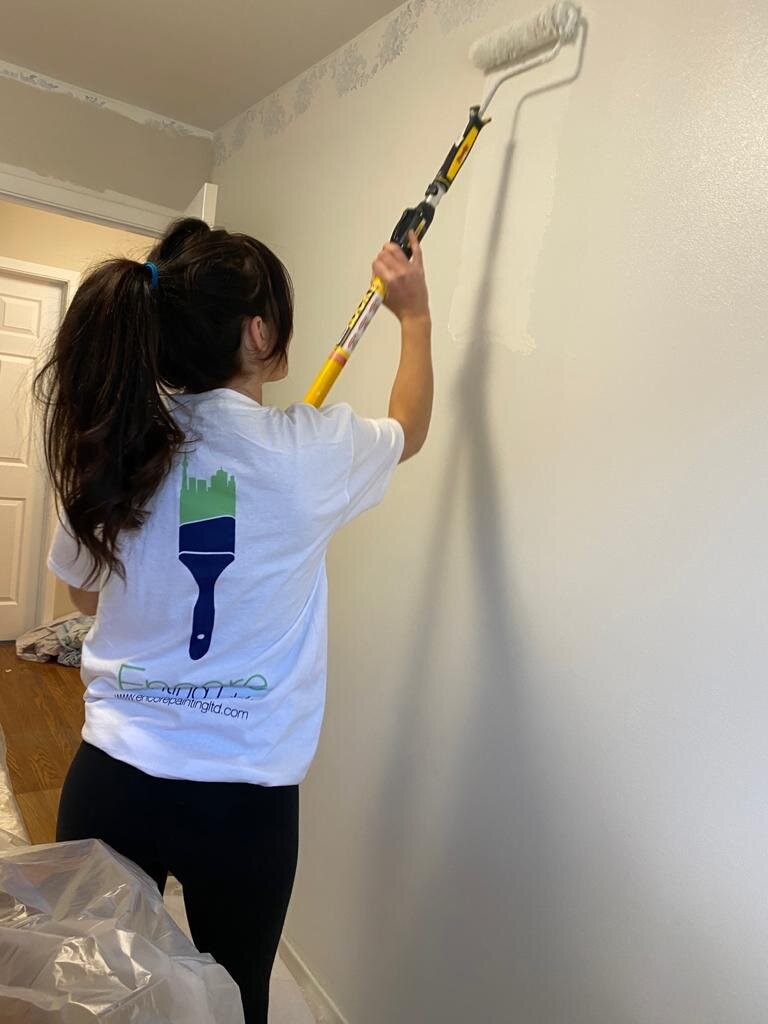
Many homeowners wonder if primer is really needed.
The answer depends on the condition of the walls and the type of project you are tackling.
In some cases, you can paint directly over the existing finish. In other situations, skipping primer can create coverage problems and increase the amount of paint required.
Primer is usually recommended when:
- Painting new drywall
- Covering water stains
- Repairing large wall sections
- Switching between dramatically different colors
- Painting over glossy surfaces
Primer creates a consistent surface for paint to bond with. It can also help block stains from bleeding through the new finish.
According to KILZ, primer improves paint adhesion and helps achieve more uniform coverage, especially when covering repairs or dark colors.
There are situations where primer may not be necessary.
For example, if the walls are already painted and the new color is similar to the old one, a quality paint and primer product may provide enough coverage without a separate primer coat.
However, if you are unsure, primer is usually a safer choice.
The small added cost can reduce the number of finish coats needed and improve the overall result.
Allow the primer to dry fully before moving on to painting.
Check the manufacturer’s instructions for specific drying times.
Step 4: Cut In Around Edges and Corners
Before using a roller, you need to paint the areas it cannot easily reach.
This process is known as cutting in.
It creates a painted border around ceilings, corners, trim, windows, doors, and outlets. Once these areas are finished, the roller can quickly fill in the larger wall sections.
Use a quality angled brush for the best control.
Dip only the first third of the bristles into the paint. Wipe off excess paint against the side of the container rather than dragging it across the rim.
Start at the ceiling line.
Paint a narrow strip approximately 2 to 3 inches wide. This area is often called the cut-in zone.
Work slowly and focus on creating a straight line.
After completing the ceiling edge, move to:
- Wall corners
- Around outlets
- Around windows
- Around doors
- Along baseboards
Work on one wall at a time whenever possible.
This helps the brushed areas blend more easily with the rolled sections while everything is still wet.
Do not worry if your first few brush strokes are not perfect.
Most homeowners improve quickly after a few feet of practice.
The goal is not perfection.
The goal is to create a clean border that will blend seamlessly into the roller coverage.
Step 5: Roll Paint Onto Bedroom Walls
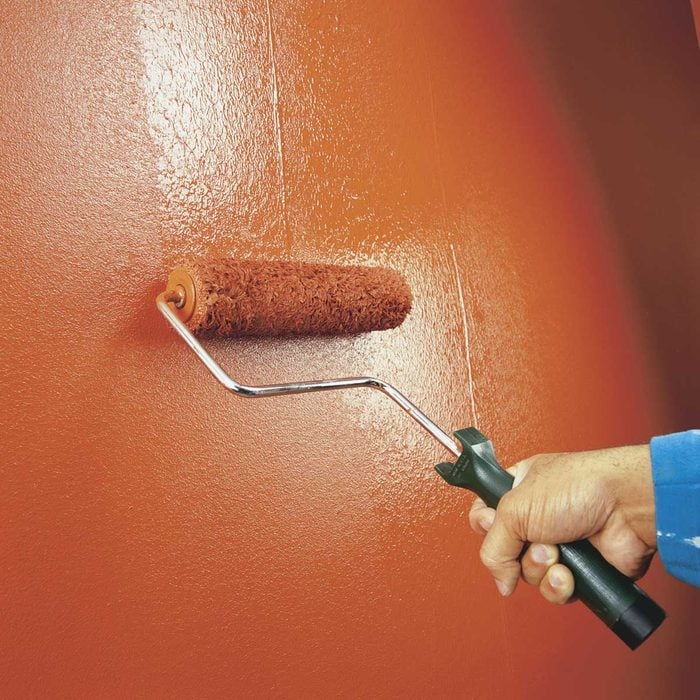
Once the edges are complete, it is time to paint the main wall surfaces.
This is where the room begins to transform.
Pour paint into a roller tray and load the roller evenly. Roll it back and forth across the tray ridges to distribute paint throughout the cover.
Avoid soaking the roller.
Too much paint increases the risk of drips, splatter, and uneven texture.
Begin near the top of the wall.
Most professional painters recommend using the W pattern because it spreads paint evenly and reduces visible roller marks.
Follow this process:
- Roll a large W shape on the wall.
- Fill in the empty areas within the pattern.
- Blend the paint evenly.
- Move to the next section.
- Repeat until the wall is covered.
Work in sections about three to four feet wide.
Maintain a wet edge as you move across the wall. This means slightly overlapping the previous section before it dries.
According to Sherwin-Williams, maintaining a wet edge helps reduce lap marks and creates a more consistent finish.
Keep the roller moving at a steady pace.
Use even pressure from top to bottom.
Pressing harder will not improve coverage. It often creates streaks and texture differences.
After completing each wall, step back and inspect it from multiple angles.
Look for:
- Thin spots
- Missed areas
- Roller marks
- Drips
Correct any problems while the paint is still wet.
Good roller technique takes a little practice, but it is one of the most important skills for achieving smooth, professional-looking walls.
Step 6: Apply the Second Coat
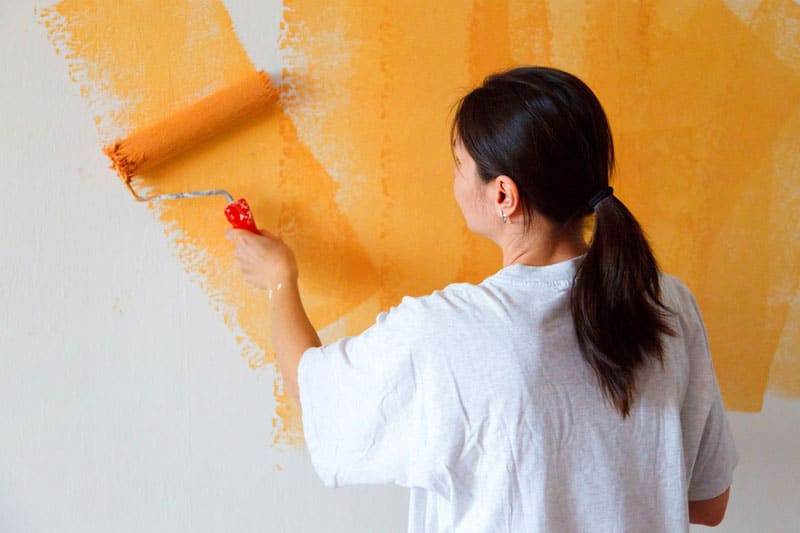
Most bedrooms require a second coat of paint.
Even when the first coat looks complete, a second coat often improves color depth, consistency, and durability.
Allow the first coat to dry according to the manufacturer’s instructions.
Many premium paint brands recommend waiting at least two to four hours between coats, although drying times can vary based on humidity, temperature, and product type.
Before starting the second coat, inspect the walls in natural daylight if possible.
Daylight often reveals uneven coverage that may not be visible under artificial lighting.
Apply the second coat using the same process as the first:
- Cut in around the edges.
- Roll using the W pattern.
- Maintain a wet edge.
- Blend each section evenly.
The second coat usually goes on faster because the wall already has a consistent base layer.
Pay special attention to areas near corners and around windows where coverage may appear lighter.
Once the second coat is complete, allow the paint to dry undisturbed.
Avoid moving furniture back into place until the paint is dry to the touch.
While the wall may feel dry within hours, full paint curing can take several weeks, depending on the product used.
A little patience during this stage helps protect your hard work and ensures a better long-term finish.
Common Bedroom Painting Mistakes to Avoid
Flawless Wall Blueprint
Avoid these common workflow pitfalls to safeguard your smooth finish before your brushes touch the wall.
Improper Nap Selection
Mismatched covers create raw flaws. Use a shorter nap for smooth walls and high-density thick variants exclusively for textures.
Working Under Dim Lighting
Inadequate illumination hides mistakes. Prioritize natural daylight inspections to catch tracks, runs, and hollow coverage gaps immediately.
Applying Heavy Coats
Forcing fast coverage backfires. Roll two balanced, thin coats instead of one heavy application to stop sags and elongated dry times.
Neglecting Tape Timeline
Leaving painter’s tape anchored too long risks tearing away cured paint. Pull it free at the recommended interval for razor edges.
Most painting mistakes happen before the paint dries. The good news is that they are usually easy to prevent with a little planning.
- Skipping wall cleaning can lead to poor paint adhesion. Dust, grease, and fingerprints may cause uneven coverage or peeling over time.
- Using cheap brushes and roller covers often creates streaks, lint, and visible brush marks. Quality tools usually produce smoother results and make the job easier.
- Choosing the wrong roller nap can affect the final texture. Smooth walls need a shorter nap, while textured walls require a thicker roller cover for even coverage.
Poor lighting is another common problem. If you paint under dim lighting, it becomes much harder to spot missed areas, drips, and roller marks. Whenever possible, inspect walls in natural daylight.
Applying heavy coats may seem like a way to finish faster, but it often creates drips, uneven texture, and longer drying times. Two thin coats usually look much better than one thick coat.
- Remove painter’s tape at the recommended time to avoid pulling fresh paint from the wall.
- Allow enough drying time between coats. Rushing this step can lead to streaks, poor coverage, and an uneven finish.
- Check walls carefully before applying the second coat so small issues can be fixed early.
Avoiding these simple mistakes can help your bedroom look cleaner, smoother, and much more professional when the project is complete.
How Long Does It Take to Paint a Bedroom?
Many homeowners want to know how much time they should set aside before starting.
The answer depends on room size, wall condition, and how much preparation is required.
For a standard bedroom in good condition, most DIY painters can complete the project over a weekend.
The timeline often looks something like this:
| Task | Estimated Time |
|---|---|
| Room Preparation | 1 to 3 Hours |
| Wall Repairs | 1 to 2 Hours |
| Primer Application | About 1 Hour |
| First Coat | 1 to 2 Hours |
| Second Coat | 1 to 2 Hours |
Drying time is not included in these estimates.
If the walls need extensive repairs or multiple coats, the project may take longer.
Painting slowly is usually better than rushing. Most mistakes happen when people try to finish too quickly.
Setting aside a full weekend allows enough time for preparation, painting, drying, and final touch-ups.
Bedroom Wall Painting Tips for Professional Results
The difference between an average paint job and a professional-looking one often comes down to small details. These simple tips can improve the final result without adding much extra work.
Pro Painting Masterclass
Tiny refinements separate an average DIY bedroom update from a high-end, crisp designer finish.
Continuous Ventilation
Active airflow ensures your coat dries evenly across spatial boundaries while rapidly dissipating heavy compound odors.
Maintain a Wet Edge
Overlap each roller stroke systematically. This method stops paint from curing standalone, completely eliminating patchy lap marks.
Box Multiple Paint Cans
Meticulously blend independent cans together in a master bucket to guarantee absolute color consistency across all walls.
Timely Tape Removal
Peel back your framing tape while the top layer is still slightly soft. Waiting too long causes dry paint fractures and jagged lines.
- Paint During Daylight: Natural light makes it easier to spot thin coverage, roller marks, and missed areas. Check each wall carefully before moving on to the next one.
- Keep the Room Ventilated: Good airflow helps paint dry evenly and reduces lingering paint odors. Open windows when possible and use fans to improve air circulation.
- Maintain a Wet Edge: Work in small sections and slightly overlap each pass with the roller. This helps reduce lap marks and creates a more consistent finish.
- Use Quality Roller Covers: The roller cover affects the final texture of the wall. Better quality covers hold paint more evenly and often produce smoother results.
- Box Multiple Paint Cans Together: If you’re using more than one can of paint, pour them into a large bucket and mix them before starting. This helps keep the color consistent across all walls.
- Inspect Walls From Different Angles: Paint can look different depending on the lighting and viewing angle. Walk around the room and check the walls from several positions before calling the project finished.
- Avoid Overloading the Roller: Too much paint on the roller can cause drips and uneven texture. Load the roller evenly and remove excess paint before applying it to the wall.
- Remove Painter’s Tape at the Right Time: Do not leave painter’s tape on the wall for too long. Remove it carefully while the paint is still slightly soft for cleaner lines.
- Keep a Small Brush Nearby for touch-ups: Minor misses can happen during any painting project. A small brush allows you to fix them quickly before the paint dries completely.
- Wait Before Moving Furniture Back: Even if the paint feels dry, it may not be fully cured. Give the walls enough time before placing furniture against them to avoid marks or damage.
These bedroom wall painting tips can help your finished project look cleaner, more consistent, and much closer to professional quality.
Frequently Asked Questions
Do I Need To Prime Bedroom Walls Before Painting?
Not always.
If the existing paint is in good condition and the new color is similar, primer may not be necessary. However, primer is usually recommended for new drywall, major color changes, stains, and repaired areas.
Is Eggshell Or Satin Better For Bedroom Walls?
Eggshell is the most common choice for bedrooms.
It offers a soft appearance while providing better durability than flat paint. Satin is more durable but can highlight wall imperfections more easily.
How Many Coats Of Paint Do Bedroom Walls Need?
Most bedrooms require two coats.
A second coat improves color consistency, durability, and overall appearance. Some dramatic color changes may require additional coats.
Should I Paint The Ceiling Before The Walls?
Yes.
Painting the ceiling first prevents accidental splatters from landing on freshly painted walls. This is the order most professional painters follow.
Can I Paint A Bedroom In One Day?
It is possible for small rooms with minimal preparation needs.
However, most projects benefit from allowing proper drying time between coats. A weekend is often a more realistic timeline for DIY painters.
Conclusion
Painting a bedroom may seem simple, but the best results come from following a proven process.
Proper preparation, quality tools, careful application, and patience between coats all play an important role in the finished appearance. Taking time to clean, repair, sand, and prime the walls often makes a bigger difference than the paint itself.
Once the preparation is complete, focus on using the right roller, maintaining a wet edge, and applying even coats across every wall.
If you follow the steps in this guide, you can achieve a cleaner, smoother finish without hiring a professional painter.
Measure your room, gather your supplies, and tackle one wall at a time. With the right approach, learning how to paint bedroom walls becomes much easier, and the finished results can completely transform your space.
Explore More Bedroom Makeover Guides
• How to Decorate Bedroom Walls
• How to Decorate A Small Bedroom
• How to Fill Empty Space In Bedroom
• How to Arrange Bedroom Furniture