How to Build Living Room DIY Built-In Cabinets That Look Custom

This post contains affiliate links, and we will be compensated if you buy after clicking on our links. Read our disclaimer.
Read our editorial process
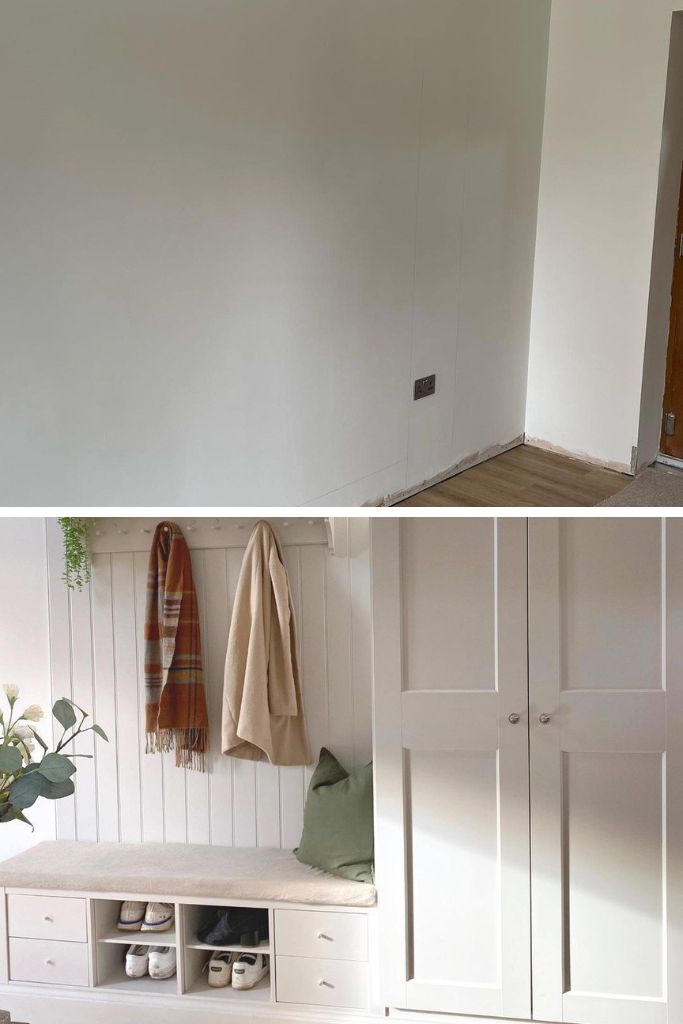
Built-in cabinets can solve a problem that many living rooms have. One wall feels empty, storage is running out, and freestanding furniture never seems to fit the space quite right.
A lot of homeowners assume built-ins require advanced woodworking skills or a large renovation budget. In reality, many successful projects start with stock cabinets, careful measurements, and a clear plan.
The challenge is not usually the construction itself. It is knowing how to make the finished result look like it belongs in the room.
Good built-ins do more than add storage. They create structure, improve function, and help a living room feel more intentional without taking up extra floor space.
There are several ways to approach the project depending on your budget, tools, and experience level. Some people build cabinet boxes from scratch, while others customize ready-made cabinets to save time.
This guide will show you how to build living room DIY built-in cabinets step by step, including the details that help them look custom rather than added later.
1. Decide What Your Built-In Cabinets Need to Do
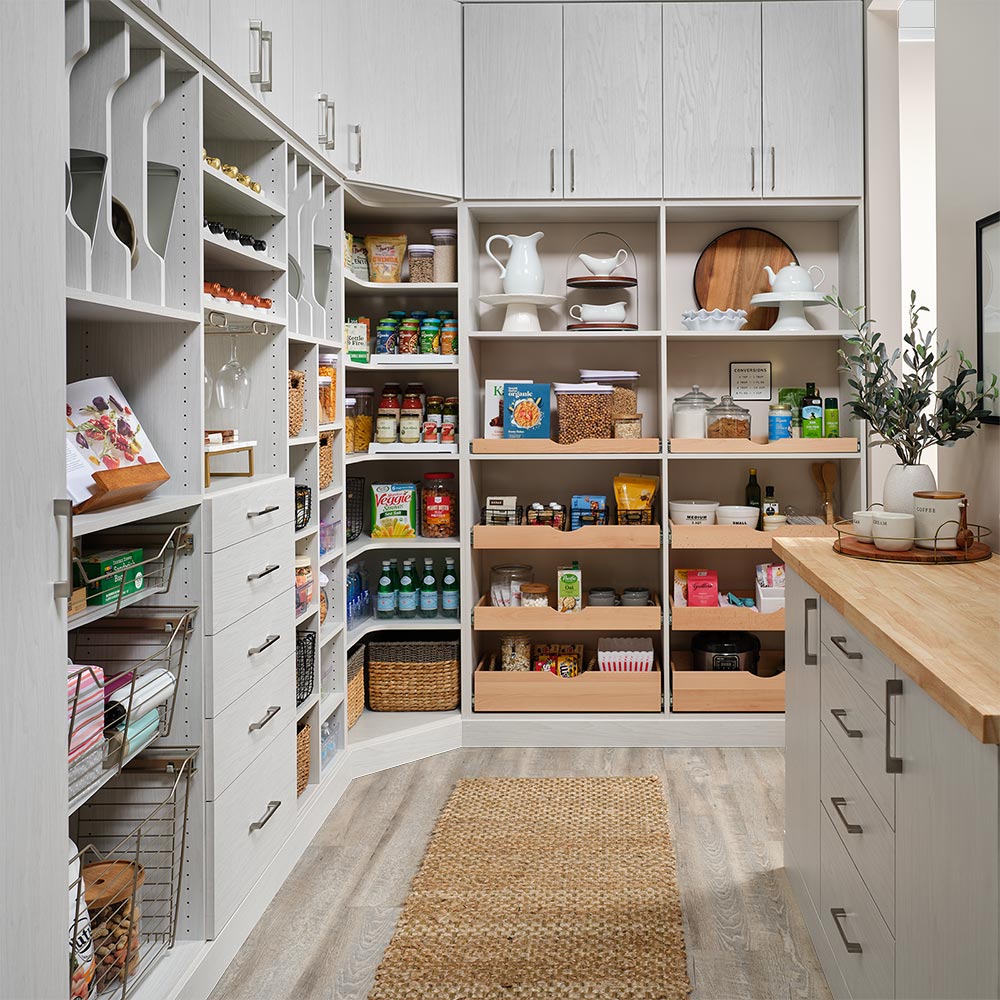
An empty wall can make a living room feel unfinished, but adding cabinets without a plan often creates new problems. Many people start collecting inspiration photos before deciding what the cabinets actually need to hold.
Begin by listing what will live inside the built-ins. Storage needs usually fall into a few categories:
A TV wall requires different spacing than a reading nook. Open shelves work well for display pieces, while closed cabinets help hide clutter that tends to collect over time.
Ask yourself one question: what do you need this wall to do every day?
The most common mistake is designing for appearance first and storage second. You’ll know this step worked when every shelf and cabinet has a purpose before construction begins.
2. Measure Your Living Room Wall Carefully
Most DIY cabinet problems start with measurements that looked correct on paper but did not match the actual room. Walls, floors, and ceilings are rarely as straight as they appear.
Measure the full width of the wall in several locations. Check the height on both ends and in the center. Measure floor-to-ceiling dimensions because small differences can affect trim and shelving later.
Also locate:
- Electrical outlets
- Light switches
- HVAC vents
- Cable connections
- Wall studs
| Area | Typical Measurement |
|---|---|
| Base cabinet depth | 18-24 inches |
| Shelf depth | 10-14 inches |
| TV clearance | Depends on screen size |
| Toe kick height | 3.5-4 inches |
Use a long level to check for floor slope and uneven walls. The most missed detail is floor variation, and that small issue can affect the entire installation.
You’ll know this step worked when you can sketch the full wall layout with confidence before buying materials.
3. Choose the Right Cabinet Building Method
Many people get stuck here because every option seems to have strong opinions behind it. The right choice depends more on your time, budget, and skill level than on what someone else used.
Stock kitchen cabinets are often the fastest route. Ready-to-assemble cabinets save money but require more assembly. Building plywood cabinet boxes from scratch gives the most flexibility but also takes the most time.
| Option | Cost | Skill Level | Build Time |
|---|---|---|---|
| Stock Cabinets | $$ | Beginner | Fast |
| RTA Cabinets | $$ | Beginner-Intermediate | Medium |
| DIY Plywood | $ | Intermediate-Advanced | Longer |
Think about how much woodworking experience you have. Building cabinets can save money, but mistakes can quickly reduce those savings.
The common error is choosing the cheapest path instead of the most realistic one. If speed describes your situation, stock cabinets often make the most sense. If customization matters most, plywood cabinets may be the better choice.
4. Gather Tools and Materials Before You Start
Few things slow a project down faster than stopping halfway through because a tool is missing. Those delays often lead to rushed decisions later.
Gather the essentials before any construction begins:
Some tools make the work easier but are not required. A miter saw speeds up trim work, and a paint sprayer can improve the final finish.
You’ll know you’re ready when every major step can be completed without another trip to the store.
5. Build a Level Base for the Cabinets
The floor often looks flat until cabinets start going in. Then gaps appear, doors shift, and shelves look uneven.
Start by building a sturdy platform or base frame. Use a level to identify low spots and add shims where necessary. The goal is to create a level surface even if the floor underneath is not level.
Keep these points in mind:
Many people focus on matching the wall first. In reality, the floor matters more at this stage because every cabinet depends on that foundation.
You’ll know it worked when the level reads true across the entire platform.
6. Install and Secure the Base Cabinets
Cabinets can look aligned from one angle and still be out of position. Small errors become more noticeable once shelves and trim are added.
Set the cabinets on the platform and begin leveling each section. Clamp neighboring cabinets together before fastening them. Secure them to wall studs using cabinet screws.
Check these areas frequently:
- Side-to-side level
- Front-to-back level
- Cabinet face alignment
- Stud attachment points
The most common mistake is fastening cabinets too early. Make adjustments before tightening everything permanently.
You’ll know this step worked when doors and cabinet faces line up across the entire run.
7. Add Side Panels for a Built-In Look
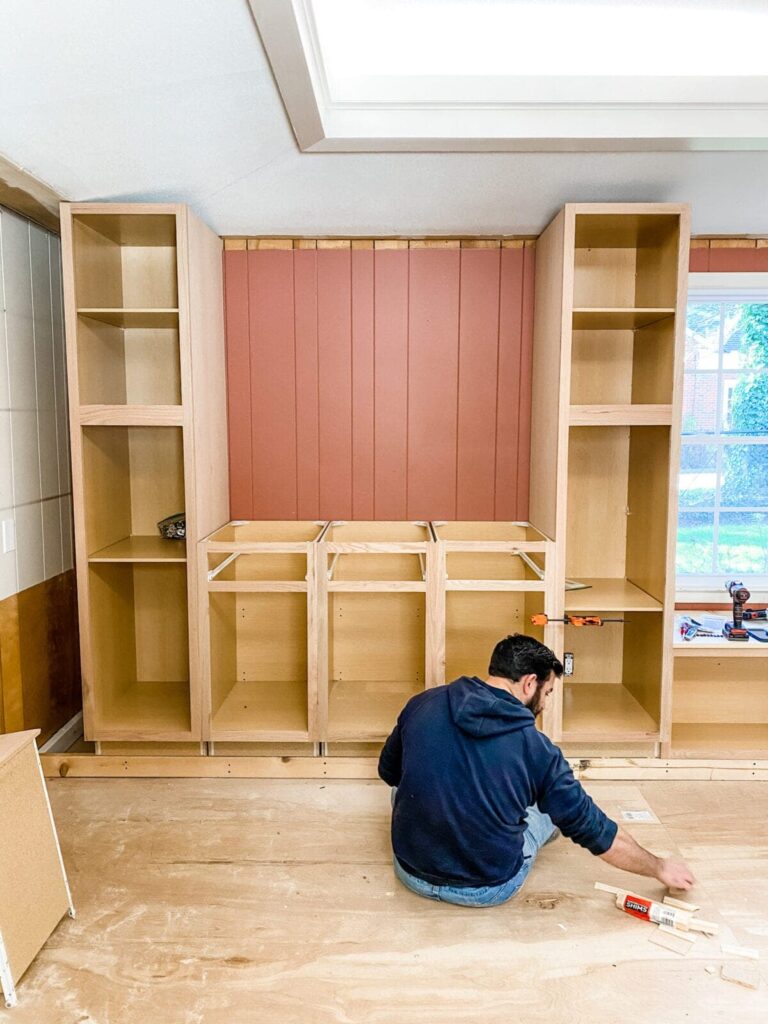
This is usually the stage where the project starts looking less like kitchen cabinets and more like custom furniture.
Side panels cover exposed cabinet ends and help connect the cabinets visually to the wall. Furniture-grade plywood often produces the cleanest result.
Focus on:
- Matching cabinet finishes
- Covering exposed edges
- Extending panels where needed
- Creating clean transitions
Many homeowners underestimate how much these panels affect the final appearance. Without them, the project can look assembled rather than built-in.
You’ll know it worked when the cabinets appear connected to the room rather than placed against it.
8. Install Shelves and Vertical Dividers
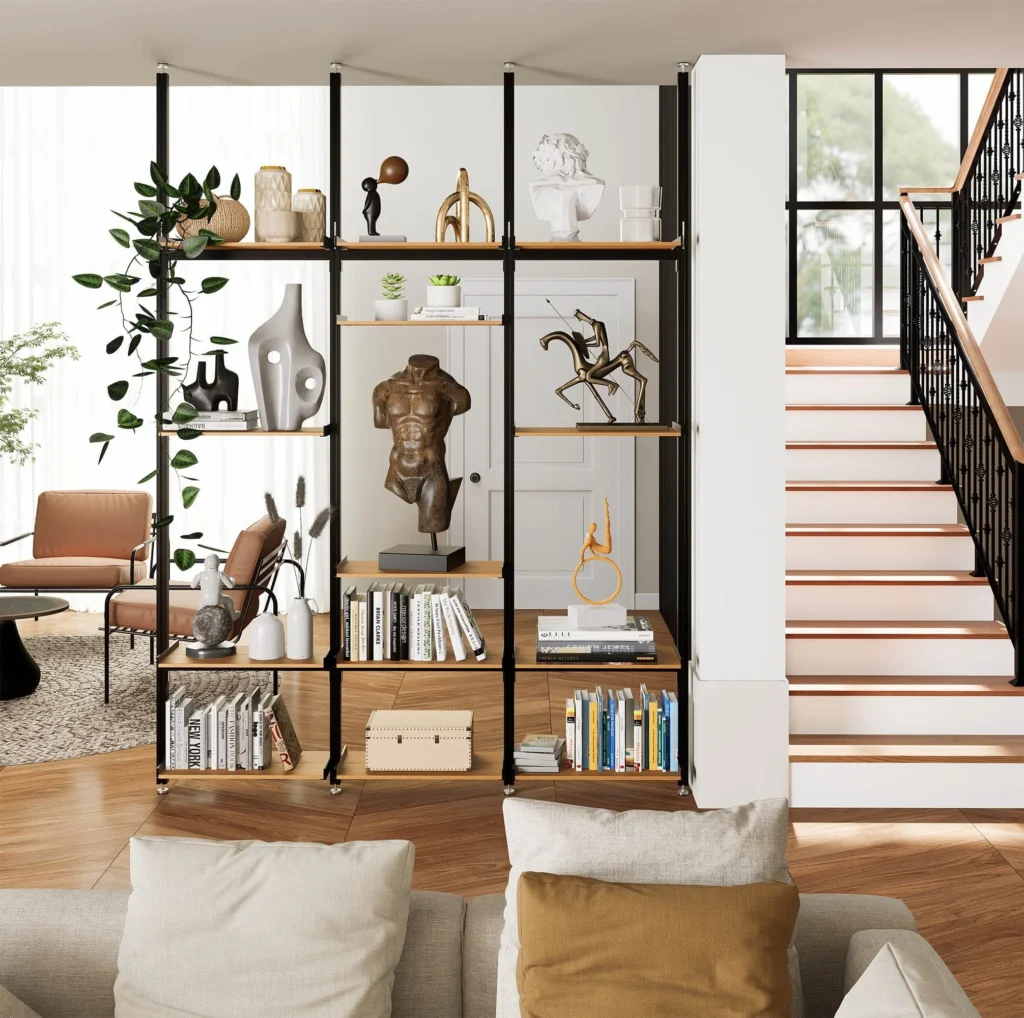
A shelf that looks good empty may not work once books, baskets, and decor are added. Shelf spacing should match how you plan to use the space.
Install vertical dividers first if your design includes separate sections. Then determine shelf heights based on actual storage needs rather than equal spacing.
| Storage Type | Recommended Height |
|---|---|
| Books | 10-12 inches |
| Decor | 12-16 inches |
| Large baskets | 14-18 inches |
| Media equipment | 8-10 inches |
Consider both fixed and adjustable shelves. Fixed shelves provide more strength, while adjustable shelves offer flexibility later.
The common error is making every opening identical. You’ll know this step worked when each shelf serves a clear purpose.
9. Add Crown Molding and Trim
Many DIY built-ins look unfinished because trim was treated like a final decoration rather than part of the construction.
Trim hides gaps, creates cleaner transitions, and helps the cabinets match the home’s existing details. Crown molding draws the eye upward, while baseboards connect the project to the floor.
Use trim to:
- Hide uneven gaps
- Match existing millwork
- Cover seams
- Create visual continuity
Walls are rarely straight, so some pieces may need to be scribed, meaning carefully trimmed to match the wall’s shape.
You’ll know it worked when visitors assume the built-ins were installed when the house was built.
10. Fill Gaps, Caulk Seams, and Sand Everything
This stage often feels slow because progress is harder to see. Yet it has a major effect on the final result.
Fill nail holes with wood filler and apply paintable caulk to seams where cabinets, trim, and walls meet. After everything dries, sand the surfaces smooth.
Focus on:
- Nail holes
- Trim joints
- Cabinet seams
- Surface imperfections
The most common mistake is rushing to paint before sanding is complete. Paint tends to highlight flaws rather than hide them.
You’ll know this step worked when your hand can move across the surfaces without catching on bumps or gaps.
11. Prime and Paint the Cabinets
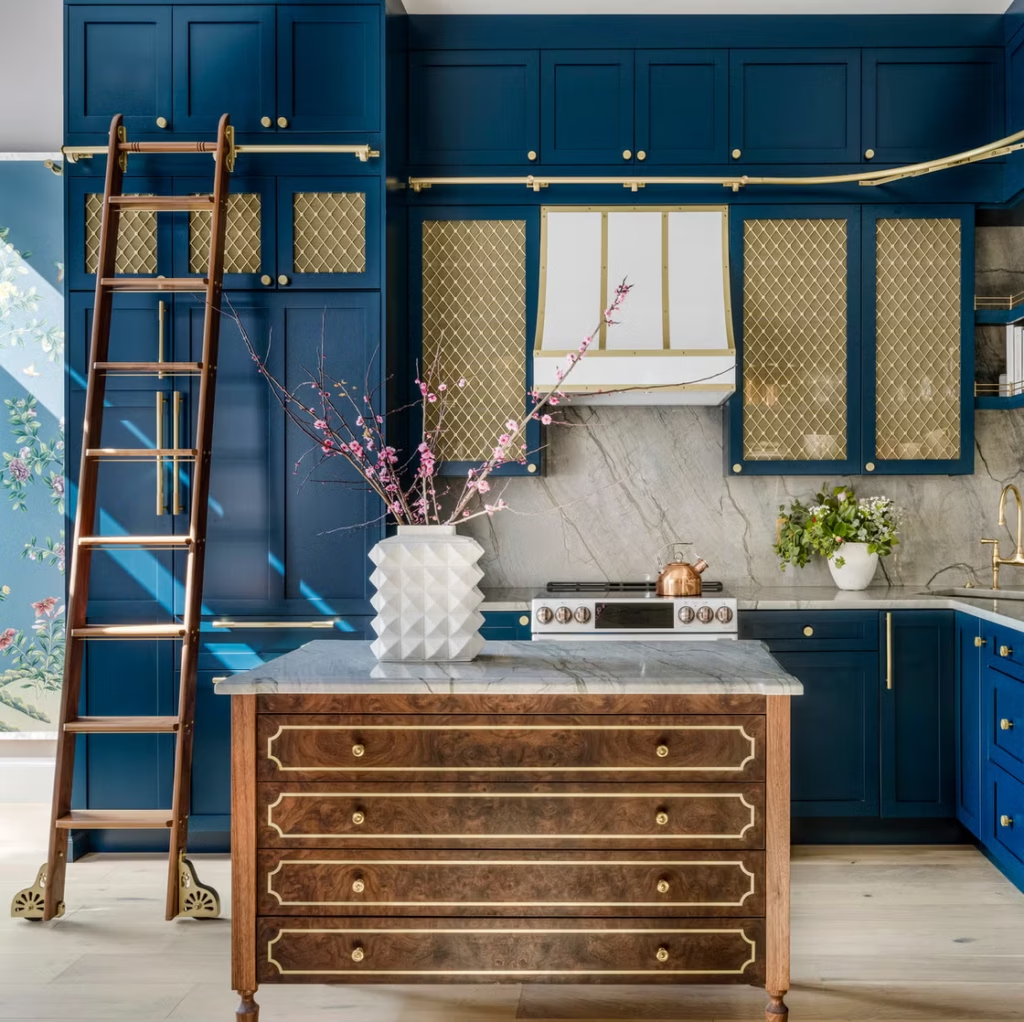
Fresh paint can improve the look of the project, but poor preparation often shows through the finish.
Apply a quality primer first. After it dries, inspect the surface for flaws and correct anything that becomes visible. Then apply cabinet-grade paint using your preferred method.
| Method | Finish Quality | Difficulty |
|---|---|---|
| Brush | Good | Easy |
| Roller | Better | Easy |
| Sprayer | Best | Moderate |
Thin, even coats usually produce better results than one heavy coat. Allow proper drying and curing time before loading shelves or using cabinet doors heavily.
You’ll know it worked when the finish looks consistent from multiple angles and lighting conditions.
12. Inspect Your Built-Ins Before Calling Them Finished
Small problems are easier to fix now than after the cabinets are filled with books and decor.
Walk through the entire project and inspect each area carefully. Open every door, check every shelf, and look at trim lines from several angles.
Use this checklist:
The most overlooked step is testing functionality. A cabinet can look finished and still need adjustment.
You’ll know the project is complete when both appearance and performance match your original plan.
Conclusion
Built-in cabinets are less about advanced woodworking and more about careful planning, accurate measurements, and attention to detail.
Each step builds on the one before it, which is why taking your time usually leads to better results.
Focus on function first, keep everything level, and give the finishing work the same attention as the construction.
Done well, your DIY living room built-ins can add storage, improve the room’s layout, and look like they have always been part of the house.
Upgrade Your Living Space
• DIY Staircase Makeover Ideas
• DIY Pin Board
• DIY Key Holder Ideas
• DIY Bathroom Makeover Ideas