How to Hang Vines in a Bedroom Without Damaging Walls

This post contains affiliate links, and we will be compensated if you buy after clicking on our links. Read our disclaimer.
Read our editorial process
Looking for an easy way to make your bedroom feel more cozy and inviting without spending a lot of money?
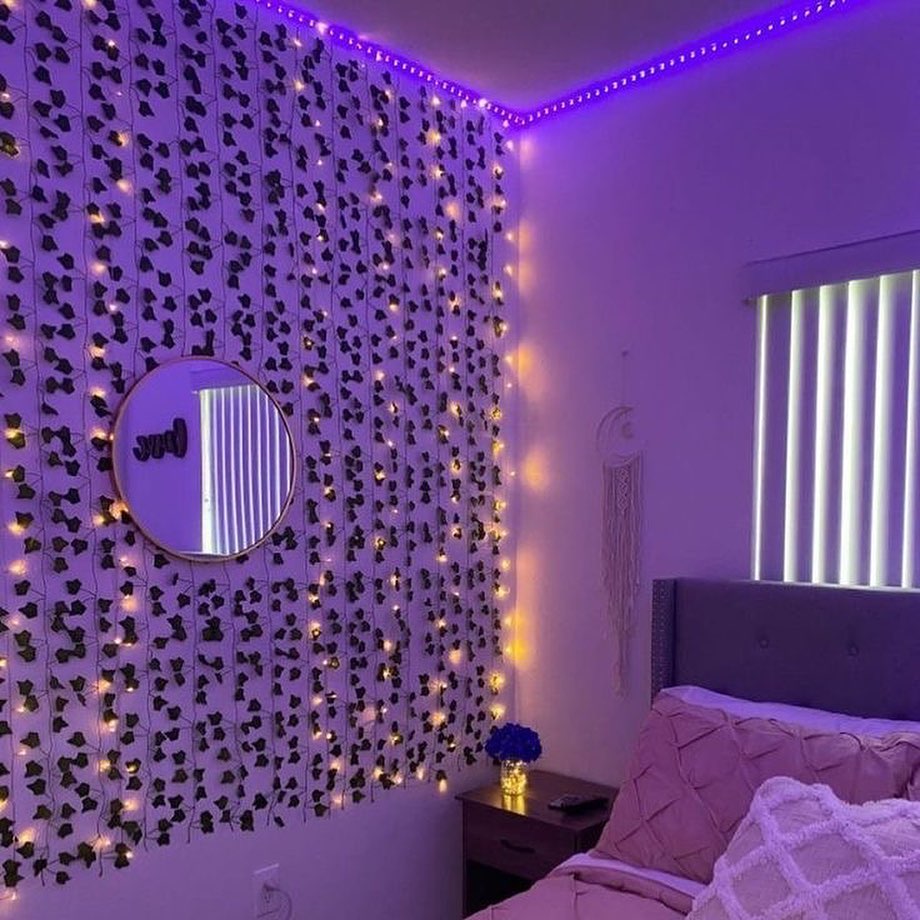
Hanging vines can add color, texture, and a natural touch to plain walls. But many people end up with vines that fall, look messy, collect dust, or even damage paint during installation.
The good news is that a few simple changes can make a big difference. Choosing the right vines, using the proper hanging method, and placing them in the right spots can help your room look stylish instead of cluttered.
In this guide, you’ll learn how to hang vines in bedroom spaces without damaging walls. You’ll discover the best places for hanging vines for bedroom decor, compare real and artificial options, and find practical bedroom vine decor ideas that work in small and large rooms alike.
Choose Between Real and Artificial Vines
Before you start decorating, decide whether real or artificial vines are the better fit for your bedroom.
Real Vines
Real vines bring natural beauty and living greenery into your space.
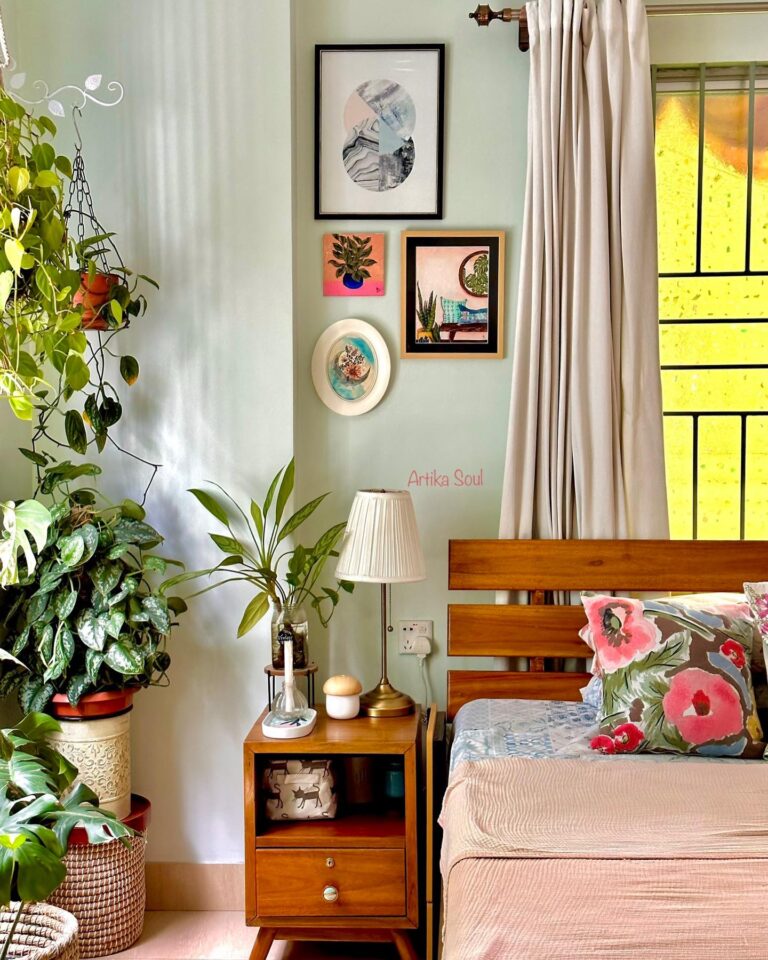
Popular options include Golden Pothos, Heartleaf Philodendron, and String of Hearts. These plants trail well and look great on shelves or in hanging planters.
Keep in mind that real vines need regular watering, light, and occasional trimming.
Artificial Vines
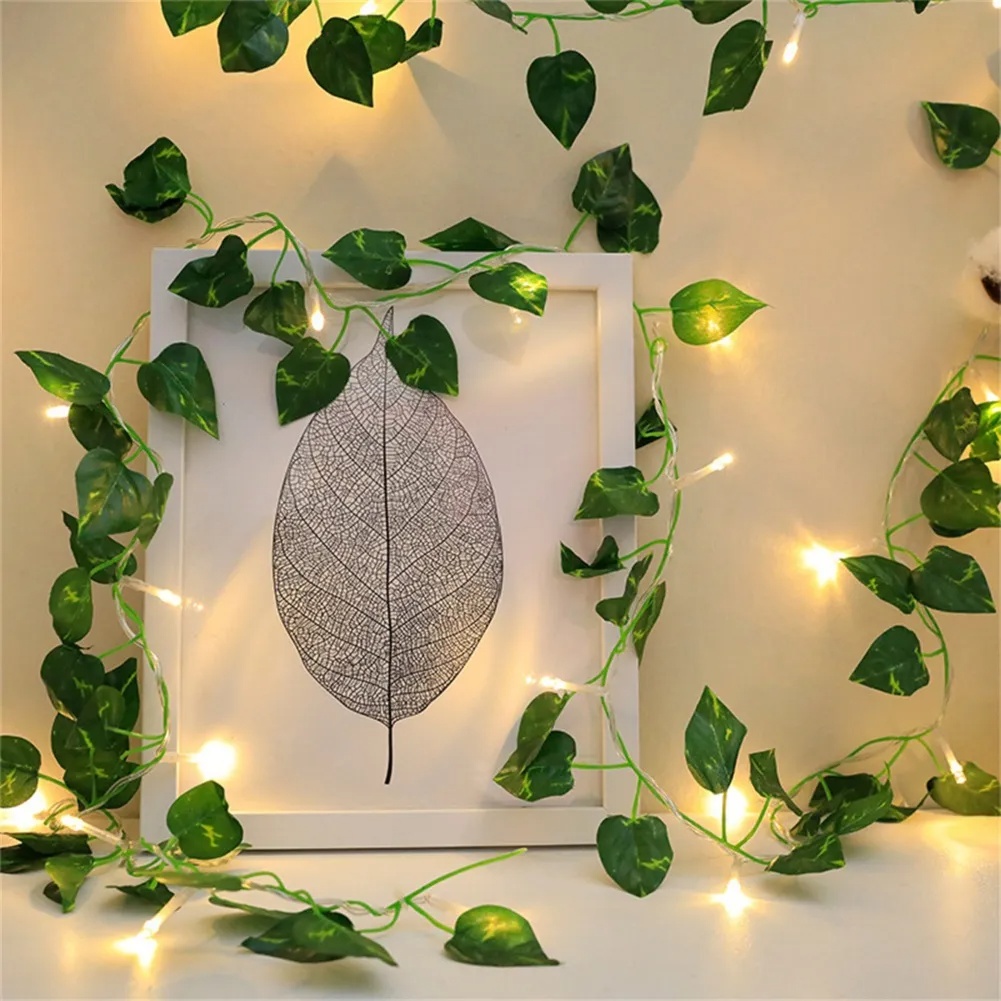
Artificial vines give you the same look with almost no maintenance.
They do not need water, sunlight, or special care. That makes fake vines bedroom decor a great choice for dorm rooms, rentals, and low light spaces.
Many modern artificial vines look surprisingly realistic and can be shaped easily around mirrors, windows, and walls.
If you want the simplest option, choose artificial vines. If you enjoy caring for plants, real vines can add a more natural feel to your bedroom.
Tools and Supplies You’ll Need
Before hanging vines, gather a few basic supplies. Using the right tools makes installation easier and helps prevent wall damage.
Damage Free Options
If you’re renting or want to avoid nail holes, use:
- Command hooks
- Clear adhesive clips
- Removable wall strips
These options work well for most lightweight vines and are easy to remove later.
Permanent Options
For a more secure setup, consider:
- Small nails
- Push pins
- Cable clips
These are useful for heavier vines or designs that run along walls and ceilings.
Additional Supplies
Keep these items nearby:
- Measuring tape
- Pencil
- Step stool
- Scissors
- Extra adhesive strips
A few minutes of preparation can help your hanging vines bedroom setup look cleaner and more professional.
How to Hang Vines in a Bedroom Step by Step
Canopy Styling Blueprint
Plot Pre-Install Layout
Arrange foliage lines along the floor first. Experiment with sweeping, asymmetric shapes over rigid lines, and log a quick reference photo.
Map Surface Boundaries
Check target wall zones against surrounding furniture and artwork coordinates. Keep layout limits tight—less is often more in restricted rooms.
Anchoring Support Nodes
Securely mount clips starting right at your layout’s absolute peak coordinates. Space nodes evenly to let the vine paths drape naturally.
Suspending Loose Tension
Avoid pulling stems taut across structural margins. Soften angles by letting deep foliage sections hang into organic, varying cascades.
Calibration Viewport Check
Step back several feet to critique spatial volume. Survey the canvas for clumped groupings or vacant openings before permanently clamping points.
Integrate Minimal Accents
Weave in warm white fairy lines or micro photo pins if desired. Keep accessories downscaled to shield your room configuration from visual clutter.
Once you have your vines and supplies ready, it’s time to start decorating.
The secret to a beautiful result is planning before attaching anything to the wall.
Step 1: Plan Your Layout First
Lay the vines on the floor and experiment with different arrangements.
Try creating gentle curves rather than perfectly straight lines. Natural-looking shapes often look better than rigid patterns.
Take a photo of your favorite layout. This gives you a reference during installation.
Step 2: Measure the Wall
Use a measuring tape to determine how much space you want the vines to cover.
Pay attention to nearby furniture, windows, and artwork.
In smaller bedrooms, less is often more. A few carefully placed vines usually look better than covering every wall.
Step 3: Install Hooks or Clips
Attach your hooks or clips according to the layout you planned.
Start at the highest point of the design.
Leave enough space between hooks so the vines can drape naturally.
Check that each hook is secure before moving forward.
Step 4: Attach the Vines Loosely
Avoid pulling the vines tightly across the wall.
Loose draping creates a softer and more realistic appearance.
Let some sections hang slightly lower than others. Small variations make the design feel more natural.
Step 5: Adjust the Spacing
Step back several feet and look at the overall design.
Check for empty areas, crowded sections, or uneven spacing.
Make adjustments before permanently securing every section.
This simple step often makes the biggest difference in the final result.
Step 6: Add Finishing Details
Once the vines are positioned correctly, you can add decorative accents if desired.
Popular additions include:
- Warm white fairy lights
- Small photo clips
- Lightweight wall art
- Decorative butterflies
- Mini shelves
Keep accessories simple. Too many decorations can make the room feel busy.
Common Mistakes to Avoid
Conclusion
Hanging vines is one of the easiest ways to make a bedroom feel warmer, softer, and more personal.
The key is choosing the right type of vine for your space. Real plants offer natural beauty, while artificial vines provide a low-maintenance alternative. Both can work beautifully when installed thoughtfully.
Focus on placement before installation. Use renter-friendly hanging methods whenever possible. Keep layouts simple and balanced rather than filling every wall with greenery.
Start with one area of the room, such as a corner, window, or the wall behind your bed. Once you see how it transforms the space, you can always expand the design later.
Find More Bedroom Decorating Inspiration
• How to Hang Fairy Lights In A Bedroom
• How to Decorate Bedroom Walls
• How to Decorate A Small Bedroom
• How to Fill Empty Space In Bedroom