How to Make a DIY Pin Board That Looks Like Boutique Decor

This post contains affiliate links, and we will be compensated if you buy after clicking on our links. Read our disclaimer.
Read our editorial process
Do your shopping lists, reminders, and favorite photos always end up scattered across your desk or stuck to the fridge?
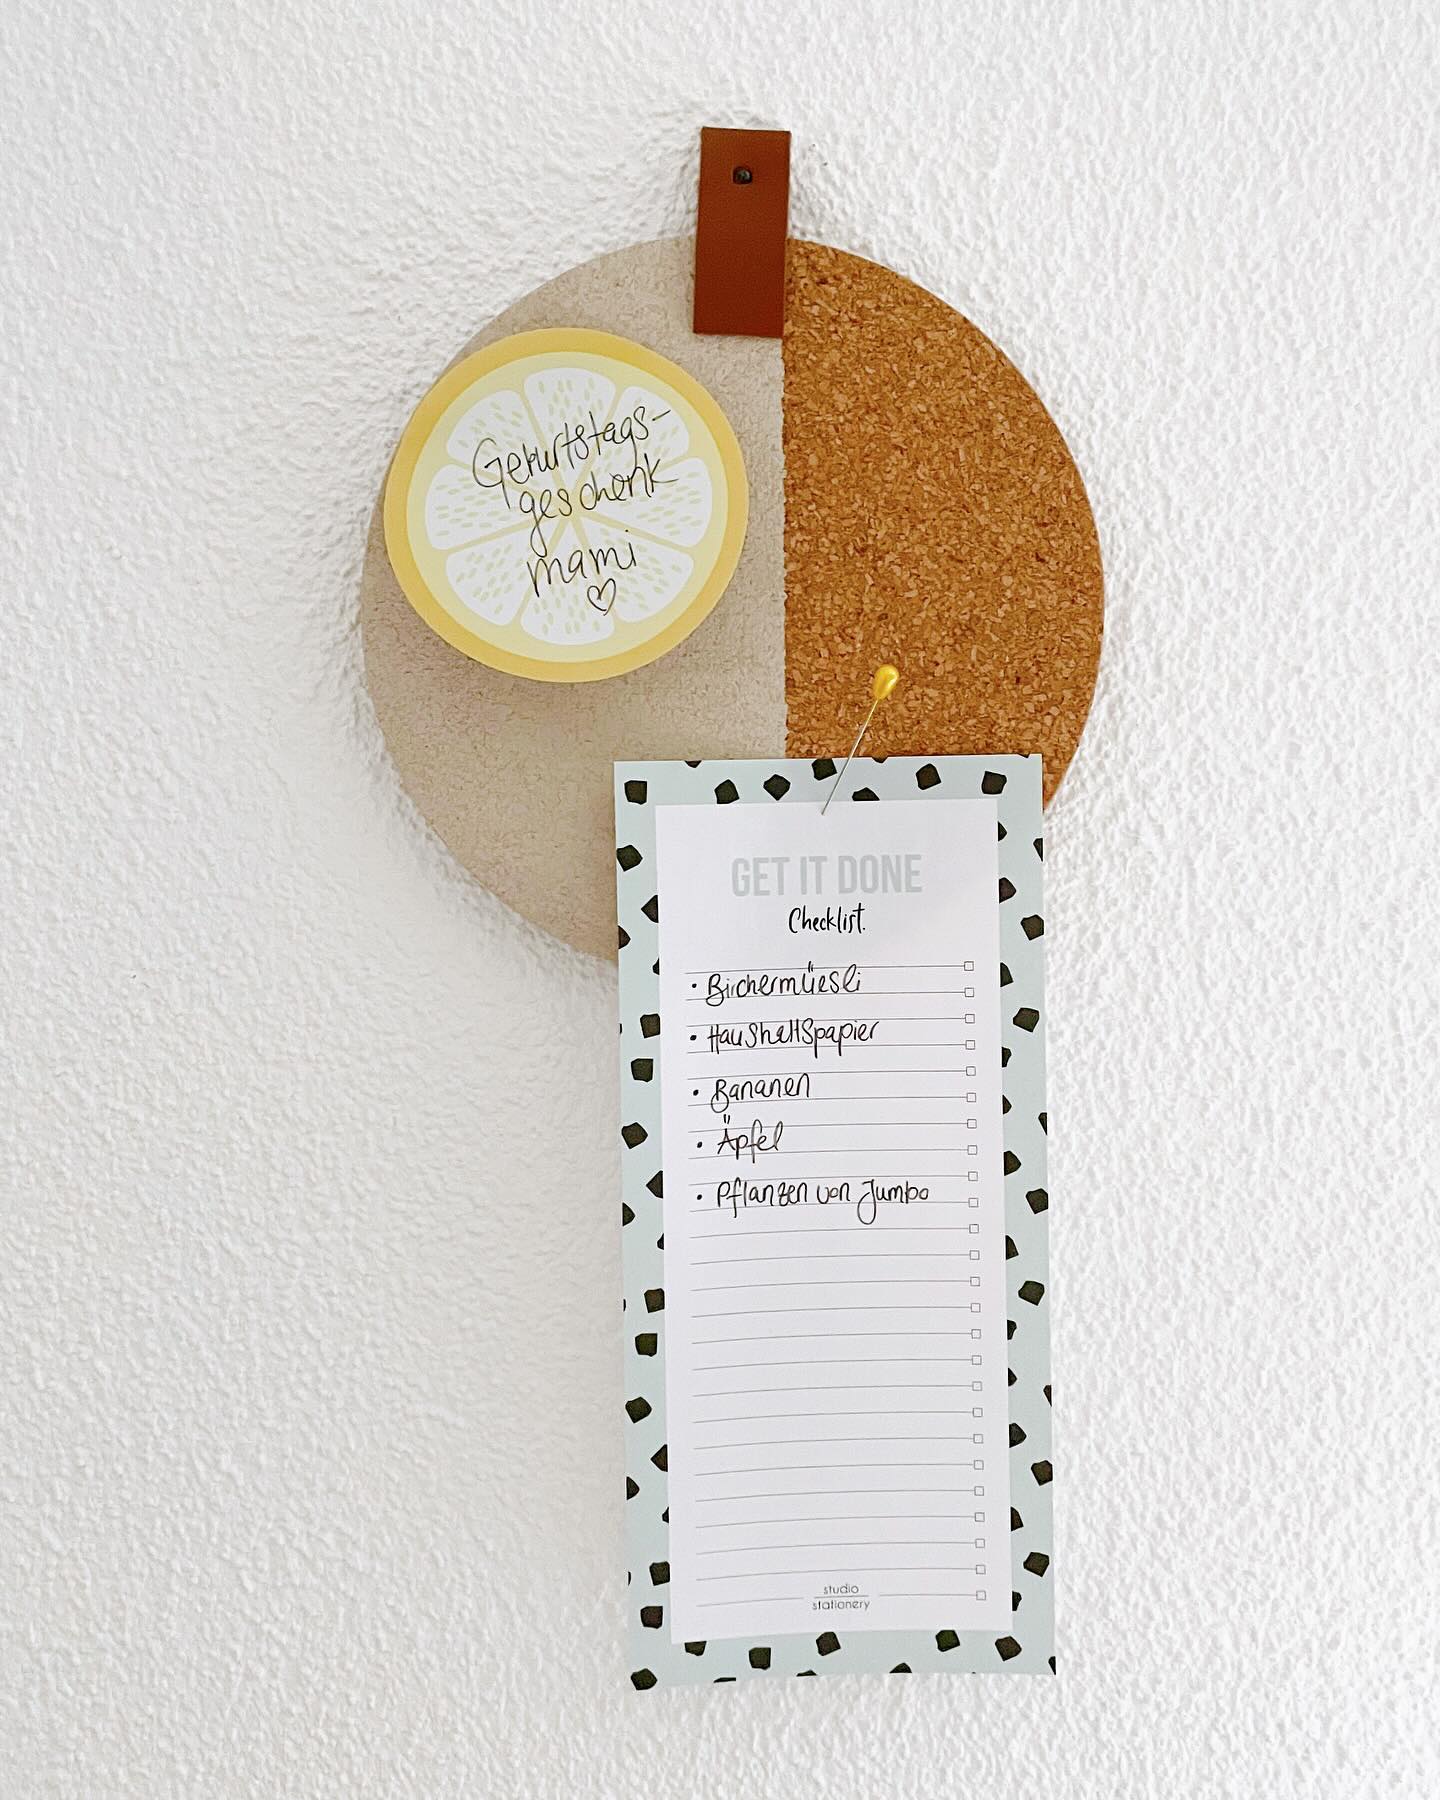
Before long, important notes get buried, and your space starts to feel cluttered.
A DIY pin board is an easy way to keep everything organized while adding a personal touch to your home. Instead of buying a plain memo board, you can create one that matches your style using just a few affordable materials.
The best part is that you get to choose the colors, finish, and size, making it perfect for your kitchen, home office, entryway, or bedroom.
In this guide, you’ll learn how to make a DIY pin board step by step. By the end, you’ll have a functional piece of decor that’s practical, stylish, and easy to customize for your space.
Materials You’ll Need
How to Make a DIY Pin Board Step by Step
Making your own DIY pin board is easier than you might think. Follow these simple steps to turn an ordinary cork coaster into a stylish memo board that’s perfect for displaying photos, reminders, shopping lists, and more.
Step 1: Preparation Makes the Finish Look Professional
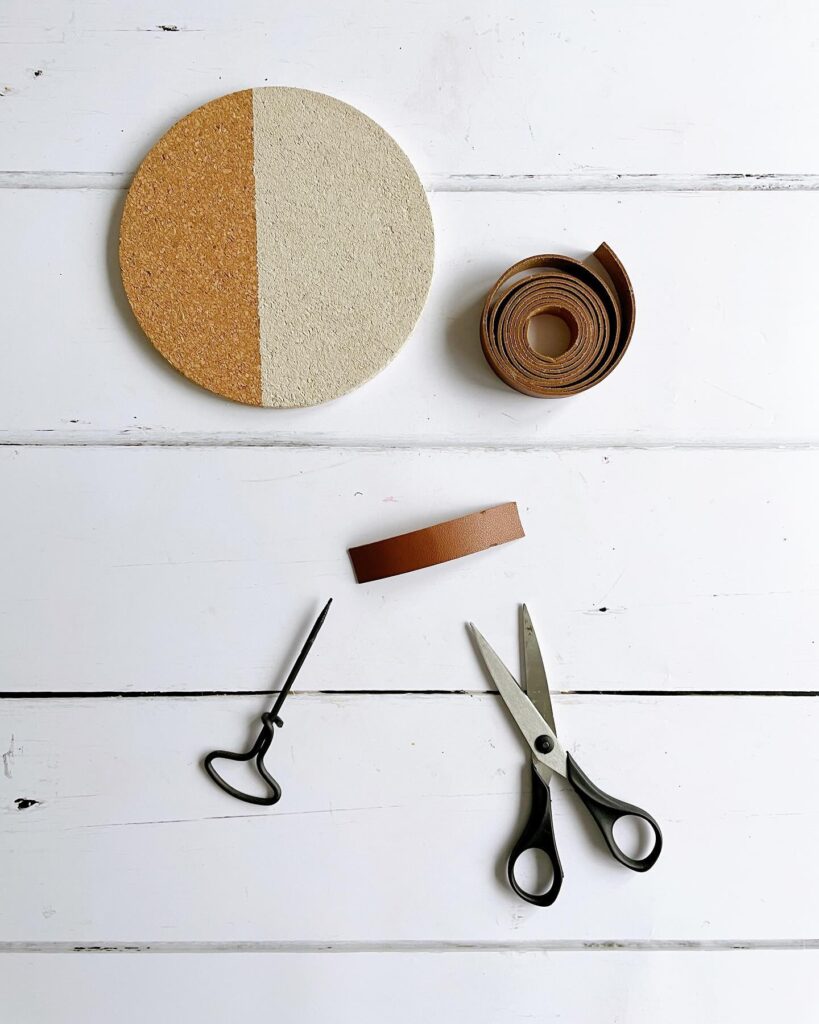
Every successful DIY begins with preparation rather than assembly. Laying every material on the work surface before starting makes the process smoother and reduces the chance of smudging fresh paint while searching for tools.
Notice the restrained material palette. Cork introduces warmth, leather contributes a handcrafted character, and black metal accessories provide a subtle contrast.
None of these elements compete for attention, allowing the finished board to feel balanced instead of decorative for decoration’s sake.
Step – 2: Let Natural Cork Become Part of the Design
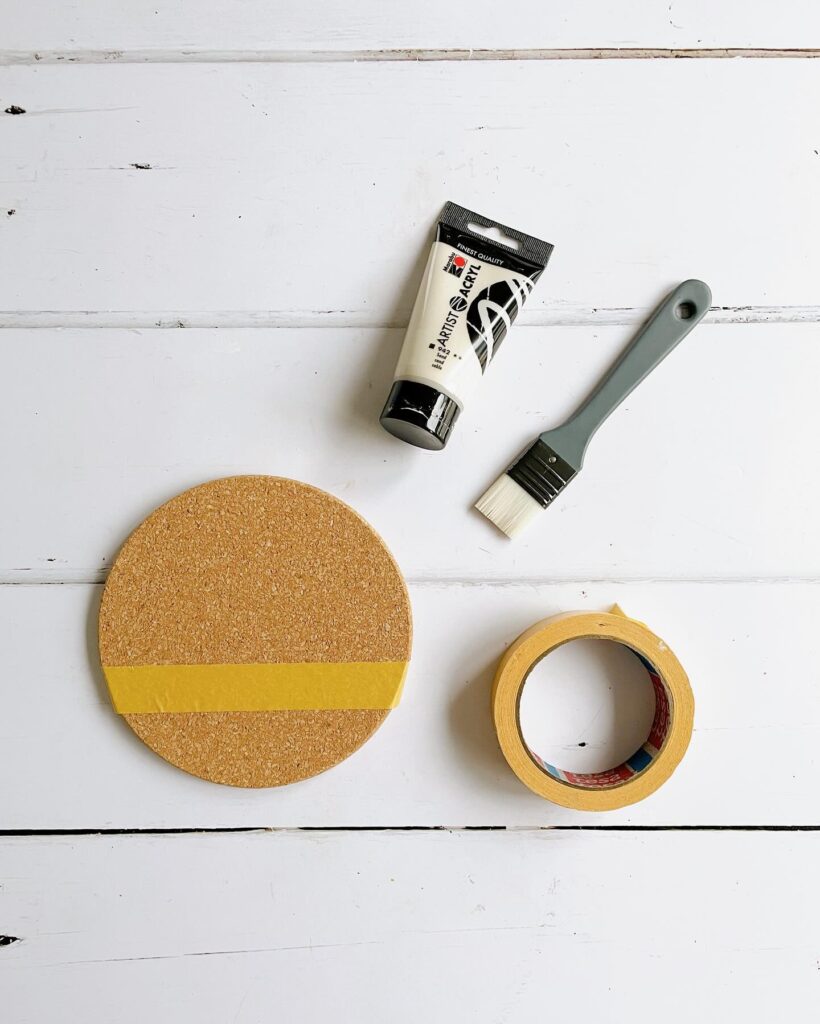
Many DIY projects completely cover their base material, but this approach works differently. Painter’s tape divides the circle cleanly, allowing one portion to remain untouched while the other receives paint.
That simple decision creates visual layering.
The eye immediately notices the contrast between the smooth painted finish and the naturally textured cork, making the board appear more custom than a fully painted version would.
Step – 3: Paint With Texture Instead of Heavy Coverage
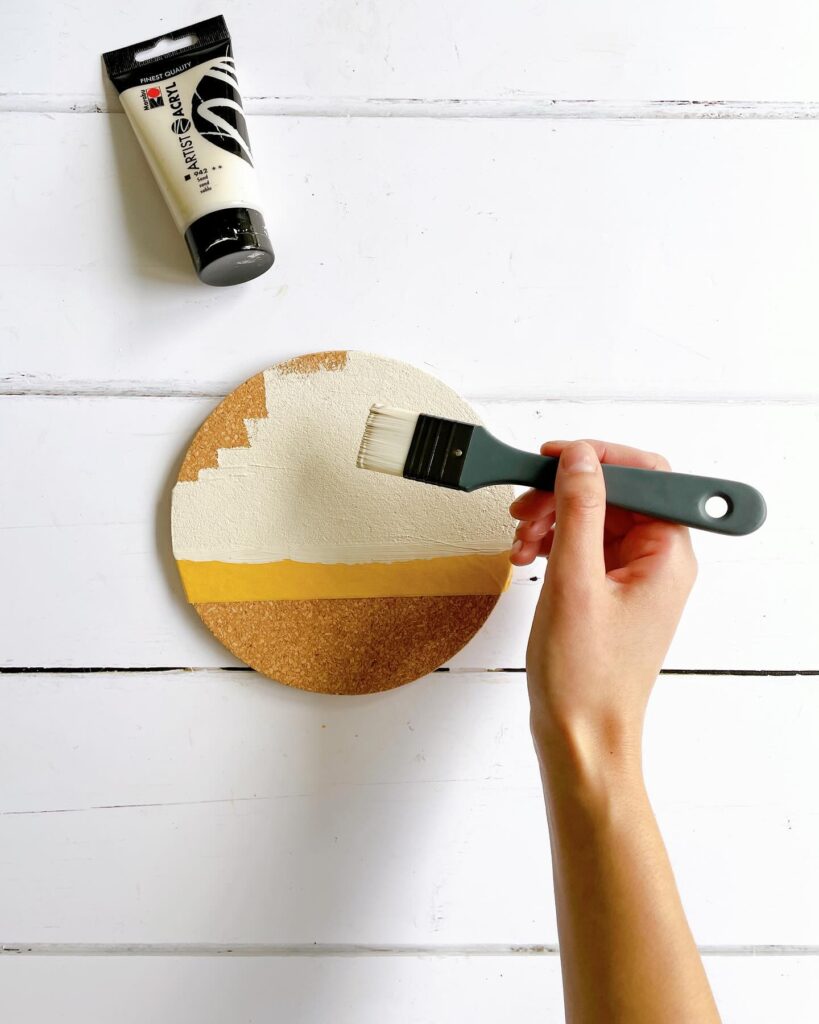
Rather than applying several thick coats, the paint is brushed lightly across the exposed half of the coaster. The cork texture continues to show through, giving the surface a chalky, plaster-like appearance instead of a glossy finish.
This subtle texture changes how light interacts with the board. Flat surfaces often appear lifeless, while lightly textured paint creates gentle shadows that make handcrafted objects feel richer and more tactile.
Allow the paint to dry completely before removing the tape. Crisp edges become one of the defining features of the finished piece.
Step – 4: Simplicity Gives the Board Its Character
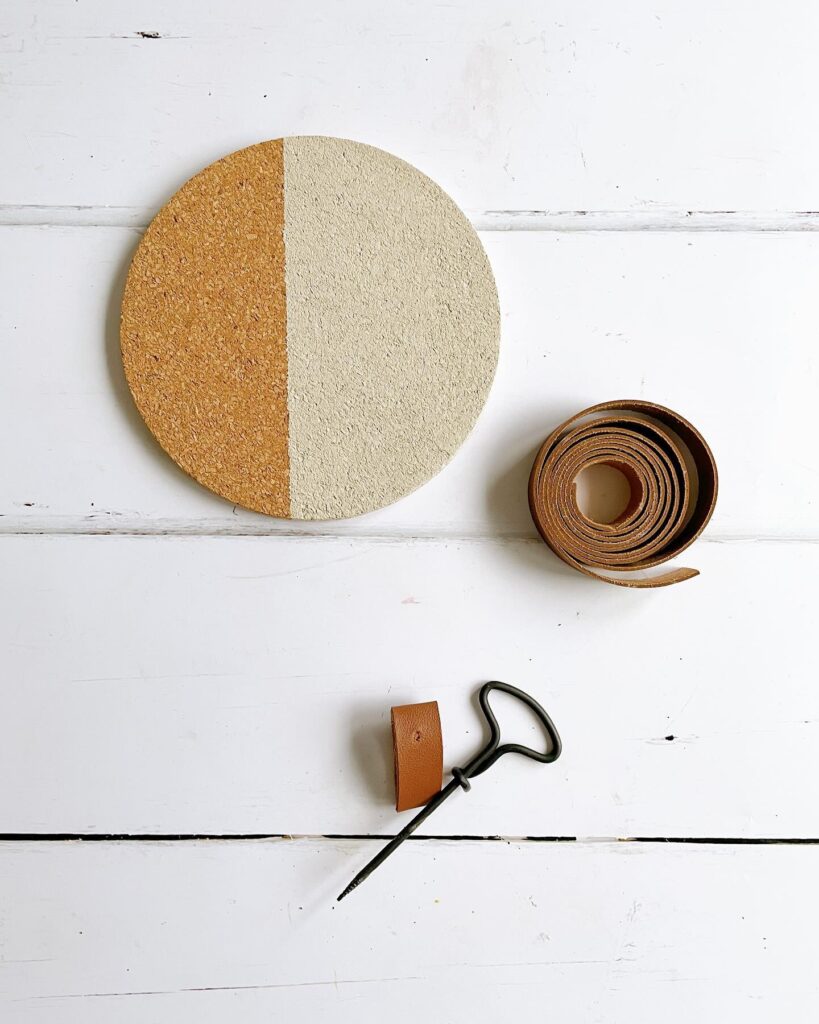
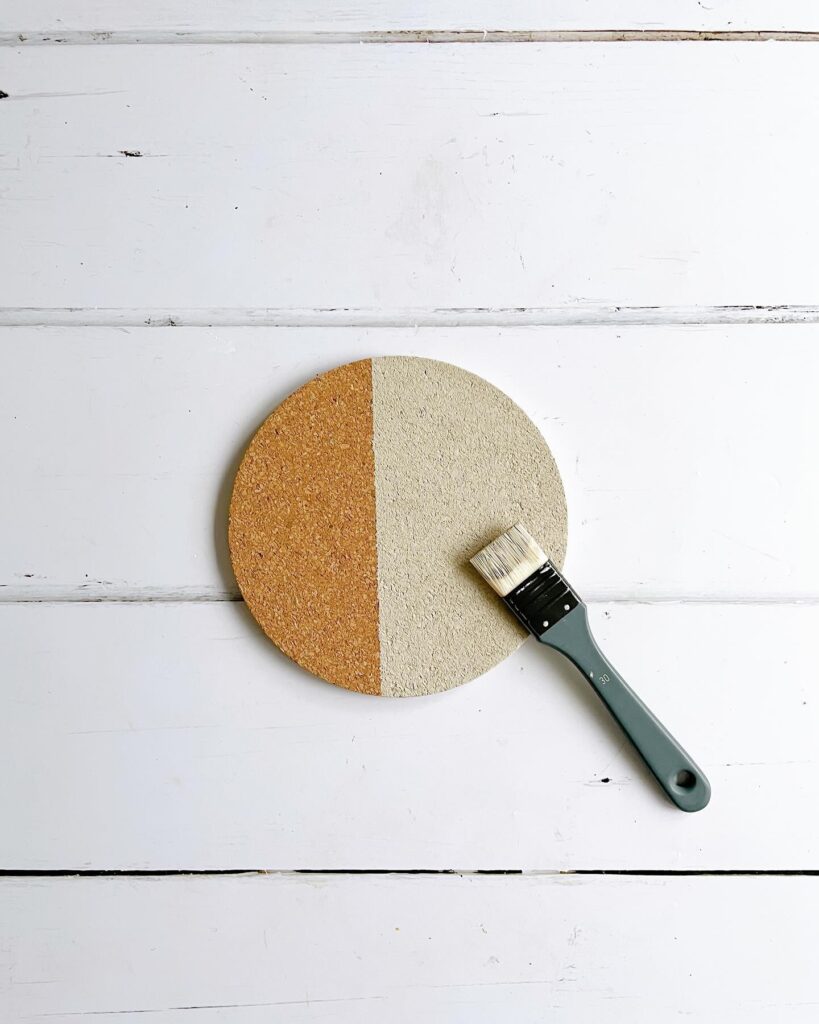
Once the tape is removed, the project already begins to resemble contemporary wall decor rather than a craft project.
The sharp division between painted and natural cork creates order while avoiding unnecessary ornament.
Design psychology plays an important role here. Large uninterrupted surfaces reduce visual noise, allowing the eye to interpret the object as cleaner and more refined.
The restrained color blocking feels timeless because it relies on proportion rather than decorative patterns.
Step – 5: One Leather Strap Changes Everything
The leather hanging loop is easily the feature that gives this project its boutique appearance. Cut the leather to your preferred length, fold it in half, then punch a hole near the folded edge so it can hang on a nail or hook.
Instead of using a visible hanger, the leather becomes part of the overall composition. Its warm brown tone complements the cork while introducing another natural material that ages beautifully over time.
Small material changes often have the greatest visual impact. Leather communicates craftsmanship because it develops character with use rather than looking worn.
Step – 6: Secure the Strap Without Visible Hardware
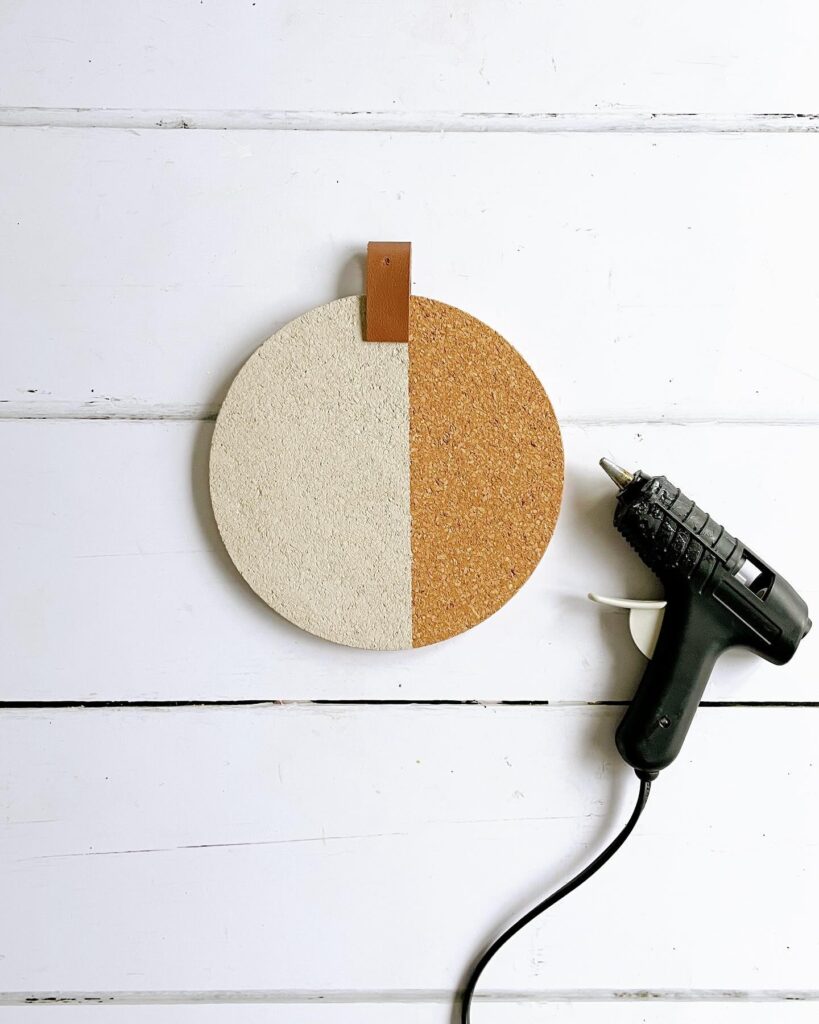
Apply hot glue to one end of the leather strip and attach it to the front near the top edge. Wrap it over the board and glue the opposite end to the back.
This hidden attachment keeps the front uncluttered. Without exposed staples or screws, the board maintains the clean appearance established by the painted finish.
Beyond appearance, the folded leather distributes weight evenly across the top, helping the pin board hang straight against the wall.
Step – 7: Choose Accessories That Match the Overall Style
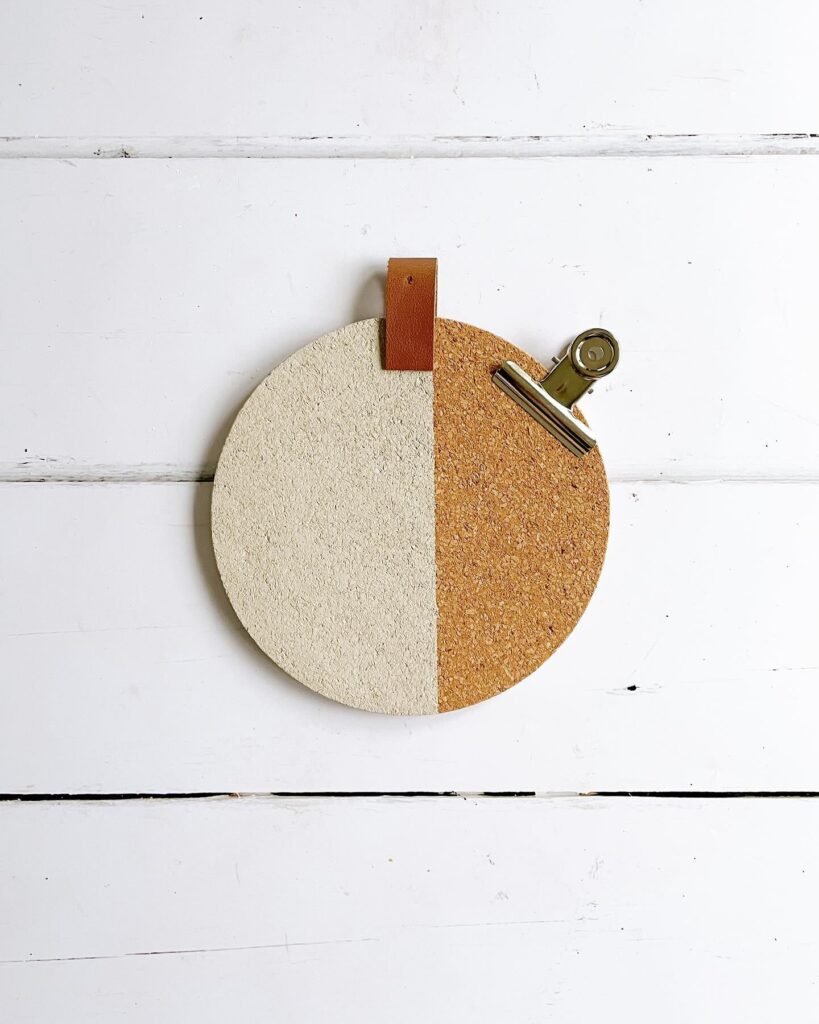
A large metal clip can temporarily hold papers before they’re pinned, while simple brass or black push pins continue the understated material palette.
Accessories should support the overall look rather than overpower it. Matching finishes across hardware creates visual continuity because the eye recognizes repeated materials as belonging together.
This principle explains why professionally styled interiors often appear calmer than heavily decorated ones. Repetition creates harmony.
Step – 8: Every day, the organization becomes decorative
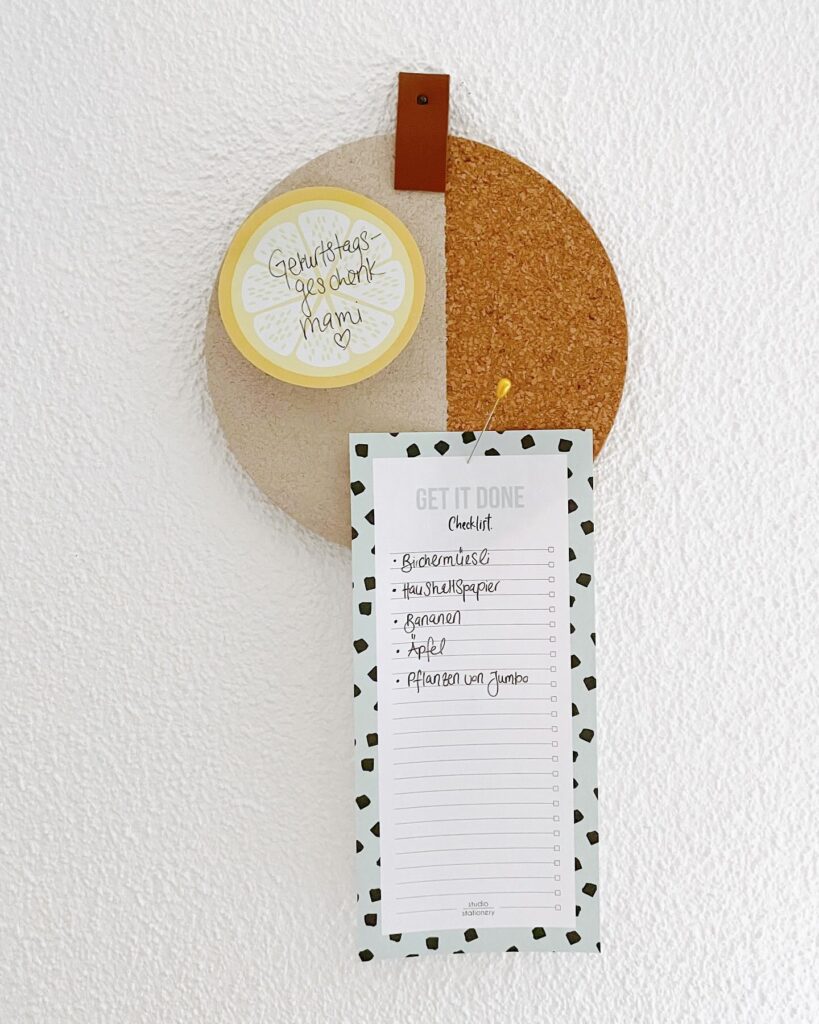
Once mounted, the pin board naturally blends into the wall instead of demanding attention. Shopping lists, postcards, family photos, recipes, or invitations gain a dedicated place while contributing to the overall decor.
The circular silhouette softens nearby straight lines, introducing variety without overwhelming surrounding furnishings.
Even when filled with notes, the composition continues to look intentional because the board itself provides structure.
This flexibility makes it equally suitable for an entryway, kitchen, home office, craft room, or bedroom.
Styling Ideas
Although practical storage remains its primary purpose, thoughtful styling helps the board become part of the room.
- Display vacation photos instead of random snapshots.
- Mix handwritten notes with small art prints.
- Rotate seasonal greeting cards throughout the year.
- Pin dried flowers for a subtle natural texture.
- Coordinate pin colors with nearby decor.
- Leave negative space so the board never feels overcrowded.
The goal isn’t to fill every inch. Empty space allows the displayed items to stand out while keeping the arrangement composed.
Final Thoughts
The beauty of this project comes from restraint rather than complexity. Nothing about the construction is difficult, yet thoughtful material choices make the result look far more refined than its modest cost suggests.
Good DIY projects rarely depend on adding more. They succeed by making ordinary materials work together in smarter ways.
A simple cork coaster, a strip of leather, and carefully placed paint become a wall organizer that feels both functional and thoughtfully crafted.
FAQ
How long does this DIY pin board take to make?
Most people can complete the project in 30 to 60 minutes, plus drying time for the paint.
What kind of paint works best on cork?
Acrylic craft paint works well because it provides even coverage while allowing the cork’s natural texture to remain visible.
Can I use faux leather instead of real leather?
Yes. Faux leather creates a very similar appearance and is often easier to cut and glue.
Where should I hang a DIY pin board?
Entryways, kitchens, home offices, bedrooms, and craft rooms are all great locations where notes and photos are easy to access.
Will regular push pins work?
Yes. Standard push pins easily penetrate cork without damaging the board.
Find Your Next DIY Project
• DIY Concrete Floor Ideas
• DIY Cheap Ceiling Ideas
• DIY Bathroom Makeover Ideas
• DIY Staircase Makeover Ideas