Coffee Filter Butterflies Are the Colorful Craft Kids Never Get Tired of

This post contains affiliate links, and we will be compensated if you buy after clicking on our links. Read our disclaimer.
Read our editorial process
Coffee Filter Butterflies are one of those classic crafts that never go out of style.
With just a few simple supplies, kids can create colorful butterflies while exploring creativity and a little bit of science at the same time.
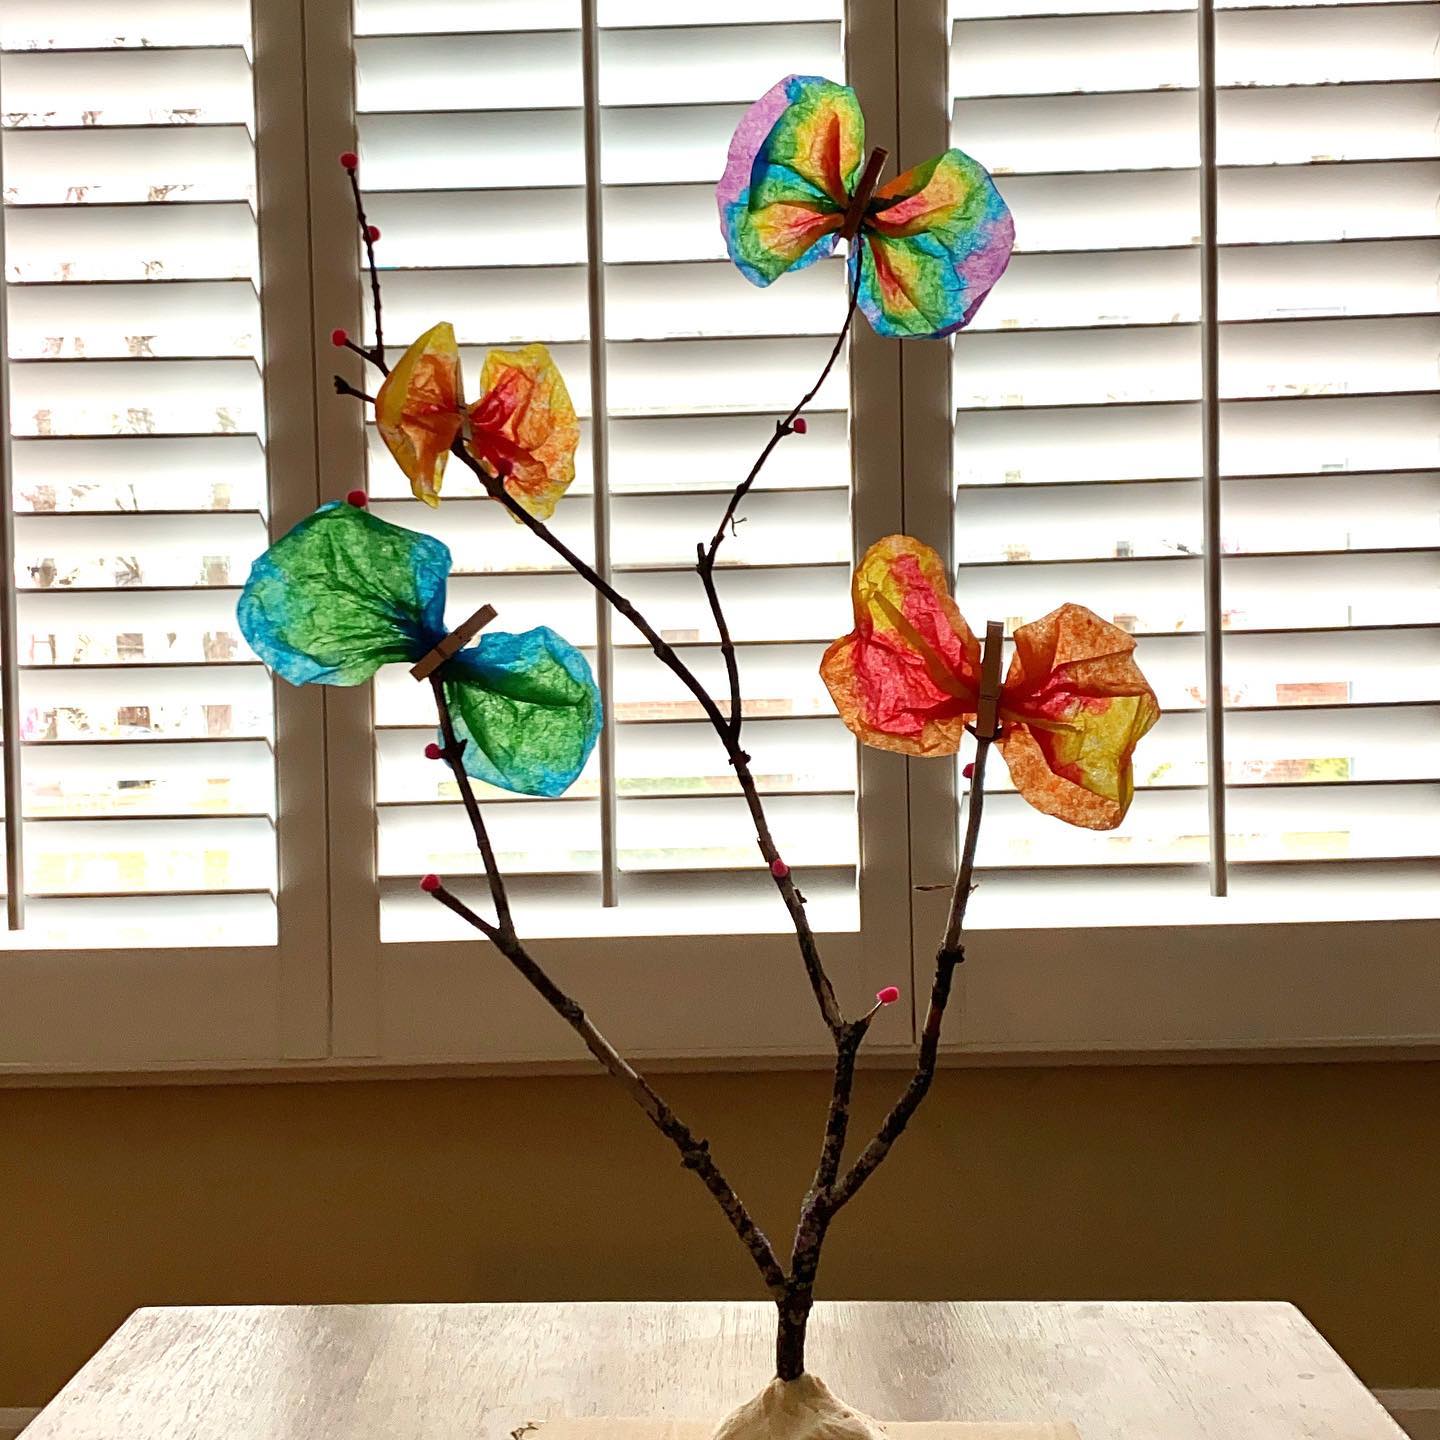
Watching the colors spread across the coffee filter after a light spray of water is the most exciting part. Every butterfly turns out differently, making each one a unique work of art that children will be proud to display.
This easy craft is perfect for spring, butterfly lessons, preschool activities, or a fun afternoon at home.
Once they’re finished, you can hang the butterflies in a sunny window, decorate branches, or brighten up a classroom bulletin board.
If you’re ready to make your own colorful Coffee Filter Butterflies, gather your supplies and let’s get started!
Why You’ll Love This Coffee Filter Butterfly Craft
Materials You’ll Need
Before you begin, gather these simple supplies. Most of them are inexpensive and easy to find at craft stores or may already be in your home.
How Long Does It Take to Make Coffee Filter Butterflies?
This craft comes together quickly. Most butterflies take about 20 to 30 minutes to complete, including drying time.
If you are making several butterflies for a classroom or spring display, simply color all of the coffee filters first, then spray and let them dry together before adding the clothespins.
How to Make Coffee Filter Butterflies
Step 1: Gather Your Supplies
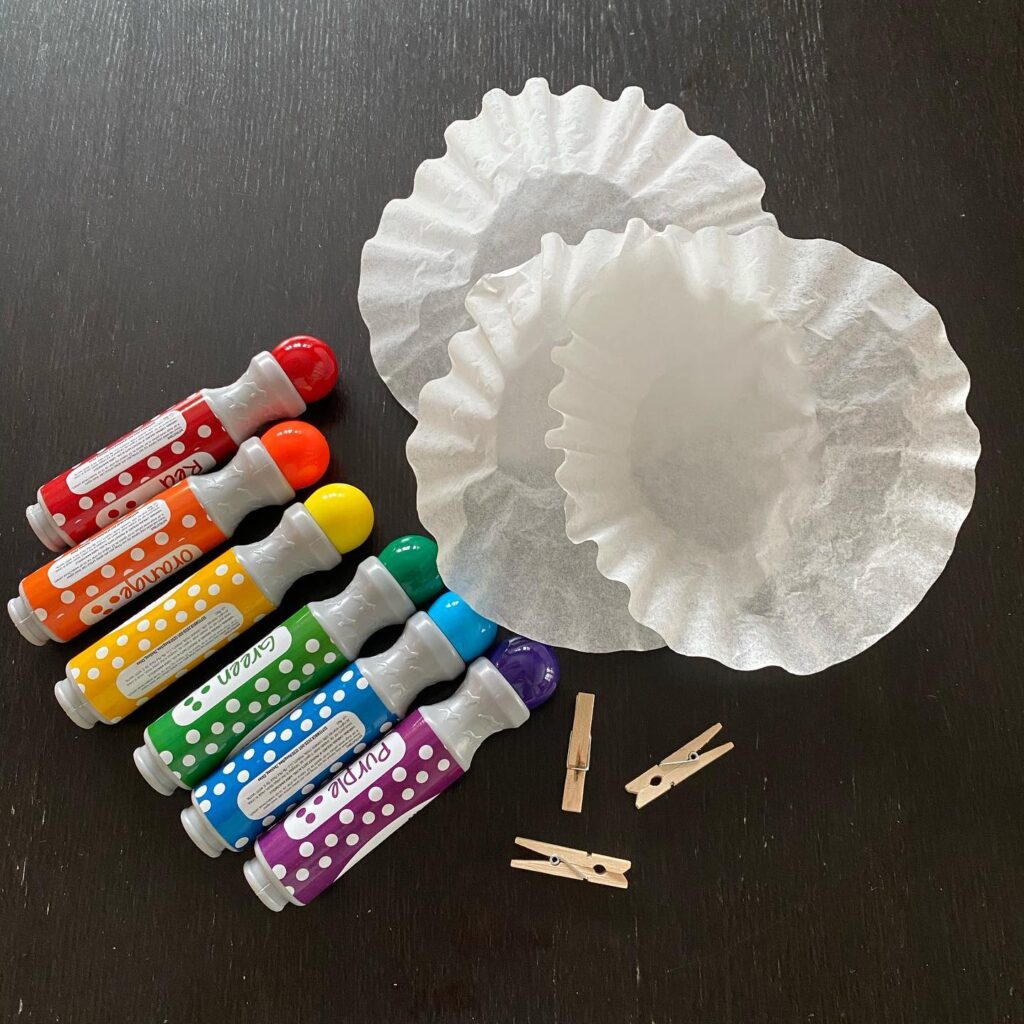
You only need a handful of craft supplies for this project. Gather round coffee filters, washable dot markers or regular markers, a spray bottle filled with water, and wooden clothespins.
Keeping the supplies simple lets children focus on creating colorful patterns instead of managing complicated materials.
Step 2: Fold and Decorate the Coffee Filters
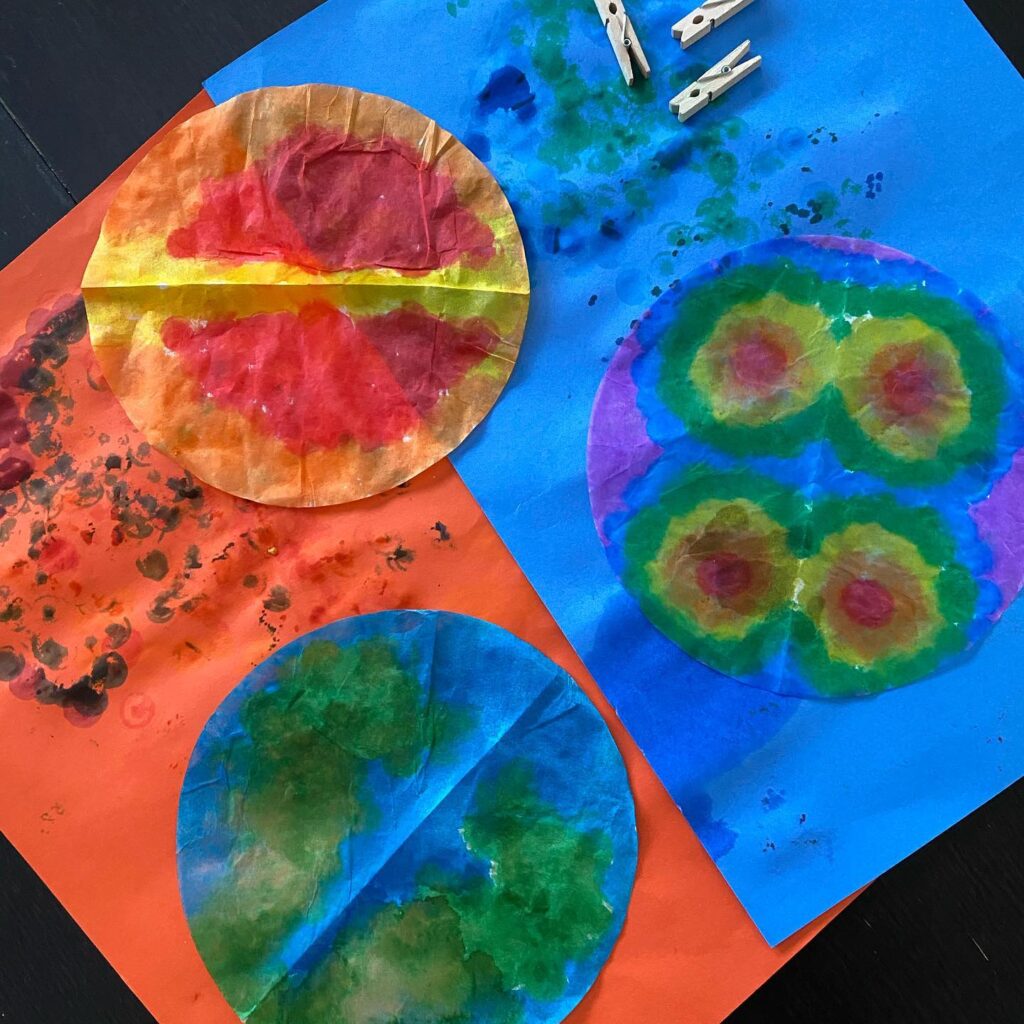
Fold each coffee filter in half before decorating. This creates a natural center line that helps form butterfly wings later.
Use dot markers or washable markers to add colorful designs. Encourage children to mix colors and cover different areas instead of worrying about perfect patterns.
Step 3: Spray with Water
Lightly spray the decorated coffee filters with water until the colors begin to spread. Avoid soaking the paper because too much water can make it tear.
This simple step creates the watercolor effect that makes Coffee Filter Butterflies so colorful and unique.
Step 4: Let the Coffee Filters Dry
Leave the filters flat until they are completely dry. As they dry, the colors soften and blend together naturally.
Every butterfly develops its own pattern, making each finished craft a little different from the next.
Step 5: Shape the Butterfly
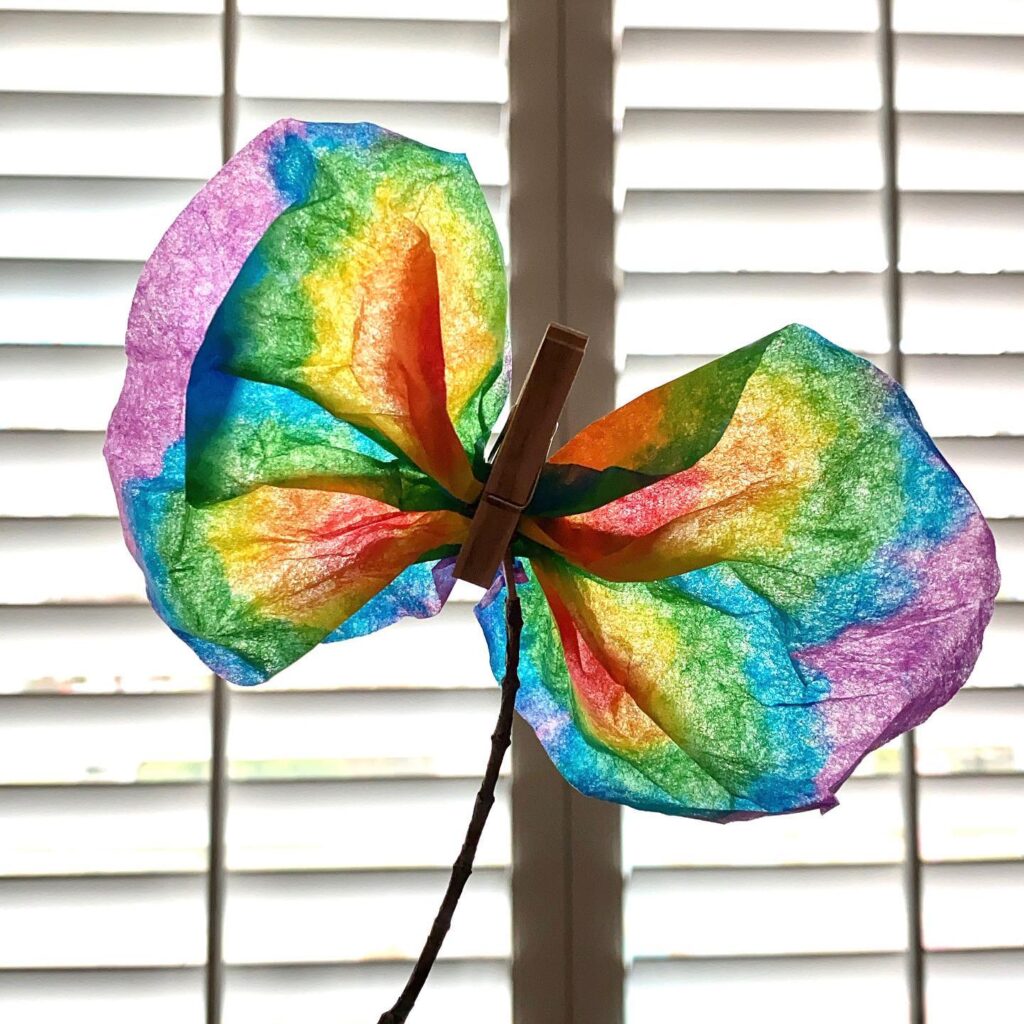
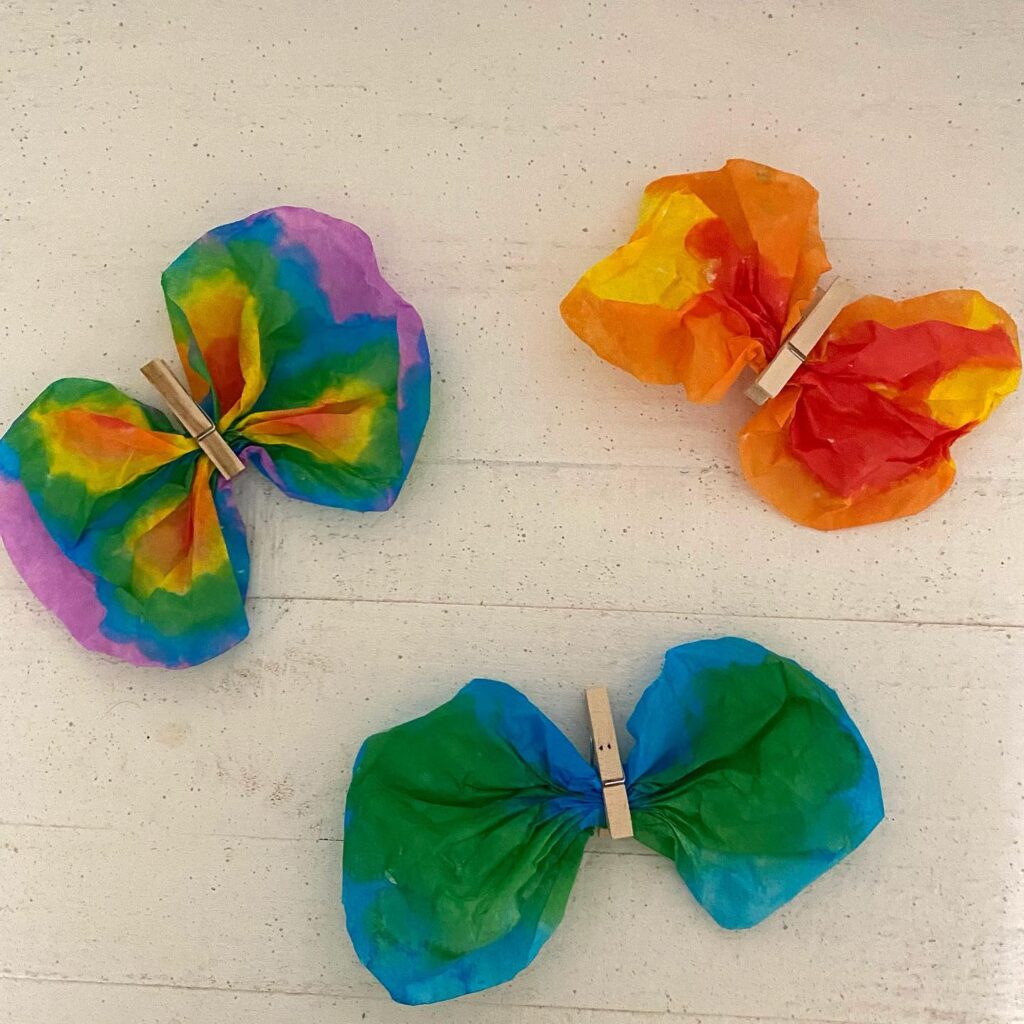
Pinch the middle of the dry coffee filter together like an accordion. Clip a wooden clothespin over the center to create the butterfly’s body.
You can gently fluff the wings until they have the shape you like.
Step 6: Display Your Butterflies
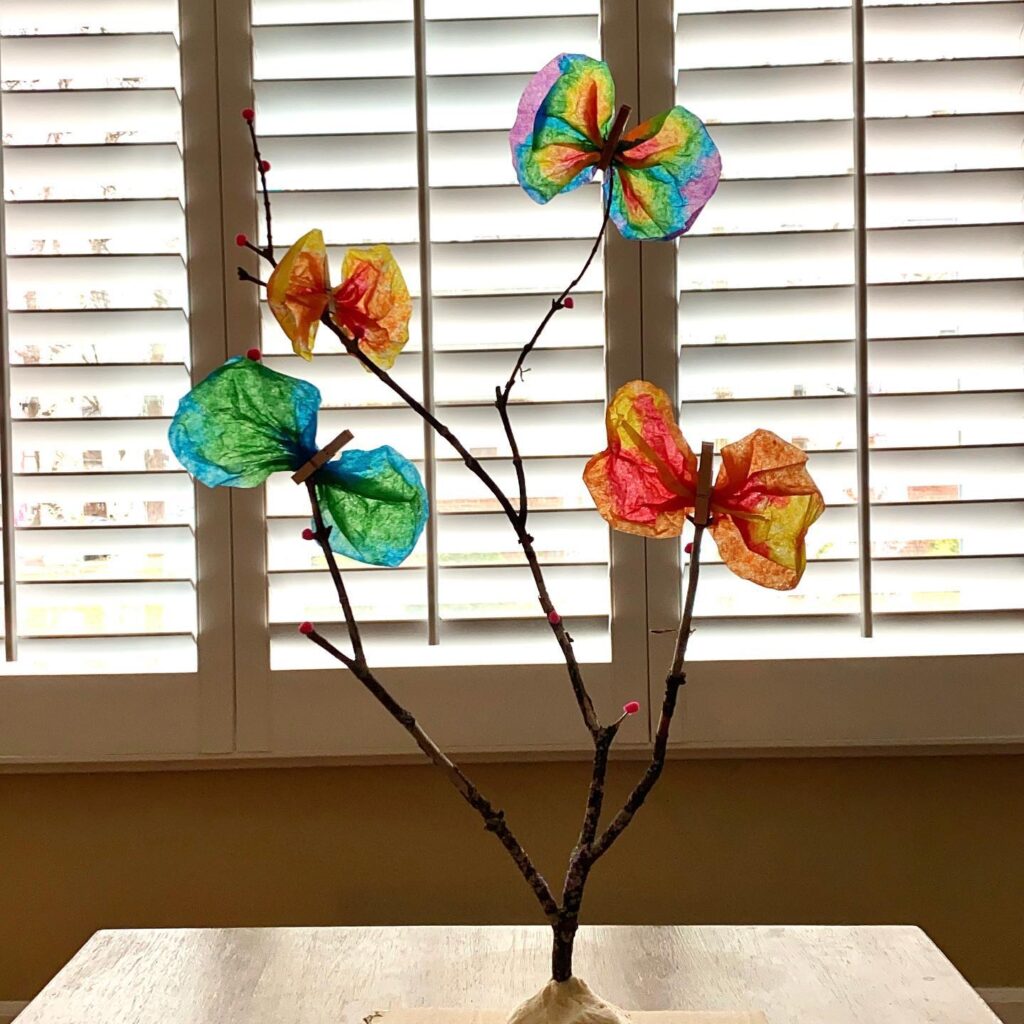
Attach your butterflies to small branches, hang them in a sunny window, or use them on classroom bulletin boards.
They also make lovely table centerpieces, party decorations, or handmade gifts during spring and Easter.
A Closer Look at the Finished Butterflies
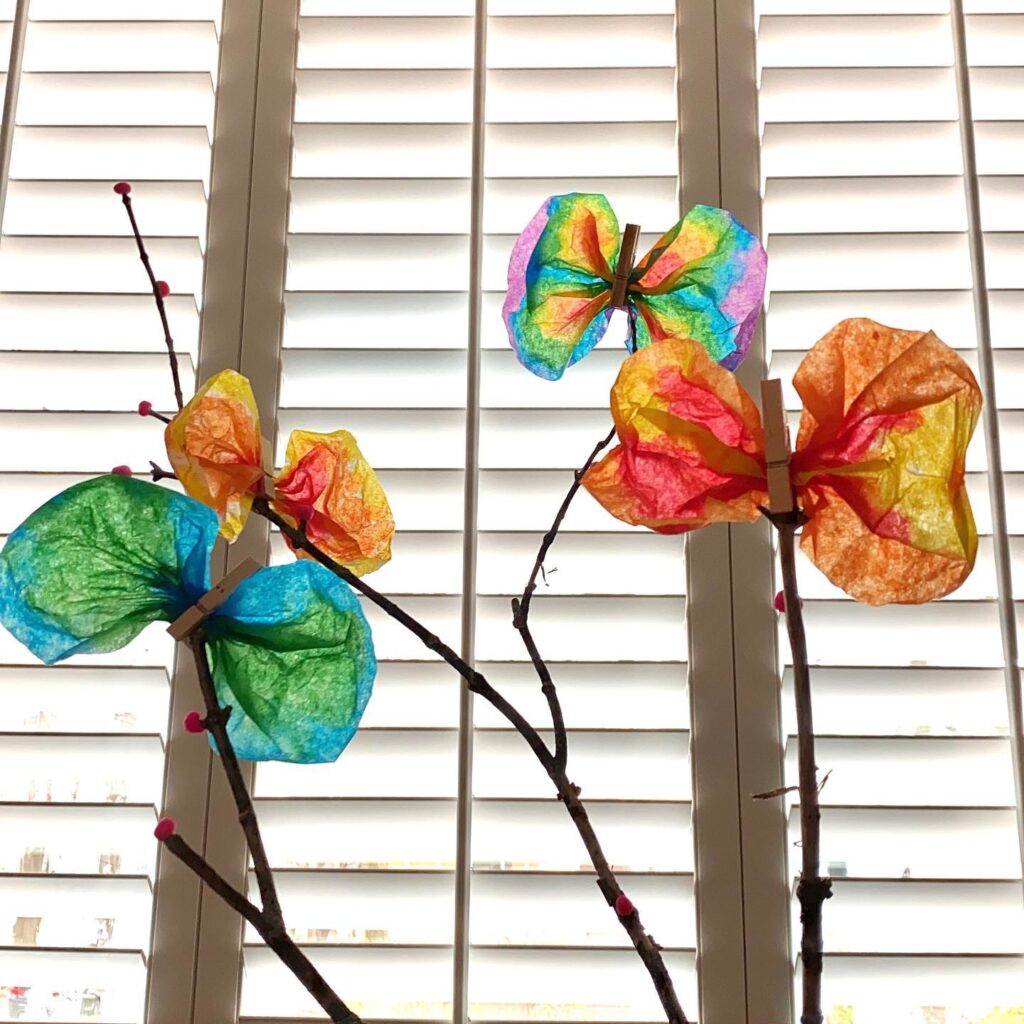
The finished display shows how much variety you can create using the same simple process. Some butterflies feature rainbow colors, while others use warm oranges and reds or cool blues and greens.
Displaying several butterflies together creates a cheerful spring decoration that looks bright in natural light without requiring expensive craft supplies.
STEAM Skills Kids Practice
This activity teaches much more than coloring.
Children practice:
Frequently Asked Questions
Can I use regular markers instead of dot markers?
Yes. Washable markers work very well and create beautiful blended colors after spraying with water.
What age is this craft best for?
Coffee Filter Butterflies are perfect for preschoolers, kindergarteners, and early elementary children. Younger kids may need help using the clothespins.
How long do the butterflies take to dry?
Most coffee filters dry within 30 to 60 minutes, depending on how much water was used.
Can I hang these in a window?
Yes. Their translucent colors look especially beautiful when sunlight shines through them.
Conclusion
Coffee Filter Butterflies prove that you do not need expensive supplies to create something colorful and memorable.
A coffee filter, a little color, and a spray of water are enough to make every butterfly unique.
Whether you are planning a spring activity at home, decorating a classroom, or looking for a simple preschool craft, this project is easy to make and fun for children of all ages.
Image Credit: All images courtesy of Instagram user @preschoolforyou.
Bring More Color to Your Crafts
• DIY Alice In Wonderland Decorations
• DIY Outdoor Fairy Garden Ideas
• DIY Insect Hotel Made From Recycled Can
• DIY Garden Ideas