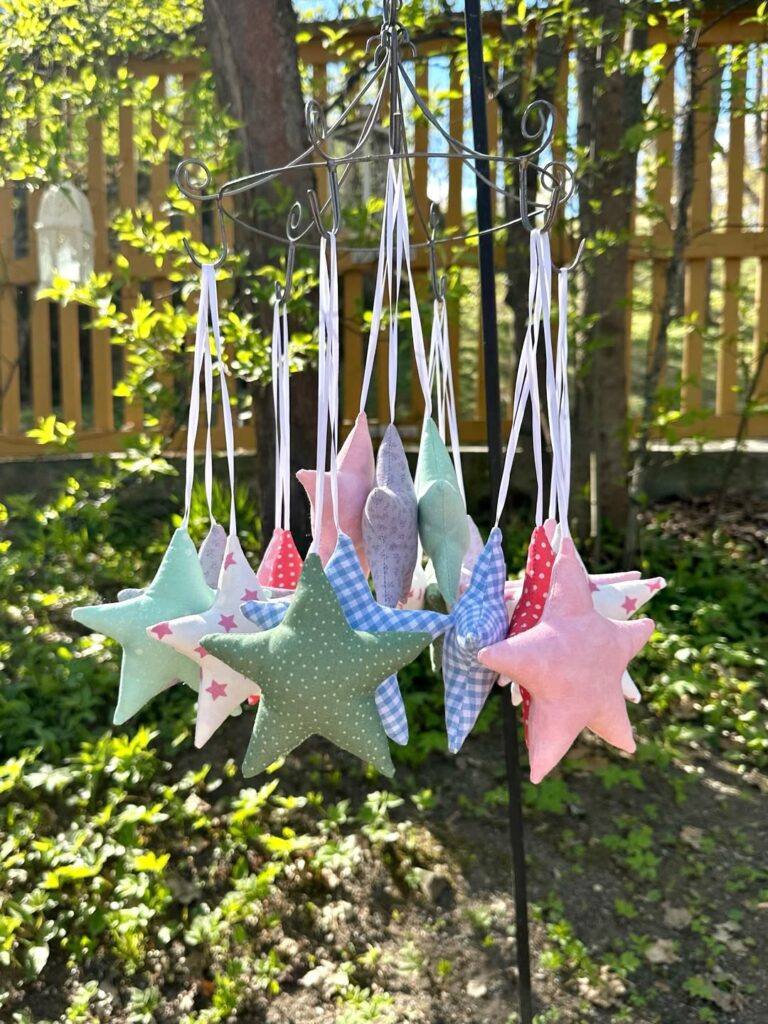
23 DIY Sun Catchers That Actually Catch Light (Not Just Dust)

This post contains affiliate links, and we will be compensated if you buy after clicking on our links. Read our disclaimer.
Read our editorial process
You probably already know how tricky it is to make your space feel bright, especially when natural light is limited. You hang curtains, move mirrors around, maybe even try new decor, but something still feels a little dull.
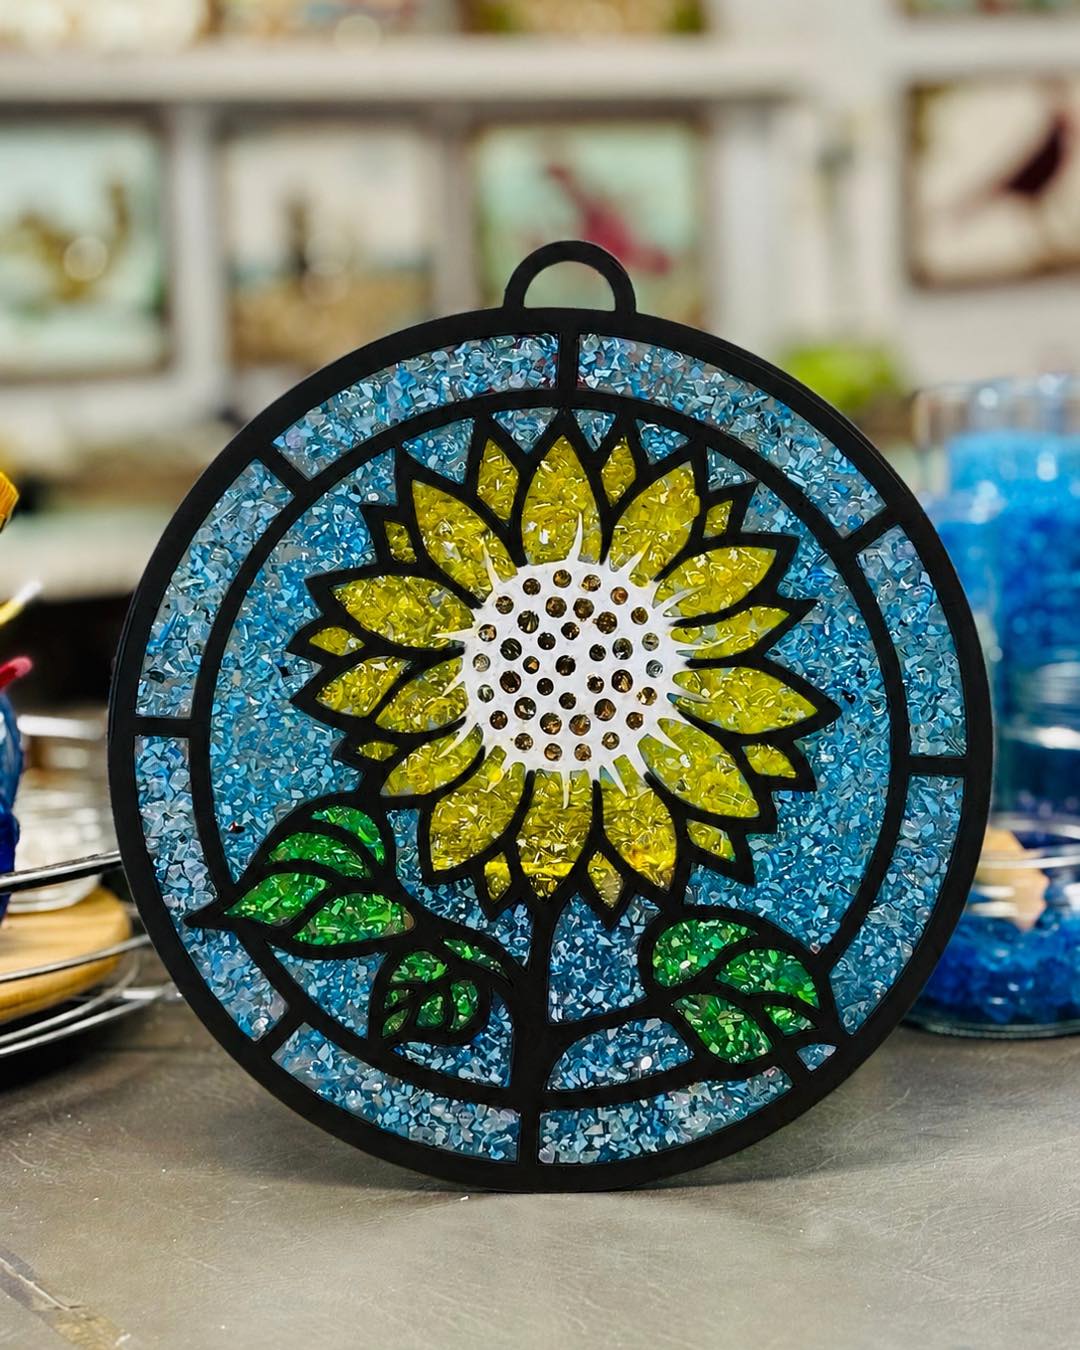
That’s where small details start to matter more than you expect. A simple DIY project can completely shift how a room feels without taking up space or costing much.
This article shares 23 DIY sun catchers that help reflect light and add a soft, colorful glow to your home. Easy ideas, simple materials, and a noticeable difference.
Can Beginners Handle DIY Sun Catchers?
Absolutely. Most projects in this collection rely on simple techniques like layering translucent materials, working with basic craft tools, or assembling pre-cut glass or acrylic pieces.
Some of the easiest styles to start with include resin frames with dried flowers, bead-and-crystal strands, tissue paper mosaic designs, and geometric acrylic shapes. These allow you to experiment with light without complicated processes.
Discover More Fun DIY Crafts
• Coffee Filter Butterflies
• Paper Toadstools Craft
• DIY Egg Carton Flower Wreath
• DIY Alice In Wonderland Decorations
23 Inspiring DIY Sun Catcher Ideas
Check out this curated list of creative designs and light-catching setups for your next handmade project.
1. Crystal Sun Catcher with Beads
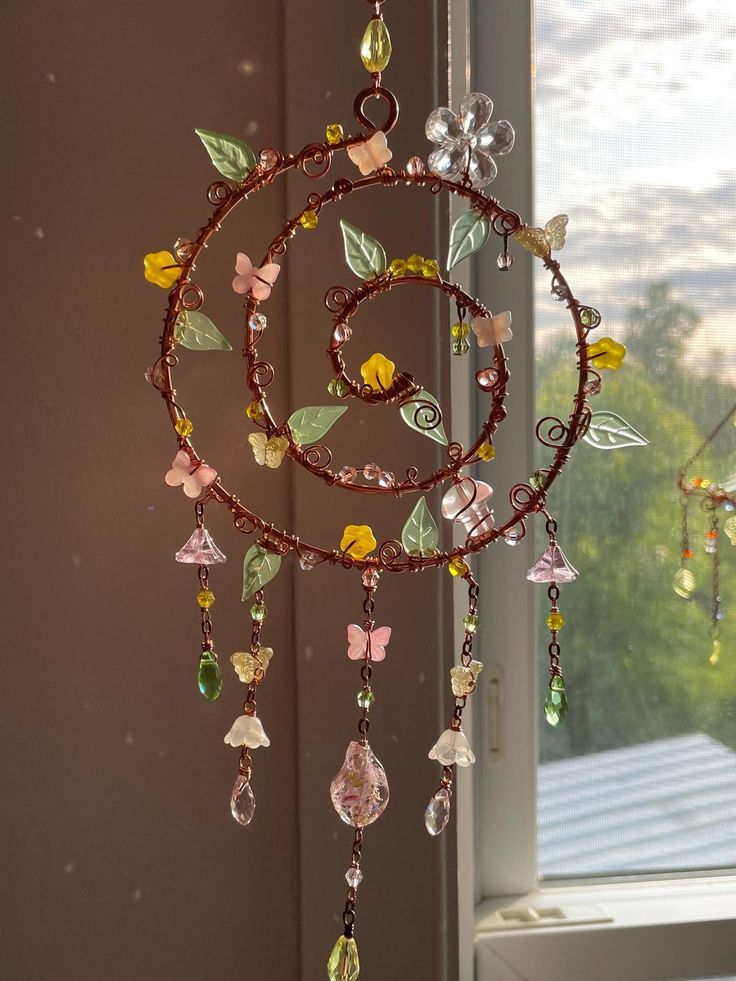
That soft rainbow reflection on a wall always pulls attention. A crystal and bead sun catcher only recreates that effect, without needing a complex setup.
In a bathroom with limited natural light, transparent beads and a central prism help amplify even small amounts of sunlight. Using fishing line with evenly spaced strands keeps the piece balanced instead of tangled. The result feels lighter and adds subtle movement across surfaces.
One small detail matters more than expected. If the strands are uneven or too dense, the light effect looks dull. Leaving slight gaps between strands helps the reflections stay crisp and more noticeable.
Quick Notes: Beginner-friendly Yes | Time 20 to 45 minutes | Cost Low to medium
Materials Needed:
- Colorful beads
- Fishing line or jewelry wire
- Metal ring or small hoop
- Crystal prism
- Scissors
- Glue or lighter
How to Make It:
Cut strands and thread beads in any pattern. Tie each strand onto the ring with even spacing.
Hang the prism in the center, add a top loop, then place it near a window and adjust lengths if needed.
2. Pressed Flower Sun Catcher
Beginner-friendly: Yes
Time: 15 minutes plus pressing time
Cost: Low
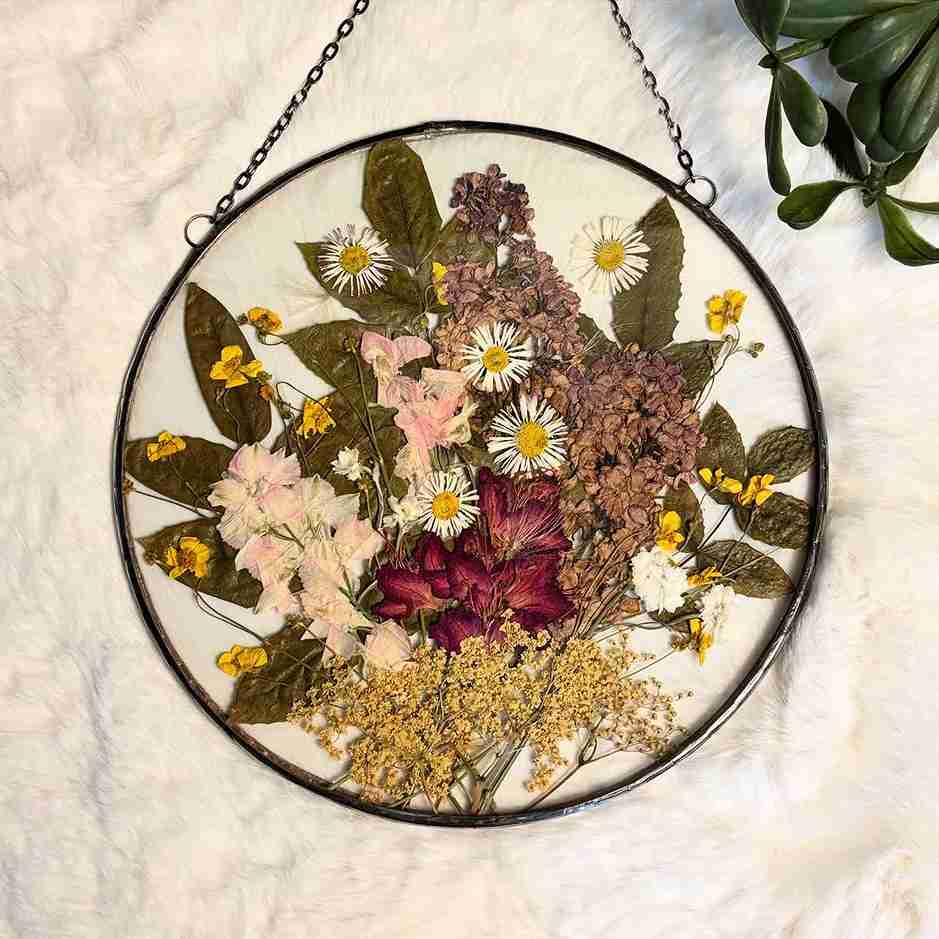
Some decor pieces feel more personal, and this one holds that quiet charm. A pressed flower sun catcher keeps small outdoor moments visible instead of letting them fade.
In a bathroom with strong artificial lighting or low sunlight, thinner petals and lighter leaves show up better. Using clear contact paper with spaced flower placement keeps the design from looking crowded. The finished piece lets light pass through gently, giving a softer glow instead of sharp reflections.
One thing easy to overlook is moisture. If flowers are not fully dry, they can darken over time. Let them press longer than you think needed so the colors stay closer to natural.
Materials Needed:
- Pressed flowers or leaves
- Clear contact paper or laminating sheets
- Scissors
- Hole punch
- String or ribbon
How to Make It:
Press flowers between parchment paper inside a heavy book for a few days. Arrange them on contact paper, seal, trim to shape, then punch a hole and hang near soft sunlight.
3. Mosaic Glass Sun Catcher
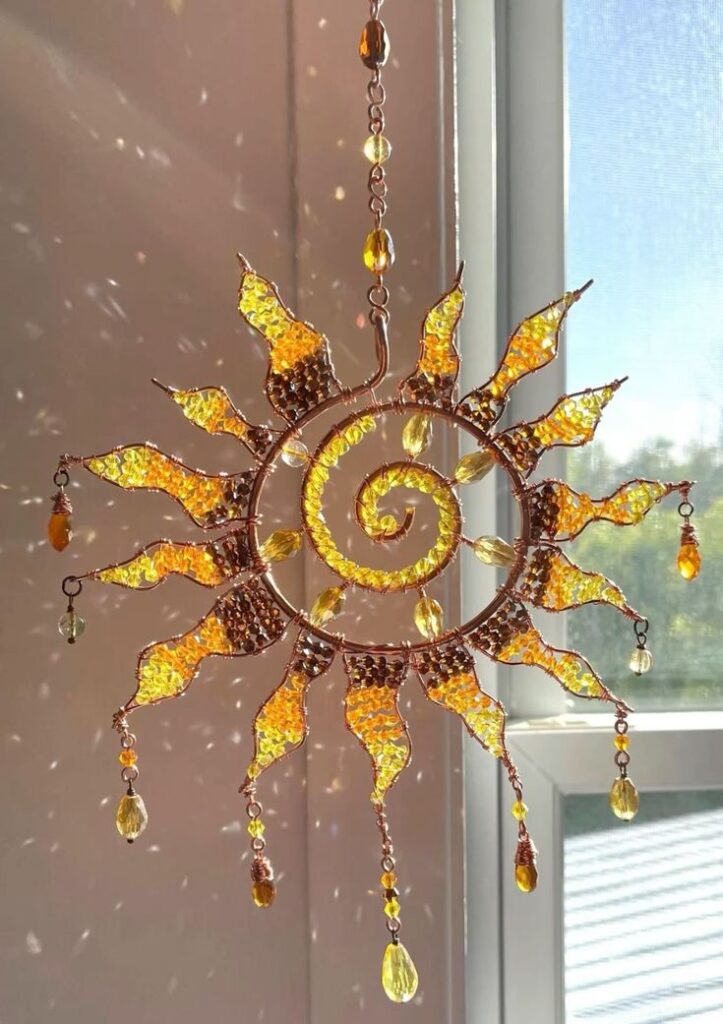
Beginner-friendly: Intermediate
Time: 1 to 2 hours plus drying time
Cost: Medium
This style leans more bold and detailed. A mosaic glass sun catcher stands out because each piece catches light differently, creating a layered effect.
In bathrooms with direct sunlight or strong window exposure, small glass tiles reflect sharper highlights. Using a clear acrylic base with evenly spaced pieces and light grout lines keeps it from looking too dense. The result feels more vibrant, with tiny reflections shifting as light moves.
One thing to watch is grout buildup. If it sits too long before wiping, it dulls the glass surface. Cleaning in small sections keeps the shine clear and more defined.
Materials Needed:
- Small glass tiles or sea glass
- Glass safe adhesive
- Grout
- Clear acrylic or glass base
- Gloves and safety glasses
How to Make It:
Lay out the design first, then glue each piece and let it cure fully. Apply grout, wipe clean, polish after drying, then attach a loop and hang near a light.
4. Hanging Shell Sun Catcher
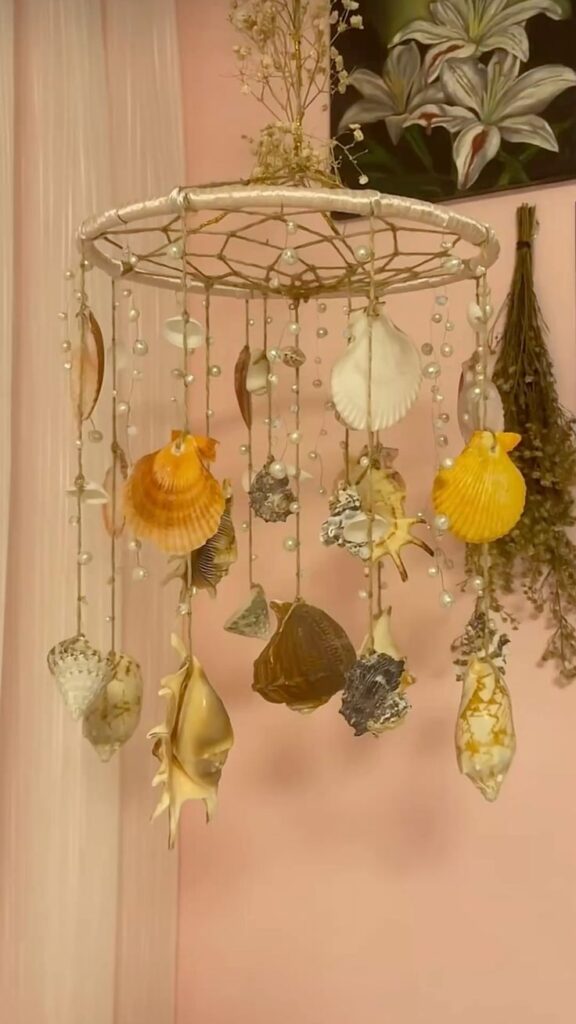
Beginner-friendly: Yes
Time: 30 to 60 minutes
Cost: Low
This one brings a soft coastal feel into the space. A hanging shell sun catcher adds gentle movement and a light sound when air passes through.
In bathrooms with limited airflow or smaller windows, lighter shells and thin string move more easily. Using a wooden ring with evenly spaced strands and one longer center piece keeps it visually balanced. The effect feels relaxed, with subtle motion and soft light passing through.
A small thing that helps is spacing. If shells sit too close, they tangle and lose that airy look. Leaving a bit of a gap between each piece keeps everything moving freely.
Materials Needed:
- Seashells
- Twine or fishing line
- Hot glue or a small drill
- Wooden ring or dowel
How to Make It:
Thread shells and knot between each, or glue if needed. Attach strands to the ring, add a center piece, then hang near a window or covered outdoor spot.
5. Stained Glass Sun Catcher
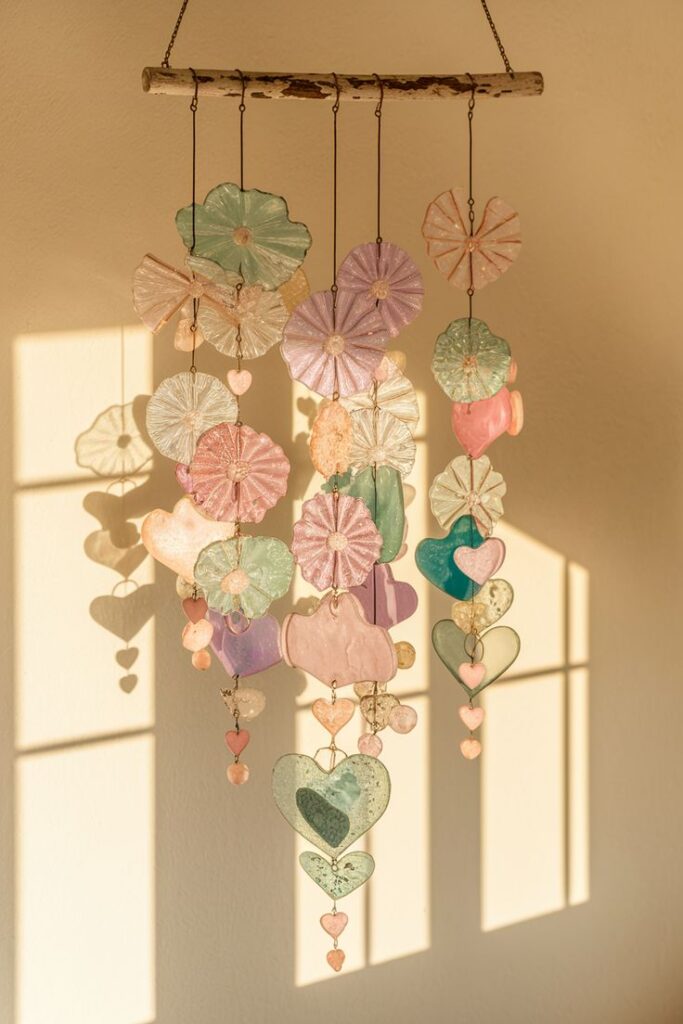
Beginner-friendly: Yes
Time: 45 to 90 minutes plus drying time
Cost: Medium
This one adds a bold, classic touch without needing real stained glass. A stained glass sun catcher brings color depth that stands out more than beads or paper designs.
In bathrooms with bright direct sunlight, thinner paint layers help light pass through cleanly. Using a black outliner to define sections on clear acrylic keeps the colors from blending too much. The result looks sharper, especially when the light hits at an angle.
A small detail that helps is the paint thickness. If layers go on too heavily, they dry unevenly and block light. Keeping each section light and controlled makes the final piece look clearer.
Materials Needed:
- Clear glass or acrylic sheet
- Glass paint or faux stained glass paint
- Black outline paint
- Paintbrush
- Frame or edge tape
How to Make It:
Place your sketch under the sheet and trace with outliner. Fill each section with thin paint layers, let it dry fully, then frame and hang near a strong light.
6. Beaded Hummingbird Sun Catcher
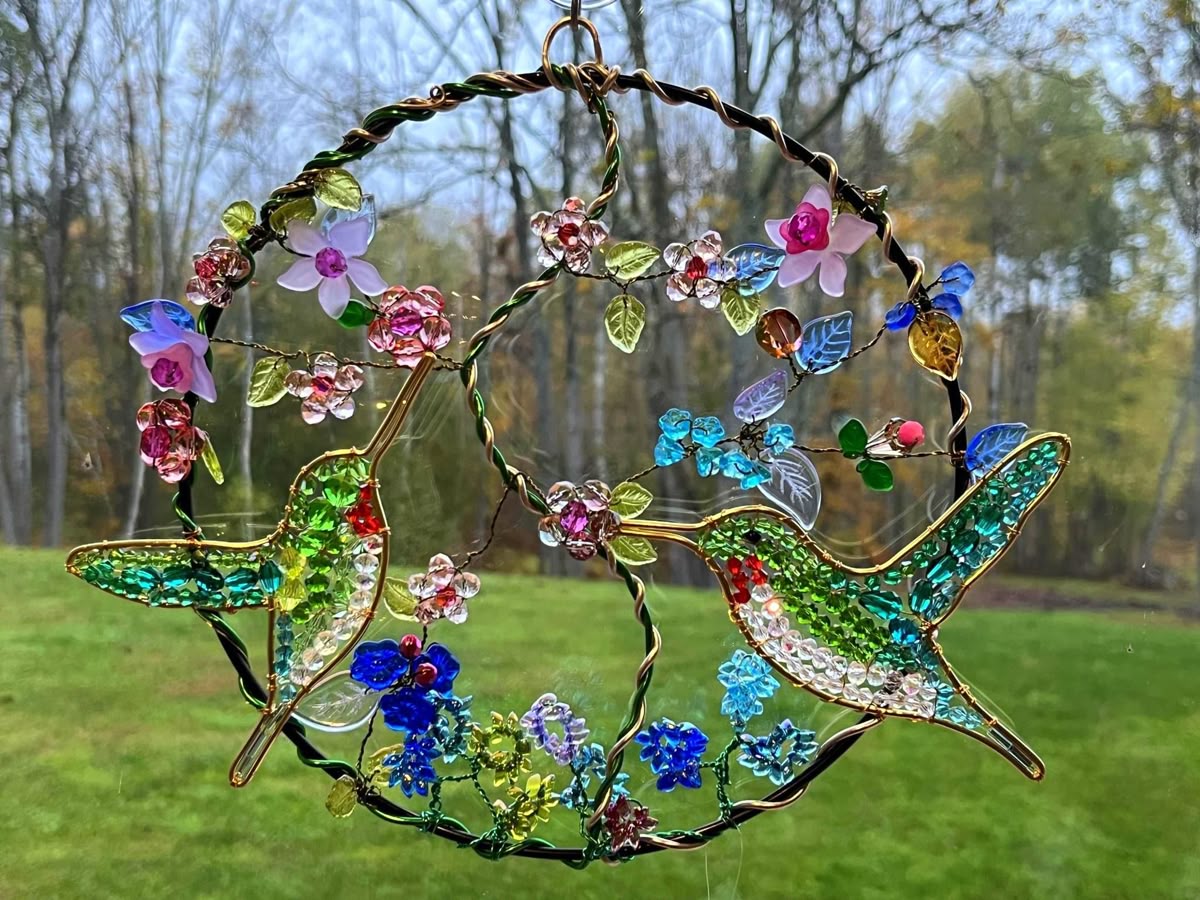
Beginner-friendly: Intermediate
Time: 1 to 2 hours
Cost: Medium
A hummingbird shape adds movement even when it is still. The beaded hummingbird sun catcher draws attention through its form and subtle shimmer.
With side lighting or narrow windows, smaller beads around curves keep the outline readable. Using firmly twisted craft wire and slightly larger beads for the body helps maintain structure. The light reflects in small flashes, giving it a lively feel.
One detail to watch is wire tension. Loose sections can shift and distort the shape over time. Keeping twists tight helps it stay balanced and hang straight.
Materials Needed:
- Craft wire
- Beads in multiple colors
- Pliers
- Optional crystal drop
How to Make It:
Shape the wire into a hummingbird, then thread beads and secure with twists. Add a top loop, hang in light, and attach a crystal at the tail for extra sparkle.
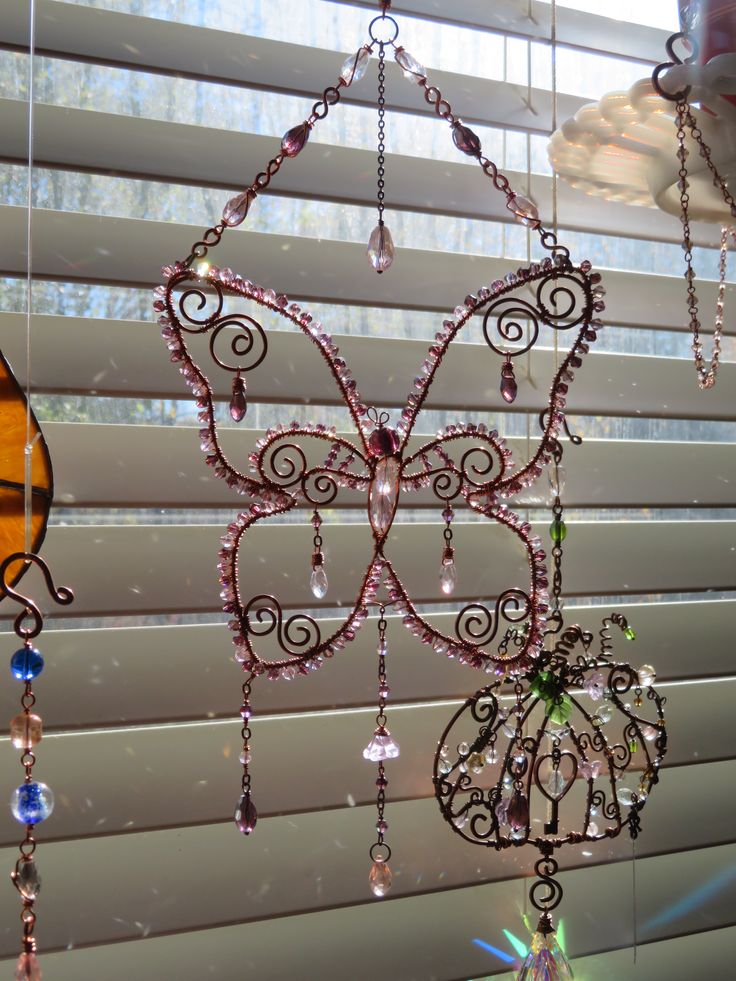
7. Butterfly Sun Catcher
Beginner-friendly: Yes
Time: 20 to 40 minutes
Cost: Low
Butterfly shapes bring a light, playful touch without feeling too themed. A butterfly sun catcher works well when the colors match the rest of the space.
In bathrooms with bright overhead lighting instead of direct sun, lighter shades and a bit of transparency help the design stay visible. Using clear shrink film with thin paint layers or glass markers keeps the wings from looking flat. The result feels soft, with gentle color shifting through the day.
One small upgrade makes a difference here. Adding a few metallic marker accents around the edges gives the shape more definition, especially when the light is low.
Materials Needed:
- Plastic butterfly shapes or clear shrink film
- Paint or glass markers
- String or thin ribbon
- Hole punch
How to Make It:
Color the butterfly shapes and let them dry fully. Punch a hole, tie the string, then hang one or layer a few at different heights.
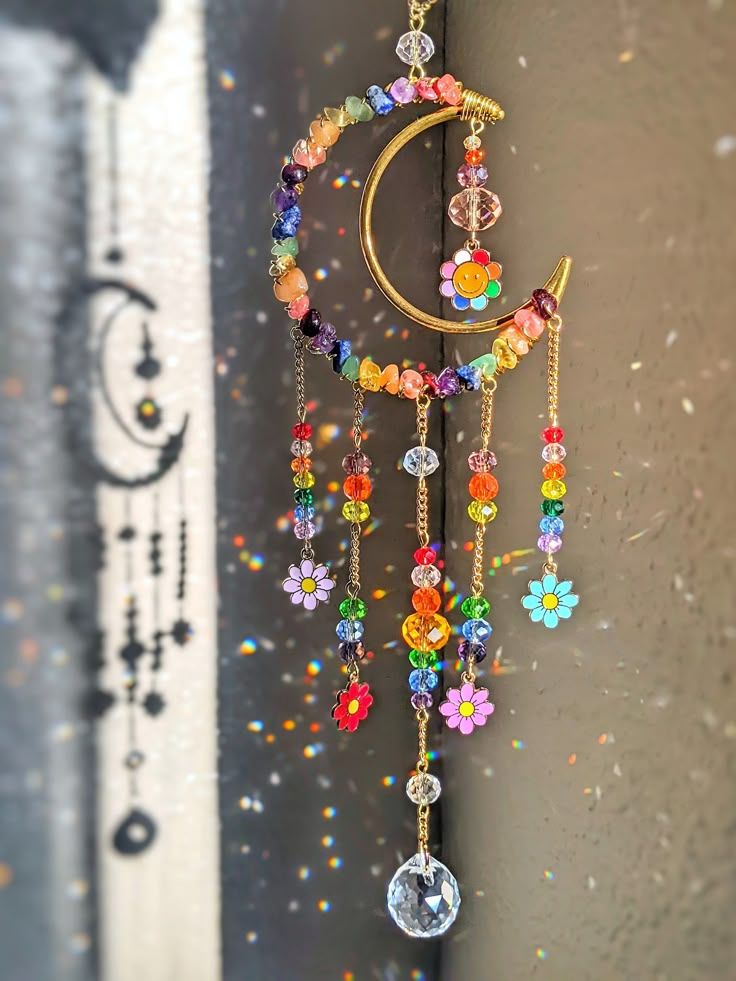
8. Rainbow Sun Catcher with Yarn
Beginner-friendly: Yes
Time: 25 to 45 minutes
Cost: Low
Color alone can shift the mood of a space. A rainbow sun catcher with yarn adds that lift without needing direct light to work.
In bathrooms with little sunlight or shaded windows, brighter yarn shades still stand out. Using an embroidery hoop with evenly tied strands and clean, trimmed ends keeps it from looking messy. The result feels soft and cheerful, even on dull days.
One thing that helps is spacing. If the yarn is packed too tightly, the colors blend and lose definition. Leaving slight gaps keeps each color clear and more noticeable.
Materials Needed:
- Yarn in rainbow colors
- Embroidery hoop or metal ring
- Scissors
- Optional pom poms or felt clouds
How to Make It:
Cut equal strands and tie them along the bottom of the hoop in rainbow order. Trim evenly, then add optional details and hang near a bright window.
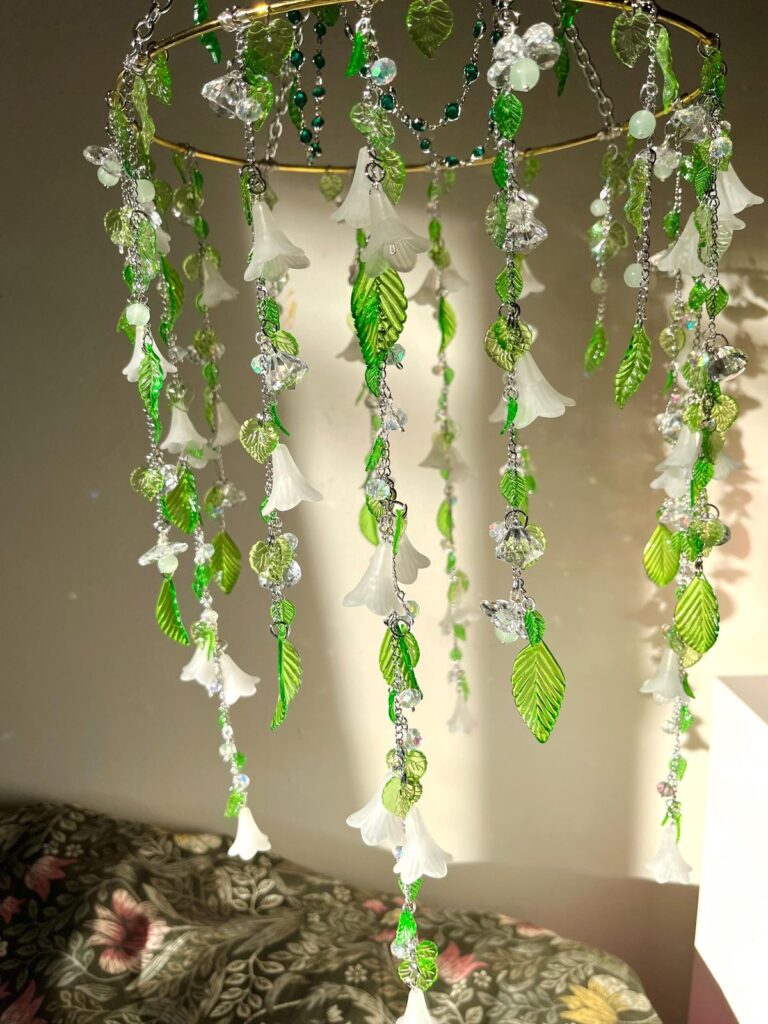
9. Nature-Inspired Leaf Sun Catcher
Beginner-friendly: Intermediate
Time: 30 minutes plus curing time
Cost: Medium
Natural textures can soften a space without adding clutter. A leaf sun catcher keeps that grounded feel while letting light pass through the details.
In bathrooms with warm artificial lighting or limited sun, thinner leaves show their veins more clearly. Using a clear resin layer with a shallow mold and minimal thickness keeps it from looking heavy. The light filters through gently, highlighting the shape instead of blocking it.
One small thing to watch is air bubbles. If they stay trapped, they distract from the leaf detail. Popping them early keeps the surface clean and more transparent.
Materials Needed:
- Flat-pressed leaves
- Clear resin and hardener
- Silicone mold or shallow tray
- Gloves and mixing cup
- String or hook
How to Make It:
Pour a thin resin layer, place the leaf, then cover it fully. Remove bubbles, let it cure, then add a hook or string and hang near a light.
10. Geometric Beaded Sun Catcher

Beginner-friendly: Intermediate
Time: 45 to 90 minutes
Cost: Low to medium
Clean lines can shift the whole look of a space. A geometric beaded sun catcher stands out through shape rather than color.
In bathrooms with bright direct light or reflective surfaces, simple shapes with fewer colors look sharper. Using wire formed into triangles or diamonds with mixed bead sizes along the edges adds subtle texture without clutter. The light hits each angle differently, creating small, crisp reflections.
One detail that improves the result is alignment. If shapes sit unevenly inside the hoop, the design feels off balance. Adjusting spacing before final twisting keeps everything looking structured.
Materials Needed:
- Beads in mixed sizes
- Wire
- Round ring or hoop
- Pliers
How to Make It:
Form shapes with wire, then add beads along the edges and secure the corners. Attach shapes inside the hoop, add a crystal drop if needed, then hang near the light.
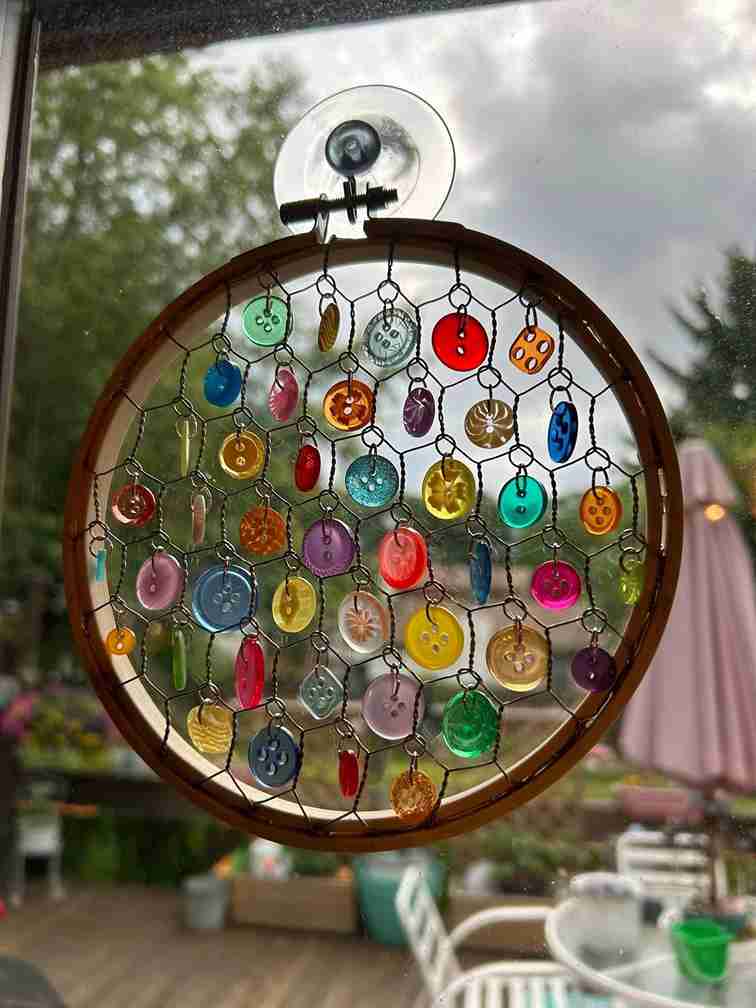
11. Vintage Button Sun Catcher
Beginner-friendly: Yes
Time: 30 to 60 minutes
Cost: Low
Texture can feel just as impactful as shine. A vintage button sun catcher brings a softer glow that feels warm instead of reflective.
In bathrooms with muted lighting or neutral tones, mixed button colors add gentle contrast without overpowering the space. Using fishing line with evenly spaced buttons and a slightly longer center strand helps it hang with a natural shape. The light filters through in a subtle way, giving a cozy look.
One small adjustment helps a lot. If buttons sit too close, they overlap and block light. Leaving small gaps keeps each piece visible and lets the glow come through.
Materials Needed:
- Vintage buttons
- Fishing line or wire
- Hoop or small frame
- Optional clear beads
How to Make It:
Thread buttons and knot after each to keep spacing. Attach strands to a hoop, shape the center slightly longer, then hang where it can move gently.
12. Dreamcatcher Sun Catcher

Beginner-friendly: Yes
Time: 45 to 90 minutes
Cost: Low to medium
Some pieces shift the feel of a room more than others. A dreamcatcher sun catcher blends texture and light, adding a softer visual layer.
In bathrooms with limited wall space or softer lighting, a smaller hoop with a loose web pattern keeps it from looking heavy. Using thin yarn with spaced weaving and a few beads placed within the web helps light pass through. The result feels calm, with gentle movement and subtle reflections.
One detail worth noticing is tension in the weave. If it is pulled too tight, the web looks stiff. Keeping it slightly loose gives a more natural drape and better light flow.
Materials Needed:
- Dreamcatcher ring or embroidery hoop
- String or thin yarn
- Beads
- Feathers
- Optional crystal
How to Make It:
Wrap the ring, then weave a simple web across the center. Add beads and feathers, place a crystal if desired, then hang where it catches light and slight airflow.
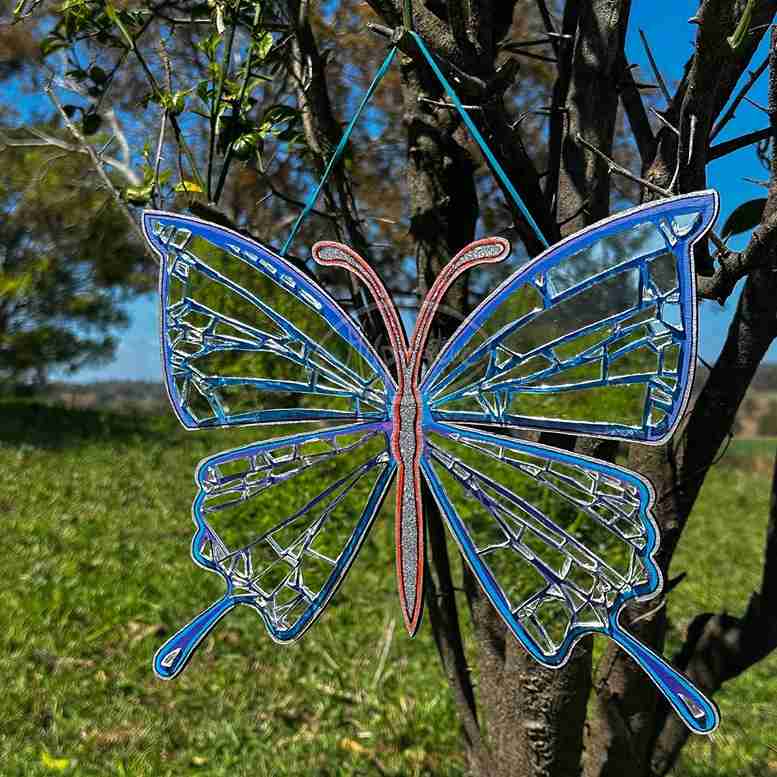
13. DIY Sun Catcher with Mirror Pieces
Beginner-friendly: Intermediate
Time: 45 to 75 minutes
Cost: Medium
Reflection works differently from soft glow. A mirror piece sun catcher throws light back into the room, creating sharper highlights.
In bathrooms with strong afternoon sunlight or reflective surfaces, spaced mirror tiles prevent glare from feeling too intense. Using a clear acrylic base with small gaps between pieces keeps the reflections dynamic instead of flat. The result feels brighter, with light bouncing across walls and fixtures.
One detail that improves the effect is spacing. If mirror pieces sit too close, the reflections merge and lose movement. Leaving small gaps helps each piece catch light separately.
Materials Needed:
- Small mirror pieces or mosaic tiles
- Strong glue
- Clear acrylic base or thick plastic
- Wire or string
How to Make It:
Arrange mirror pieces into your shape, then glue and let them dry fully. Attach a loop at the top, then hang where direct light can hit and reflect outward.
14. Watercolor Paper Sun Catcher

Beginner-friendly: Yes
Time: 30 to 60 minutes
Cost: Low
Color can feel softer when it is not fully solid. A watercolor paper sun catcher brings gentle tones that shift with light instead of reflecting it.
In bathrooms with diffused light or frosted windows, lighter washes and gradients show up more clearly. Using thick watercolor paper with thin paint layers and sealed edges helps it hold shape over time. The result feels calm, with colors that look brighter when sunlight passes through.
One small thing to watch is moisture. If the paper is not sealed, it can warp in humid spaces. Adding a clear layer keeps it flat and easier to maintain.
Materials Needed:
- Watercolor paper
- Watercolors
- Scissors
- Hole punch
- String
- Optional laminating sheet
How to Make It:
Paint soft washes or shapes, then let it dry fully. Cut into shape, seal if needed, then punch a hole and hang near a light.
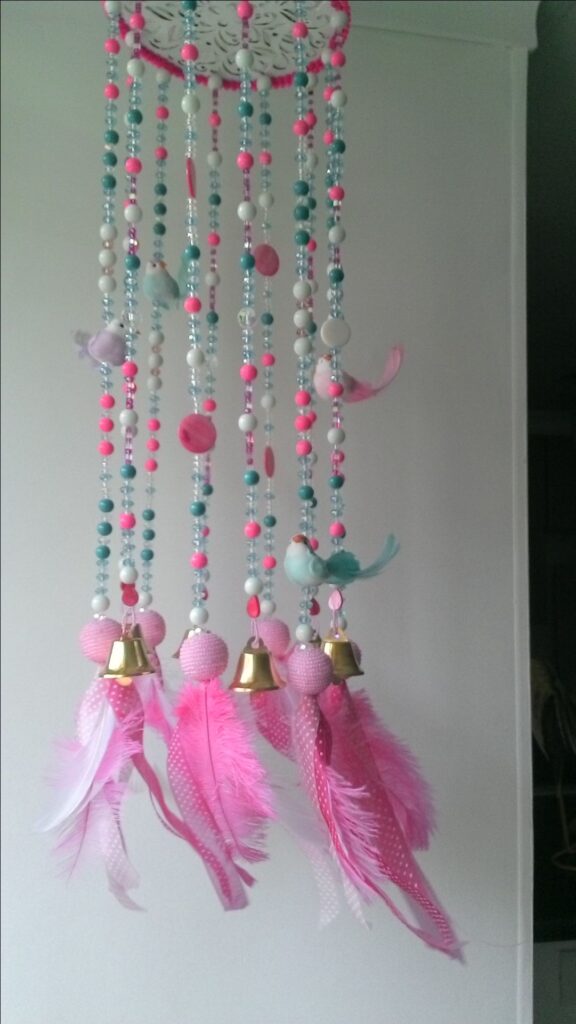
15. Hanging Feather Sun Catcher
Beginner-friendly: Yes
Time: 30 to 60 minutes
Cost: Low to medium
Movement becomes the main feature here. A hanging feather sun catcher adds softness through motion rather than light reflection.
In bathrooms with good airflow or near open windows, lighter feathers respond better and create a steady sway. Using twine with varied strand lengths and a longer center drop keeps the shape balanced. The effect feels airy, with gentle movement that shifts the space subtly.
One detail that helps is weight balance. If the beads are too heavy, they pull the strands unevenly. Keeping the top light and the ends slightly weighted helps it move more naturally.
Materials Needed:
- Feathers
- Twine or string
- Hoop, branch, or dowel
- Optional beads
- Hot glue
How to Make It:
Cut strings at different lengths and attach feathers at the ends. Add beads if needed, tie strands to a hoop, then hang where they can catch a breeze.
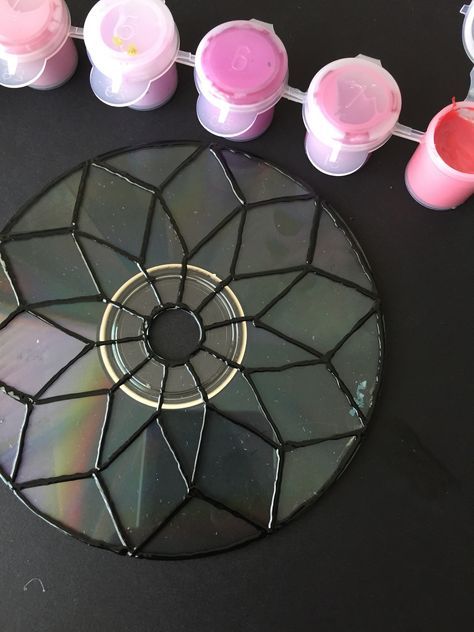
16. Upcycled CD Sun Catcher
Beginner-friendly: Yes
Time: 15 to 30 minutes
Cost: Very low
Some materials already do the work for you. An upcycled CD sun catcher reflects light in shifting rainbow tones without extra effort.
In bathrooms with direct sunlight or strong window exposure, CDs create brighter reflections than most materials. Using a clean surface with minimal paint on one side and a simple string through the center hole keeps the effect clear. The light scatters across walls in small, moving patterns.
One detail to keep in mind is placement. If hung too close to a wall, the reflections feel limited. Leaving a bit of distance allows the light to spread more across the room.
Materials Needed:
- Old CDs or DVDs
- String or fishing line
- Optional paint or stickers
- Scissors
How to Make It:
Clean and decorate the CD if you want. Thread the string through the center, or link multiple CDs, then hang where direct light can hit.
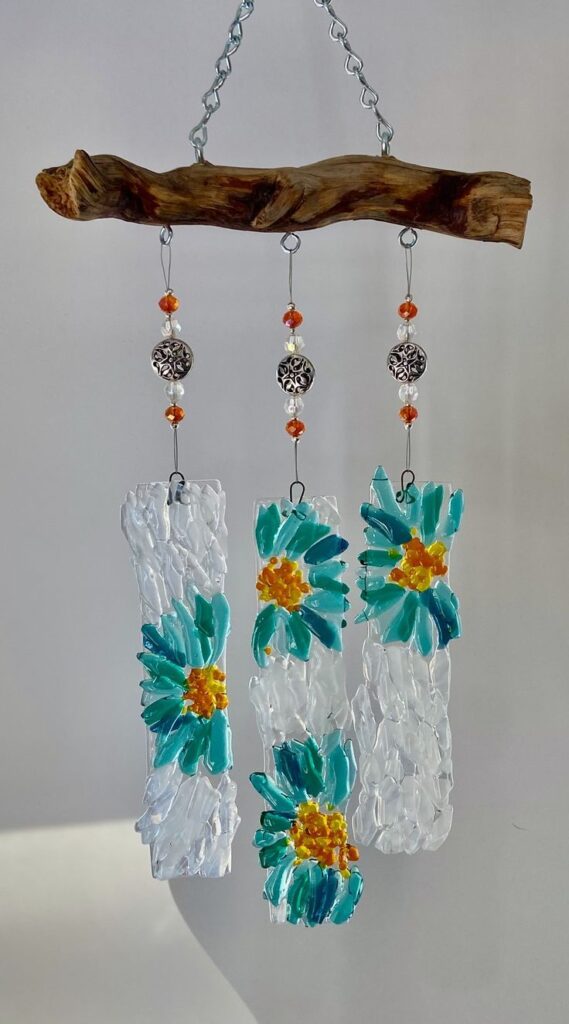
17. Fused Glass Sun Catcher
Beginner-friendly: Advanced or guided class
Time: 1 to 2 hours plus kiln schedule
Cost: Medium to high
Working with heat changes how glass behaves. A fused glass sun catcher has smoother edges and deeper color compared to painted or beaded versions.
In bathrooms with strong daylight or clear windows, layered glass pieces create richer tones when light passes through. Using thin glass sheets arranged on kiln paper with controlled spacing keeps the design from turning too bulky. The final piece feels solid, with colors that glow more evenly.
One detail that matters is thickness. If layers stack too much, the piece can lose transparency. Keeping it balanced helps light move through instead of getting blocked.
Materials Needed:
- Glass sheets or glass frit
- Kiln access
- Glass cutter
- Kiln paper and safety gear
How to Make It:
Arrange glass on kiln paper, keeping edges smooth and layers controlled. Fire in a kiln, let it cool fully, then add a loop and hang where light can pass through.
18. Wooden Bead Sun Catcher

Beginner-friendly: Yes
Time: 20 to 45 minutes
Cost: Low
Not every piece needs shine to stand out. A wooden bead sun catcher adds warmth through texture and natural tones.
In bathrooms with neutral palettes or low contrast lighting, mixed bead sizes create subtle depth without adding visual noise. Using twine with evenly spaced wooden beads and a centered, longer strand keeps the design balanced. The light effect stays soft, giving a calm and grounded feel.
One small upgrade helps here. Adding a single clear bead at the bottom catches light without overpowering the natural look. It keeps the piece simple but not flat.
Materials Needed:
- Wooden beads
- String or twine
- Hoop or wooden ring
- Optional clear crystal bead
How to Make It:
Thread beads in varied sizes, then tie strands onto a ring. Add a center drop if desired, create a loop, and hang near soft sunlight.
19. Pinecone Sun Catcher
Beginner-friendly: Yes
Time: 15 to 30 minutes
Cost: Very low
Natural pieces can shift the mood without relying on light effects. A pinecone sun catcher adds warmth through texture and subtle highlights.
In bathrooms with soft sunlight or warm lighting, pinecones develop a richer tone as light hits the edges. Using a clean, dried pinecone with light metallic paint or fine glitter on the tips enhances the detail without covering it. The result feels cozy, with a gentle glow rather than reflection.
One small thing to check is dryness. If the pinecone is not fully dry, it can close slightly over time. Letting it air dry longer keeps the shape open and more defined.
Materials Needed:
- Pinecones
- Ribbon or string
- Hot glue
- Optional glitter or metallic paint
How to Make It:
Clean and dry the pinecone, then add paint or glitter if needed. Glue ribbon at the top, let it set, then hang one or group a few at different heights
20. Copper Wire Sun Catcher
Beginner-friendly: Yes
Time: 30 to 60 minutes
Cost: Low to medium
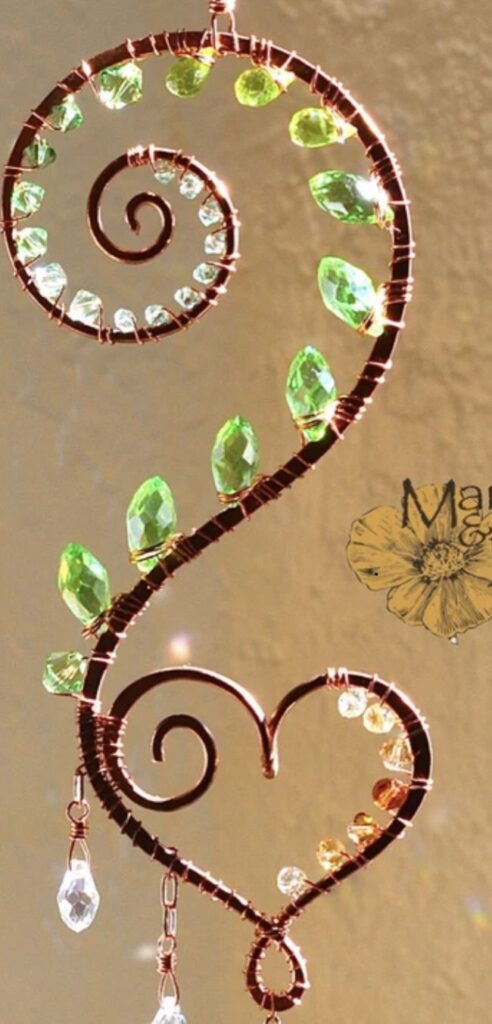
Metal can bring warmth without adding bulk. A copper wire sun catcher stands out through its natural tone and clean structure.
In bathrooms with direct sunlight or warm lighting, copper develops a soft glow that deepens over time. Using a thin wire shaped into spirals or a simple sunburst with smooth bends keeps the design refined. The light catches along the curves, creating a subtle shine instead of sharp reflections.
One detail to watch is the finish. Raw copper can darken with moisture. Sealing it lightly or polishing now and then helps maintain that warm tone.
Materials Needed:
- Copper wire
- Pliers
- Optional beads or a crystal drop
How to Make It:
Shape the wire into loops or a sunburst, then secure the ends with pliers. Add beads if needed, create a top loop, and hang where light can hit directly.
21. Mini Terrarium Sun Catcher
Beginner-friendly: Yes
Time: 30 to 45 minutes
Cost: Low to medium
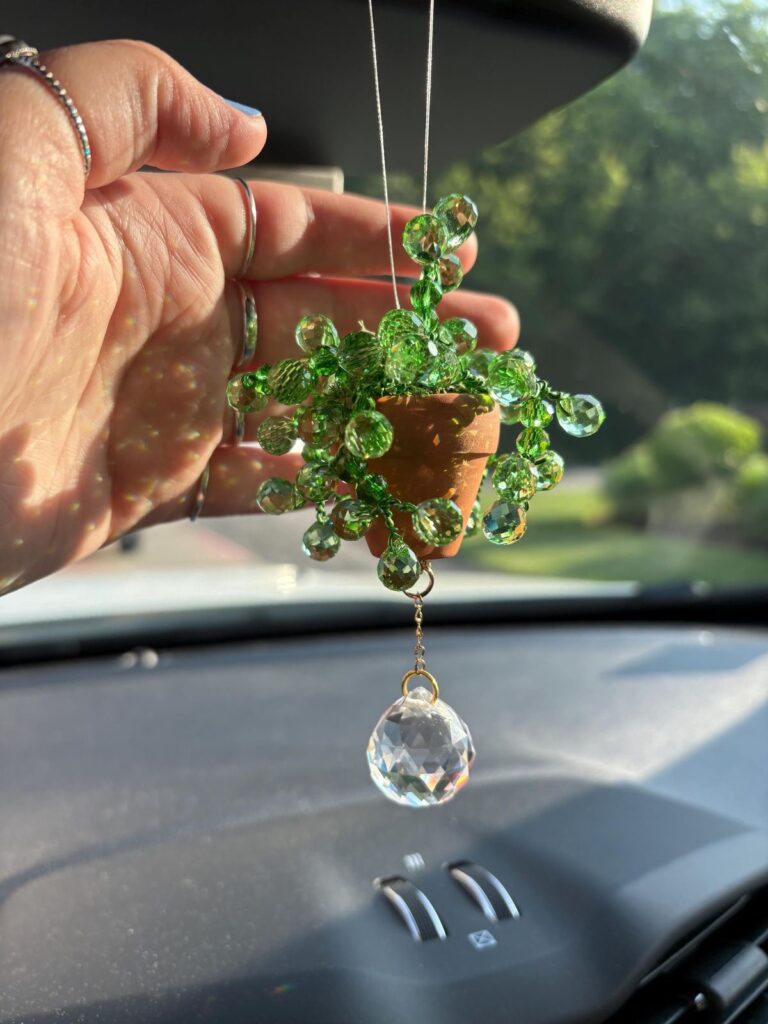
Living elements can change how a space feels. A mini terrarium sun catcher adds both greenery and light in one small piece.
In bathrooms with limited ventilation or humidity, air plants handle the environment better than soil-based ones. Using a small glass container with a thin base layer of stones and light moss keeps it from getting too heavy. The light passes through the glass, giving a soft, natural glow around the plant.
One detail to keep in mind is weight. If layers are too thick, it strains the hanging point. Keeping it minimal helps it stay balanced and easier to maintain.
Materials Needed:
- Small glass container or ornament
- Air plants or tiny plants
- Stones, sand, or moss
- String or wire
How to Make It:
Layer stones, add moss and plant, keeping it light. Secure with a string or a hook, then hang near bright natural light.
22. Plastic Bottle Sun Catcher
Beginner-friendly: Yes
Time: 20 to 40 minutes
Cost: Very low
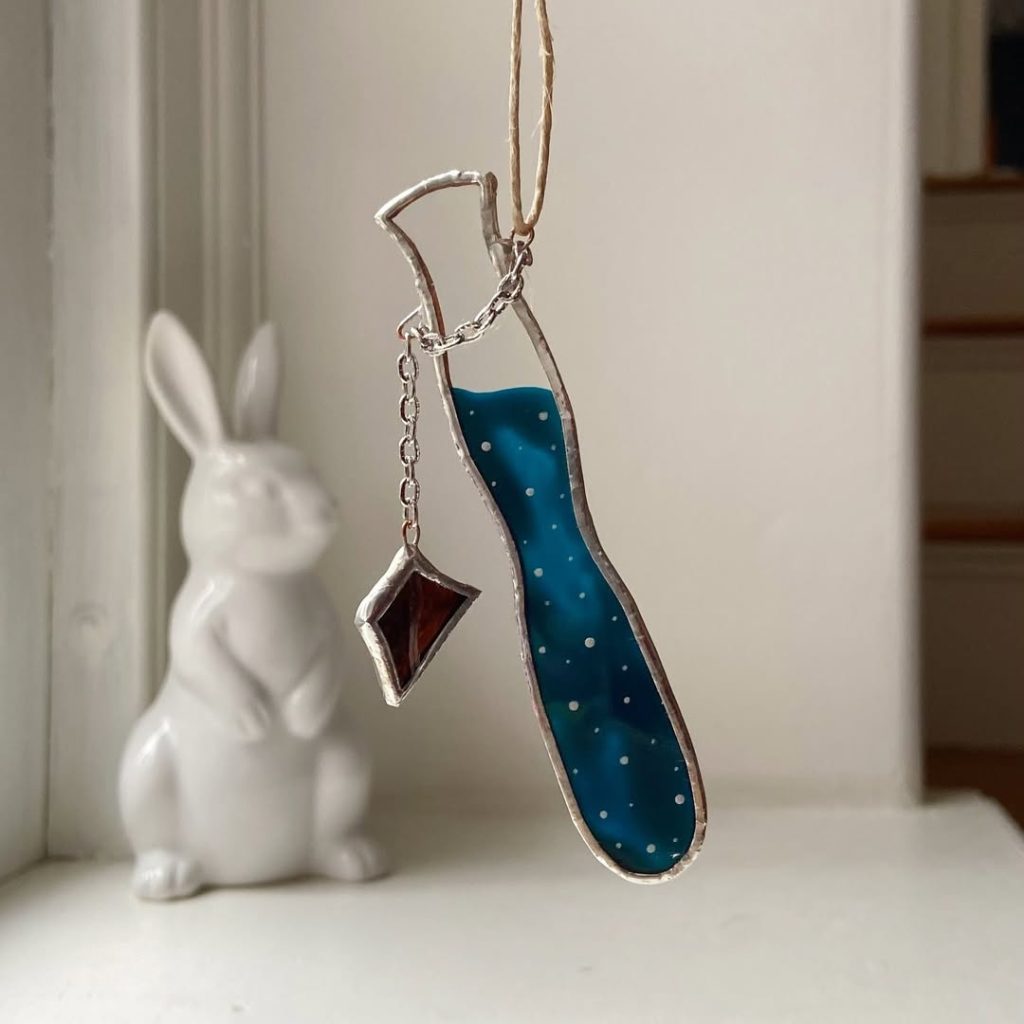
Simple materials can still create strong light effects. A plastic bottle sun catcher works well because the surface lets light pass through easily.
In bathrooms with bright windows or mixed lighting, leaving parts clear helps the colors stand out more. Using cut plastic shaped into petals or spirals with light marker layers keeps the design from looking too dense. The light shines through clean areas and creates a better effect.
One small trick improves the result. If everything is fully colored, the piece looks flat. Keeping some sections transparent makes the light feel sharper and more lively.
Materials Needed:
- Plastic bottle
- Scissors
- Paint or markers
- String
- Hole punch or heated skewer
How to Make It:
Cut the bottle into shapes, then color lightly and let it dry. Punch holes, connect pieces with a string, then hang where light can pass through.
23. Beaded Heart Sun Catcher
Beginner-friendly: Yes
Time: 30 to 60 minutes
Cost: Low
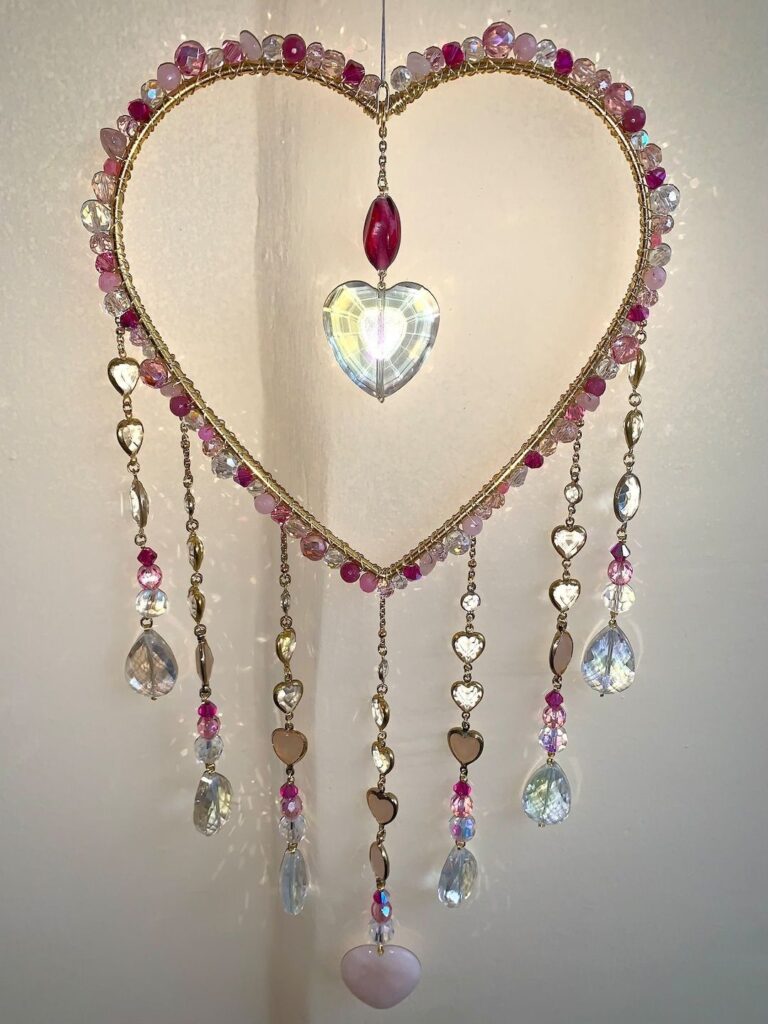
Shape plays a big role in how this piece feels. A beaded heart suncatcher adds a softer detail without making the space look overly decorated.
In bathrooms with soft lighting or neutral tones, lighter bead colors keep the shape visible without feeling heavy. Using a thin wire frame filled with spaced bead strands or wrapped edges keeps the design clean. The light catches on each bead, creating a gentle shimmer instead of strong reflections.
One small adjustment makes a difference. Mixing a few clear beads with colored ones adds light without making the piece look too bright. It keeps the balance subtle.
Materials Needed:
- Heart-shaped wire frame or craft wire
- Beads
- Pliers
- String or wire
How to Make It:
Form a heart shape or use a ready frame, then add beads by wrapping or filling the center.
Create a loop at the top, then hang it where light can pass through.
Continue Your Creative Projects
• DIY Memory Box Ideas
• DIY Sewing Gift Ideas
• DIY Outdoor Fairy Garden Ideas
• DIY Garden Ideas
Frequently Asked Questions
What Are Sun Catchers Used For?
Sun catchers are used to reflect, filter, or soften natural light inside a space. Depending on the material, they can create rainbow reflections, a gentle glow, or subtle highlights. In bathrooms or small rooms, they help add visual interest without taking up surface space.
Where Should You Hang A Sun Catcher?
Sun catchers work best near windows that receive direct or partial sunlight. In low-light bathrooms, placing them slightly away from the glass helps spread light more evenly across the space instead of concentrating it in one spot.
Which Materials Work Best For Sun Catchers?
Clear or reflective materials like glass, crystals, and acrylic create stronger light effects. Softer materials like wood, paper, or fabric add texture and warmth. The choice depends on whether you want sparkle, glow, or a more muted look.
Can Sun Catchers Be Used In Bathrooms?
Yes, but material choice matters. Humidity can affect paper, untreated wood, or metal over time. Using sealed surfaces, resin, or glass helps maintain durability in bathrooms with higher moisture levels.
How Do You Make A Sun Catcher Last Longer?
Keeping it away from constant moisture and cleaning it gently help maintain clarity and color. Sealing porous materials and securing knots or wire properly prevent damage and keeps the shape intact over time.
Do Sun Catchers Need Direct Sunlight?
Direct sunlight creates stronger reflections, but it is not required. Many designs still look good in indirect or diffused light. Choosing lighter colors or transparent materials helps maintain visibility even without strong sun exposure.