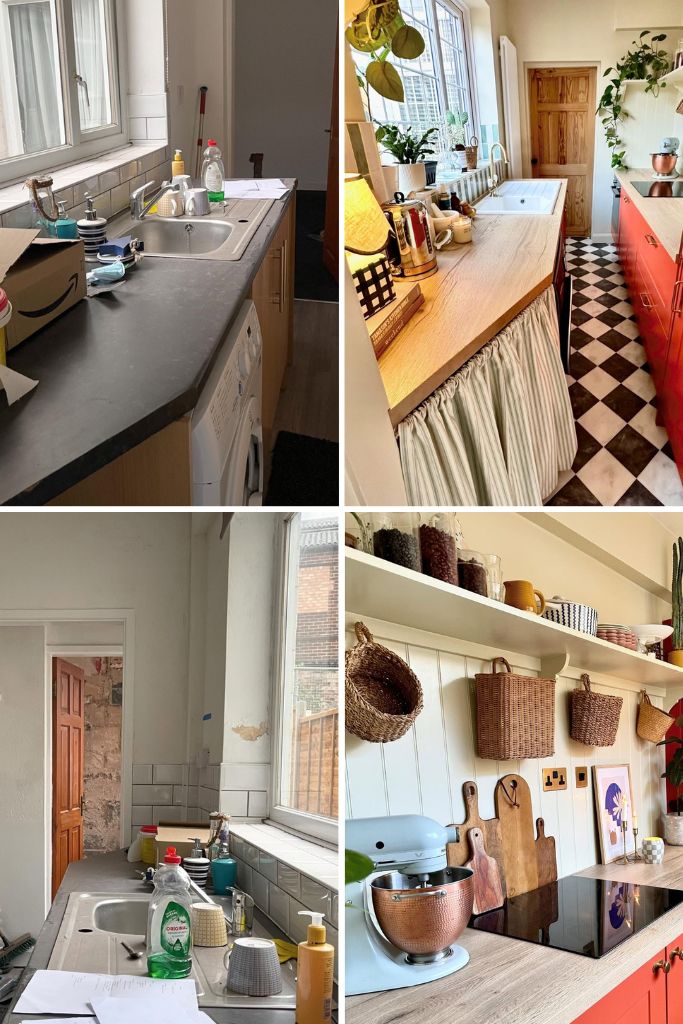
How to Paint Kitchen Cabinets: A Complete DIY Guide for 2026

This post contains affiliate links, and we will be compensated if you buy after clicking on our links. Read our disclaimer.
Read our editorial process
Thinking about replacing your kitchen cabinets? You might be surprised how much a fresh coat of paint can transform your kitchen for a fraction of the cost. Many homeowners spend thousands on new cabinets, but a weekend project and the right materials can make old cabinets look brand new.
If you’ve been searching for how to paint kitchen cabinets, you’re not alone. Cabinet painting remains one of the most popular kitchen updates because it costs much less than replacement.
The trick is using the best paint for kitchen cabinets and following the right steps from start to finish. There are endless cabinet painting ideas online, but not all of them lead to durable results.
Many DIY cabinet projects fail because people skip prep work, choose the wrong paint, rush drying times, or use the wrong finish. Experts agree that preparation is the biggest factor in whether painted cabinets last for years or start peeling after a few months.
By the end of this guide, you’ll know how to paint kitchen cabinets step by step, whether sanding is necessary, which paints work best in 2026, and how to get a smooth, factory-like finish that lasts.
Should You Paint or Replace Kitchen Cabinets?
Replacing kitchen cabinets can completely change a space. The problem is cost. A full cabinet replacement often costs several thousand dollars once labor, materials, and installation are included.
Painting is much more affordable. Many DIY homeowners spend between $200 and $600 on supplies, while professional cabinet refinishing commonly ranges from $2,000 to $6,500. Full cabinet replacement can cost much more, depending on the kitchen size and materials.
That makes painting one of the best upgrades for a kitchen renovation on a budget.
Before you start, look closely at your cabinets. Strong cabinet boxes and solid doors are good signs that painting makes sense. If the cabinets are warped, water-damaged, or falling apart, replacement may be the better choice.
A cabinet makeover works best when the structure is still in good shape. Even older cabinets can look modern with fresh paint and updated hardware.
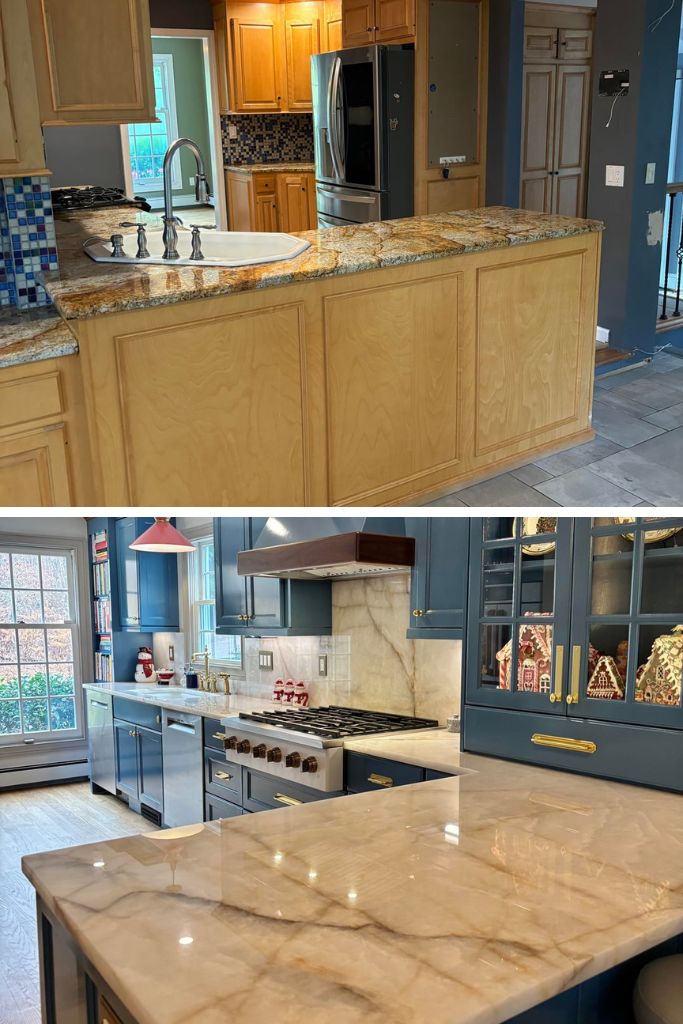
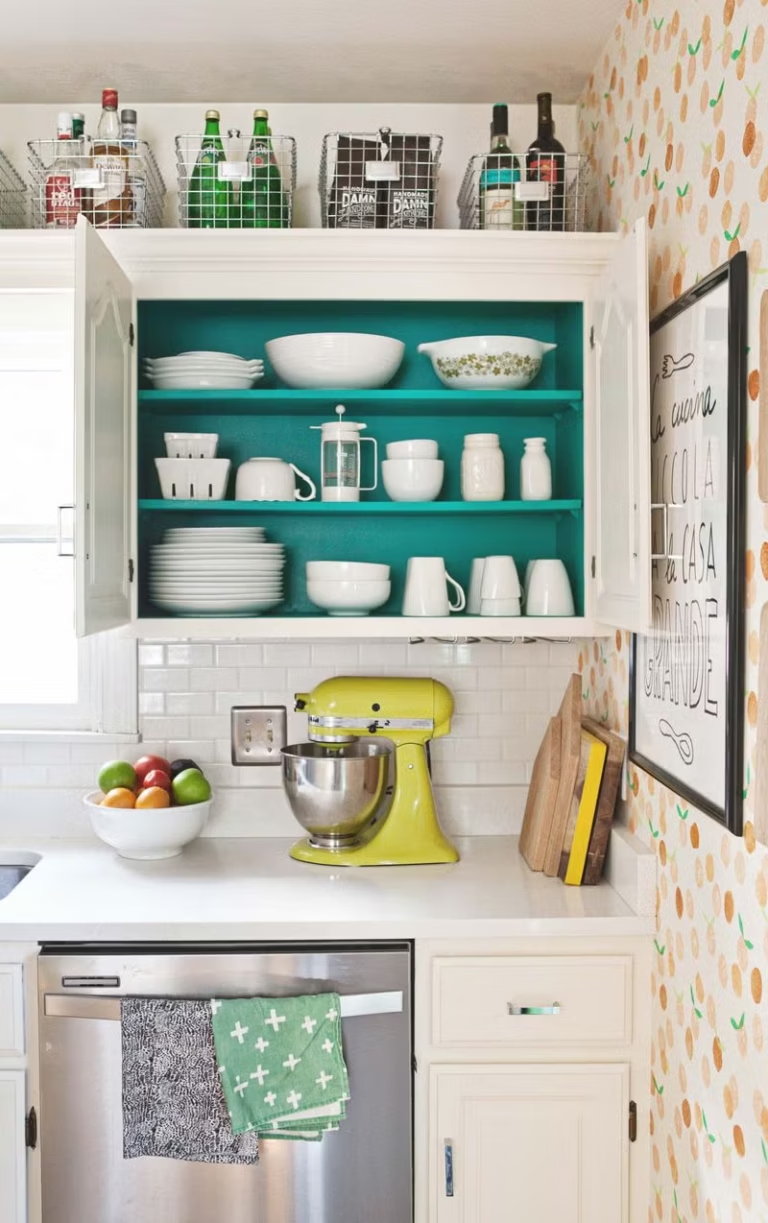
Painted kitchen cabinets can completely change the feel of a room. White brightens dark spaces. Green adds warmth. Deep blue creates contrast. The right paint color often delivers the look of a new kitchen without the huge price tag.
What Type of Cabinets Can Be Painted?
Most kitchen cabinets can be painted, but the preparation method changes depending on the material.
Solid Wood Cabinets
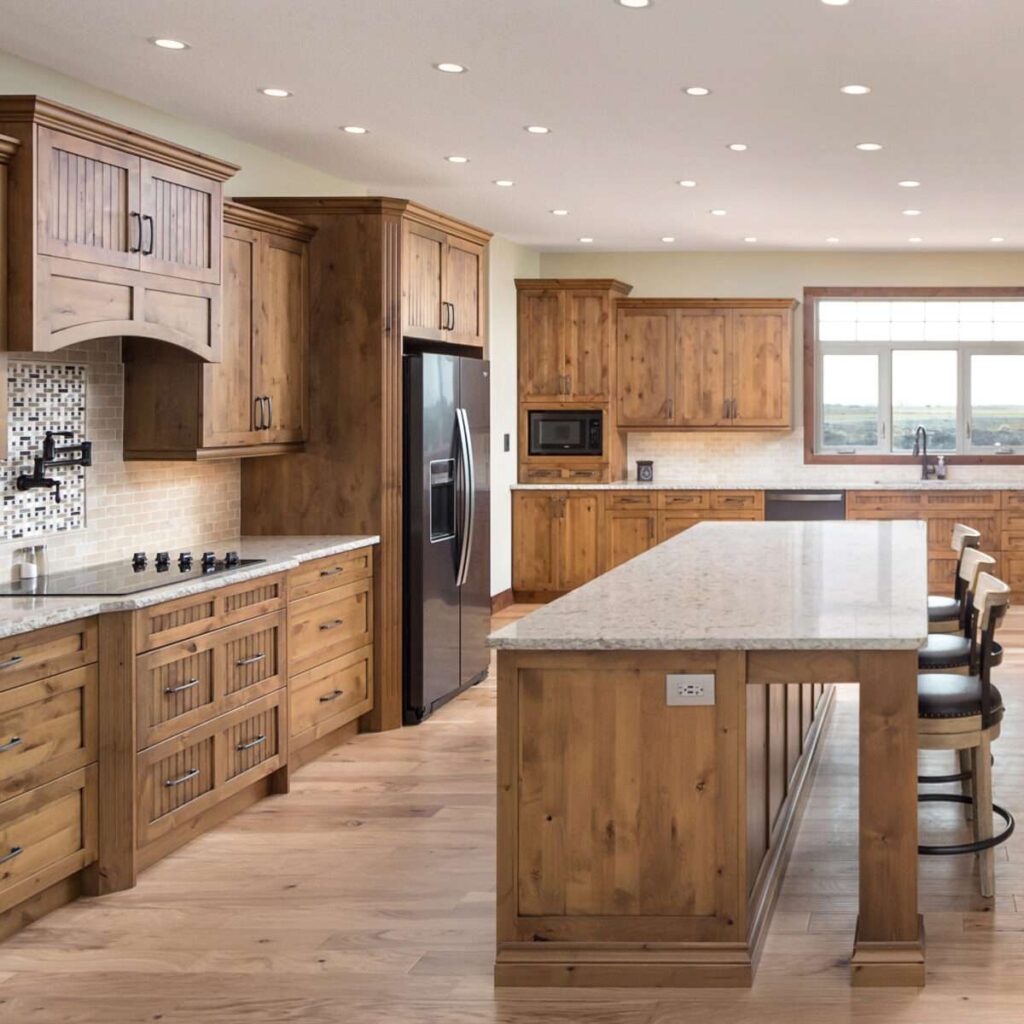
Solid wood is usually the easiest surface to paint. It sands well and accepts primer easily. If your cabinets are made from oak, maple, cherry, or birch, painting is often a great option.
MDF Cabinets
Many modern kitchens use MDF, which stands for medium-density fiberboard. You can paint MDF cabinets successfully, but the edges often absorb paint quickly. Sealing those edges with primer helps create a smooth finish.
Laminate Cabinets
You can paint laminate cabinets, but preparation matters more. Laminate has a slick surface that paint struggles to grip. A high-quality bonding primer is often necessary for good adhesion.
Veneer Cabinets
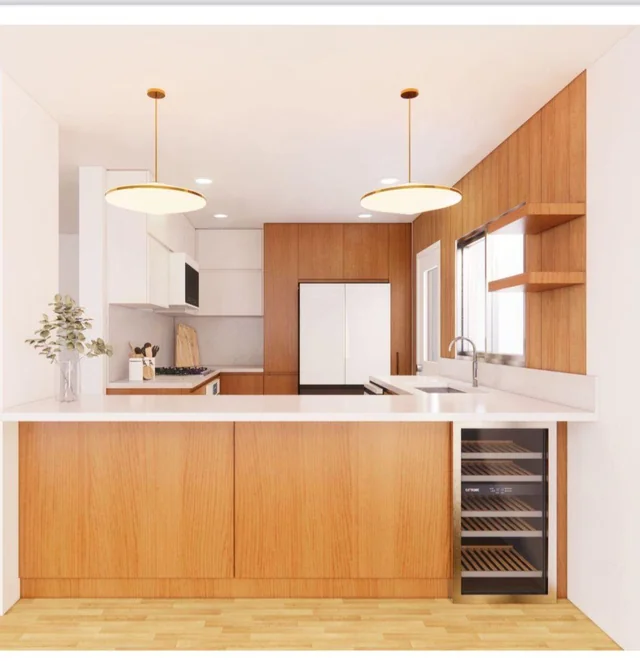
Veneer cabinets have a thin layer of real wood over another material. They can be painted, but they require gentle sanding to avoid damaging the surface.
Before buying paint, identify your cabinet materials. The right preparation method depends on what your cabinets are made of, and that can make the difference between a durable finish and peeling paint.
Tools and Materials You Need Before Starting
Having the right cabinet paint supplies before you begin saves time and frustration later.
Cleaning Supplies
- Degreaser
- TSP substitute cleaner
- Microfiber cloths
- Bucket and sponge
Kitchen cabinets collect grease over time, especially near stoves. Paint sticks poorly to oily surfaces.
Prep Supplies
- Painter’s tape
- Drop cloths
- Screwdriver
- Sandpaper (120 to 220 grit)
- Tack cloth or vacuum
Painting Supplies
- Bonding primer
- Cabinet paint
- Foam roller
- Angled brush
- Paint tray
Optional Tools
- Paint sprayer
- Random orbital sander
- Drying rack for cabinet doors
When choosing the best paint for kitchen cabinets, durability matters. Cabinet doors get touched every day, so regular wall paint often does not hold up well.
Popular choices in 2026 include:
- Sherwin-Williams Emerald Urethane Trim Enamel
- Benjamin Moore Advance
- Behr Cabinet, Door & Trim Enamel
These paints are widely recommended because they level out smoothly and resist chipping better than many standard paints.
Spending a little more on quality paint usually saves money later because you are less likely to repaint sooner.
How to Prep Kitchen Cabinets for Paint
Cabinet Paint Prep
Label Everything
Remove doors, drawers, and hardware completely. Use numbered painter’s tape to map each element for fast reinstallation later.
Deep Degreasing
Kitchen grease is the top cause of peeling paint. Thoroughly clean all surfaces using a TSP substitute or heavy degreaser.
Scuff-Sanding
Do not strip the old finish entirely. Use 120 to 150 grit sandpaper to scuff the surface so the new primer can actively grip.
De-Dust Thoroughly
Tiny particles ruin smooth finishes. Completely vacuum the workspaces and follow up with a tack cloth to catch micro-debris.
If you want to learn how to paint kitchen cabinets successfully, preparation is where most of the work happens. Many professionals say cabinet painting is mostly prep work, and only a small part is painting.
Start by removing all cabinet doors and drawers. Lay them flat in a separate workspace if possible.
Next, label every door and drawer. A small piece of painter’s tape with numbers can save hours during reinstallation.
Remove hinges, knobs, and handles. Store hardware in labeled bags so nothing gets lost.
Now it’s time to clean. This step is often skipped, but grease is one of the biggest causes of paint failure. Use a degreaser or TSP substitute to thoroughly degrease kitchen cabinets, especially around cooking areas.
Once the cabinets are clean and dry, lightly sand the surfaces. You do not need to remove all the old finish. The goal is to create a slightly rough surface that primer can grip.
If you’re planning to sand cabinets before painting, use 120 to 150 grit sandpaper for initial sanding.
After sanding, vacuum every surface carefully and wipe away dust with a tack cloth. Even small dust particles can leave bumps in the final finish.
Taking extra time to prep cabinets for painting may not be exciting, but it is often the difference between cabinets that last for years and cabinets that begin peeling after a few months.
Do You Need to Sand Cabinets Before Painting?
One of the most common questions homeowners ask is whether they can paint kitchen cabinets without sanding. The honest answer is: sometimes, but sanding is still the safer choice for long-lasting results.
Sanding creates tiny scratches on the surface that help primer and paint stick better. This is called adhesion. Better adhesion means less peeling and chipping later.
For most cabinets, a light scuff sanding with 100 to 150 grit sandpaper is enough before priming. You are not trying to remove all the old finish. You only want to dull glossy surfaces.
There are situations where you may be able to skip sanding. Some bonding primers and liquid deglosser products are designed to stick to slick surfaces. A liquid deglosser can remove shine and prepare cabinets for paint without creating dust.
Still, sanding is hard to avoid if your cabinets have peeling finishes, heavy grease buildup, or visible damage.
Glossy cabinets especially benefit from scuff sanding before primer. Even paint manufacturers like Benjamin Moore and retailers like Lowe’s recommend light sanding for stronger adhesion.
If you want the best chance of getting durable cabinets that look professional, sanding remains one of the smartest steps you can take.
Choose the Best Primer for Kitchen Cabinets
Paint gets most of the attention, but primer does a lot of the heavy lifting. A good cabinet primer helps paint stick, blocks stains, and creates a smooth surface.
There are three main types of primers used for cabinets.
Oil-Based Primers
Oil-based primers are known for strong adhesion and stain blocking. They work well on wood cabinets with knots or stains. The downside is longer drying times and stronger odors.
Shellac Primers
Shellac primers dry very fast and seal difficult surfaces. They are often used when cabinets have smoke damage, water stains, or strong odors.
Bonding Primers
Bonding primer is popular for laminate, MDF, and glossy cabinets because it sticks to surfaces that regular primers struggle with.
Some of the best primers for cabinets in 2026 include:
- Zinsser BIN
- Zinsser Cover Stain
- STIX Bonding Primer
If your cabinets are laminate or have a factory finish, a high-quality bonding primer can make a huge difference in durability.
No matter which primer you choose, apply thin, even coats and allow full drying time before painting.
How to Paint Kitchen Cabinets Step by Step
Cabinet Painting Steps
1. Thin Coat Primer
Apply one thin coat of primer using foam rollers on flats and angled trim brushes in profiles. Avoid thickness to prevent unsightly texture traps.
2. Inter-Coat Sanding
Once dried, lightly buff the primer coat with 220-grit sandpaper to slice off minor imperfections. Finish with a pristine tack cloth sweep.
3. Initial Color Laydown
Apply your baseline coat. Prioritize thin, self-leveling layers over heavy coverage to naturally minimize running drips and lap streaks.
4. Secondary Color Layer
Lay down a second full coat. This layer locks in your absolute color consistency and durability. Inspect under sharp, cross-angled lighting.
5. Protect the Cure
Dry paint is fragile. True molecular curing takes several days to weeks. Restrict rough physical use to stop surface dynamic scratching.
Now comes the part most people look forward to. Once the prep work is done, painting becomes much easier.
This cabinet painting guide follows the same process used by many professionals.
Step 1: Prime the Cabinets
Apply one thin coat of primer using a foam roller for flat surfaces and an angled brush for corners and detailed areas.
Avoid thick coats. Thick primer takes longer to dry and may leave texture behind.
Allow the primer to dry completely according to the manufacturer’s instructions.
Step 2: Sand the Primer
After the primer dries, lightly sand the surface using 220-grit sandpaper.
This removes small imperfections and creates an ultra-smooth finish.
Wipe away dust with a tack cloth before moving on.
Step 3: Apply the First Coat of Paint
When learning how to paint kitchen cabinets, thin coats are your best friend.
Use:
- Brush for edges and details
- Foam roller for flat areas
- Sprayer for the smoothest finish
Do not overload the brush or roller. Thin coats level better and reduce drips.
Allow the paint to dry fully before applying another coat.
Step 4: Apply the Second Coat
Most cabinet painting projects require:
- 1 coat of primer
- 2 coats of paint
The second coat improves color consistency and durability.
Inspect the surface under good lighting and touch up any missed spots.
Step 5: Let Cabinets Cure Properly
Dry and cured are not the same thing.
Paint may feel dry within a few hours, but full curing often takes several days or even weeks, depending on temperature and humidity.
Avoid heavy use during the curing period. Being patient here helps prevent scratches and fingerprints.
Following these paint cabinets step-by-step instructions can give you results that look surprisingly close to factory-finished cabinets.
Brush, Roller, or Sprayer: Which Gives the Best Finish?
The tool you use affects the final look of your cabinets.
| Method | Pros | Cons |
|---|---|---|
| Brush | Affordable and simple | May leave brush marks |
| Roller | Beginner friendly | Can create slight texture |
| Sprayer | Smooth factory finish | Requires more prep |
Brushes work well for detailed cabinet doors and corners. A high-quality angled brush can reduce visible marks.
Foam rollers are popular with DIY homeowners because they are easy to use and create smoother finishes than standard rollers.
If you want the smoothest finish possible, many professionals spray paint cabinets. Sprayers produce very even coats, but they require masking and extra setup.
For most homeowners, the roller vs sprayer cabinets debate comes down to time and budget. Rollers are easier. Sprayers often deliver the best appearance.
Best Paint Colors for Kitchen Cabinets in 2026
2026 Cabinet Trends
Warm White
Replacing sterile bright white, these creamy tones provide a cozy look that pairs elegantly with wood and natural stone accents.
Mushroom Taupe
An earthy, sophisticated neutral that injects an instantly organic warmth into both modern and traditional layouts.
Sage Green
A natural color holding its top-tier status by bringing a calm, grounded atmosphere directly into busiest areas.
Deep Blue
Rich navy and blue-grays yield dramatic contrast and architectural weight, especially when styled alongside glowing brass hardware.
Olive Green
Brings targeted historic personality while performing like an adaptable warm neutral background choice.
Kitchen cabinet colors continue to move toward warmth and personality in 2026.
Pure bright white is becoming less common as homeowners choose softer and warmer shades.
Warm White
Warm whites create a clean look without feeling cold. They pair well with wood accents and natural stone.
Mushroom Taupe
This earthy neutral adds warmth and works in both modern and traditional kitchens.
Sage Green
Sage remains one of the most popular painted cabinet trends because it feels calm and natural.
Deep Blue
Deep navy and blue-gray cabinets add richness and contrast, especially with brass hardware.
Olive Green
Olive brings warmth and character while still acting like a neutral.
If you’re collecting cabinet painting ideas, choose colors that work with your flooring, countertops, and lighting. Paint samples on large boards before committing to a color.
Natural light can change how paint looks throughout the day.
12 Mistakes to Avoid When Painting Kitchen Cabinets
Critical Cabinet Errors
Pre-Stripping Amnesia
Skipping degreasing, un-mounting hardware, or failing to label faces causes catastrophic layer bond failure and alignment delays.
Bypassing Primer
Omitting dedicated undercoats or using standard flat wall paint means your finishes will likely peel clean off within brief usage cycles.
Overloaded Coats
Applying heavy layers to rush completion yields sagging, permanent running drips, and severely compromised curing timelines.
Matte Paint Selection
Matte look profiles trap kitchen oils and micro-grease. Industry experts choose satin or semi-gloss to combine long-term wear durability with effortless wiping.
Even good paint cannot fix poor preparation. Avoid these common cabinet painting mistakes.
- Skipping the cleaning step.
- Forgetting to label doors.
- Not removing hardware.
- Skipping primer.
- Using regular wall paint.
- Applying thick coats.
- Ignoring sanding.
- Painting in high humidity.
- Rushing drying times.
- Reinstalling doors too early.
- Using matte finishes.
- Skipping touch-ups.
Matte paint often looks beautiful at first but may not clean easily in busy kitchens.
Many experts recommend satin or semi-gloss finishes because they balance durability and appearance.
Avoiding these painted cabinet problems can save you time, money, and frustration.
Frequently Asked Questions
Can you paint cabinets without sanding?
Yes, in some cases. Bonding primers and liquid deglossers may help. However, light sanding usually provides better adhesion and longer-lasting results.
How long do painted cabinets last?
When properly prepared and painted with cabinet-grade products, painted cabinets can last eight to fifteen years or longer.
What is the best finish for kitchen cabinets?
Satin and semi-gloss finishes are the most popular choices because they resist moisture and clean easily.
How much does cabinet painting cost?
DIY cabinet painting typically costs between $200 and $600, depending on kitchen size and product quality. Professional refinishing often costs several thousand dollars.
How long before cabinets fully cure?
Most cabinet paints feel dry within hours, but complete curing can take several days or even up to thirty days, depending on the paint.
Conclusion
Painting kitchen cabinets is one of the most affordable ways to refresh your kitchen without spending thousands on replacement. The biggest secret is simple: preparation matters more than paint.
Clean thoroughly. Sand when needed. Use a quality primer and cabinet-grade paint. Apply thin coats and give the finish enough time to cure.
Ready to transform your kitchen? Start with one cabinet door as a test before tackling the entire kitchen.
Explore More Kitchen Upgrade Guides
• How to Clean Grease Off Cabinets
• How to Organize Kitchen Cabinets
• Luxury Kitchen Design Ideas
• Blue Kitchen Builder Grade To Custom Renovation