Paper Toadstools: Turn Recycled Toilet Rolls Into Adorable Woodland Decor

This post contains affiliate links, and we will be compensated if you buy after clicking on our links. Read our disclaimer.
Read our editorial process
Autumn is the perfect season to slow down and enjoy simple crafts together. A few recycled materials can quickly become decorations that brighten your home.
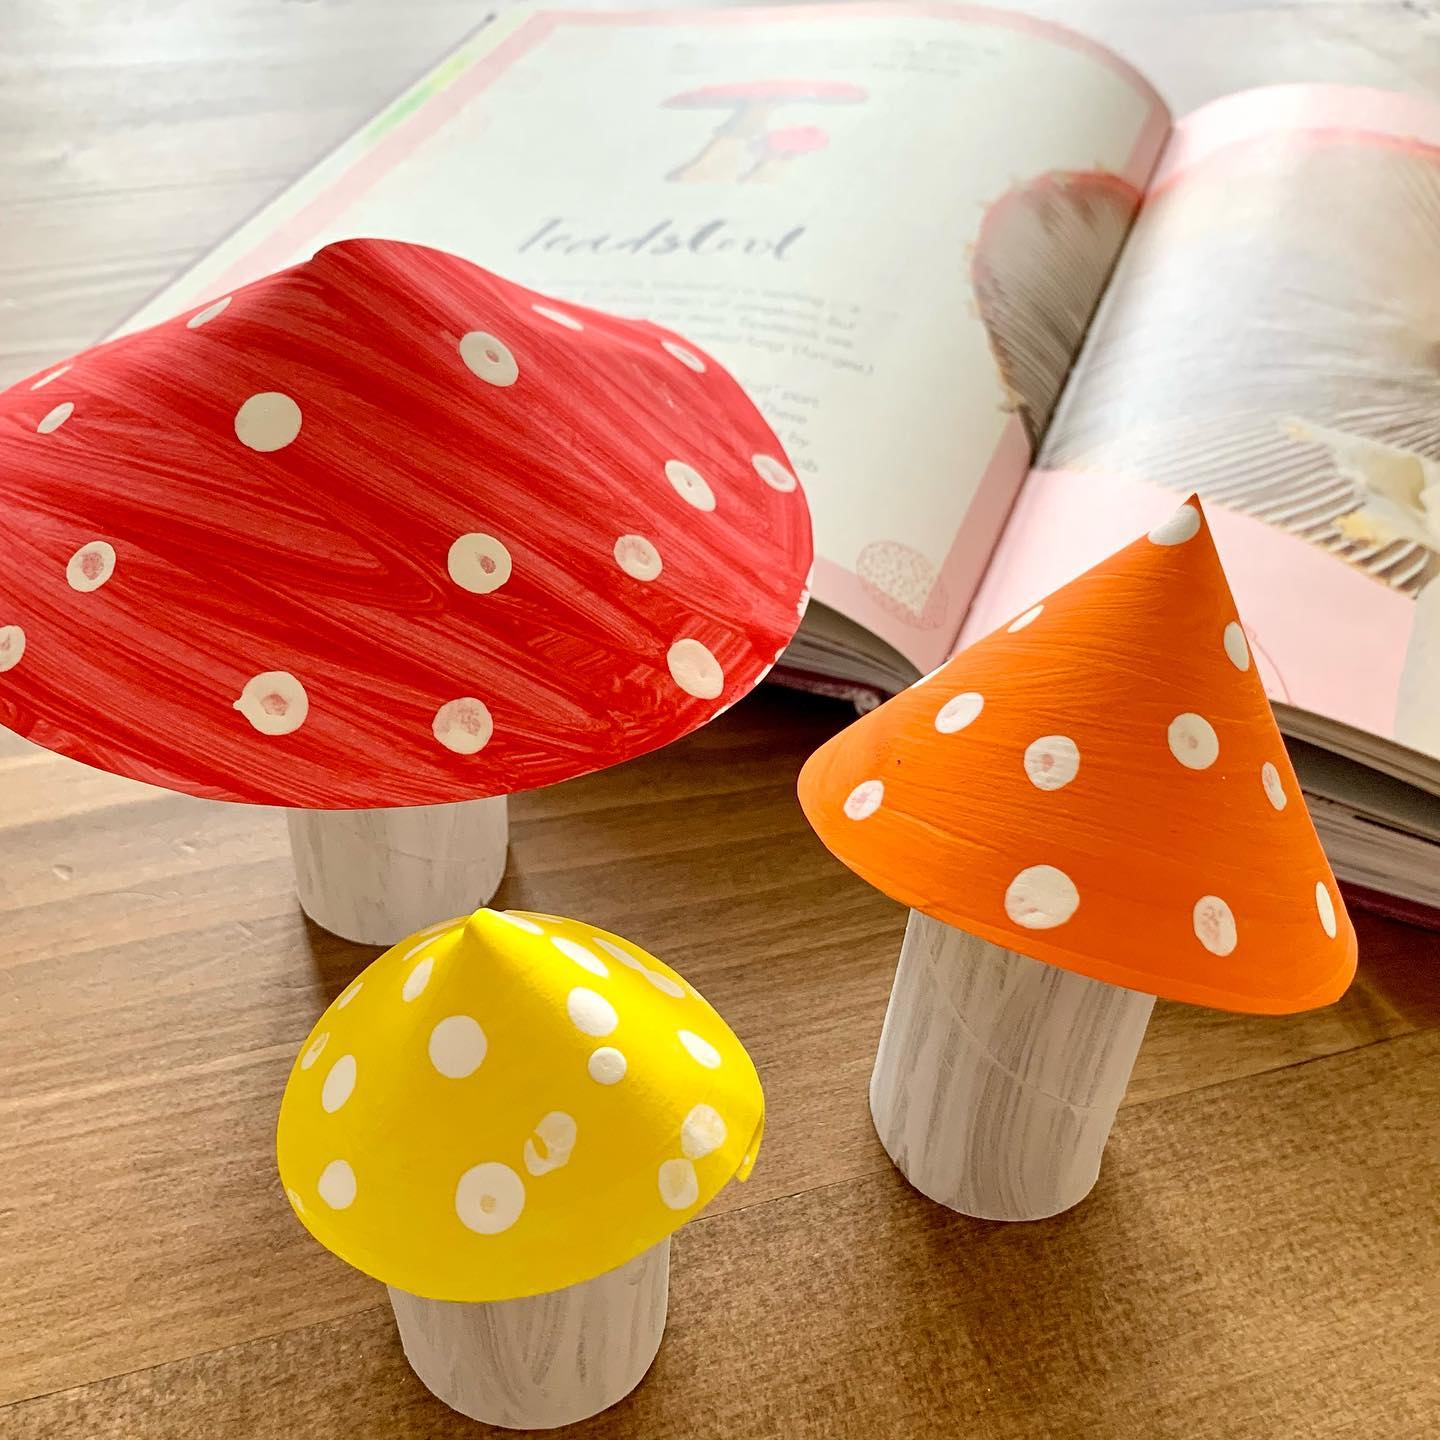
Paper Toadstools prove that creative projects do not need expensive supplies. Toilet roll tubes, cardstock, and paint come together to create cheerful woodland mushrooms.
Children can paint, stamp, and assemble each mushroom while practicing fine motor skills. The finished pieces also make lovely decorations for shelves, nature tables, or seasonal displays.
Every mushroom turns out a little different. Those small variations give the collection its handmade charm and make the project even more enjoyable.
Materials You’ll Need
Gather these supplies before you begin.
How Long Does It Take to Make These Paper Toadstools?
One mushroom usually takes about 20 to 35 minutes to complete. Paint drying time may add another 15 to 30 minutes.
Making several at once is often quicker. You can paint every piece together and assemble them after everything has dried.
How to Make Paper Toadstools
These mushrooms come together in a few easy steps. Paint the stems, decorate the caps, then glue everything together.
Step 1: Gather Your Supplies
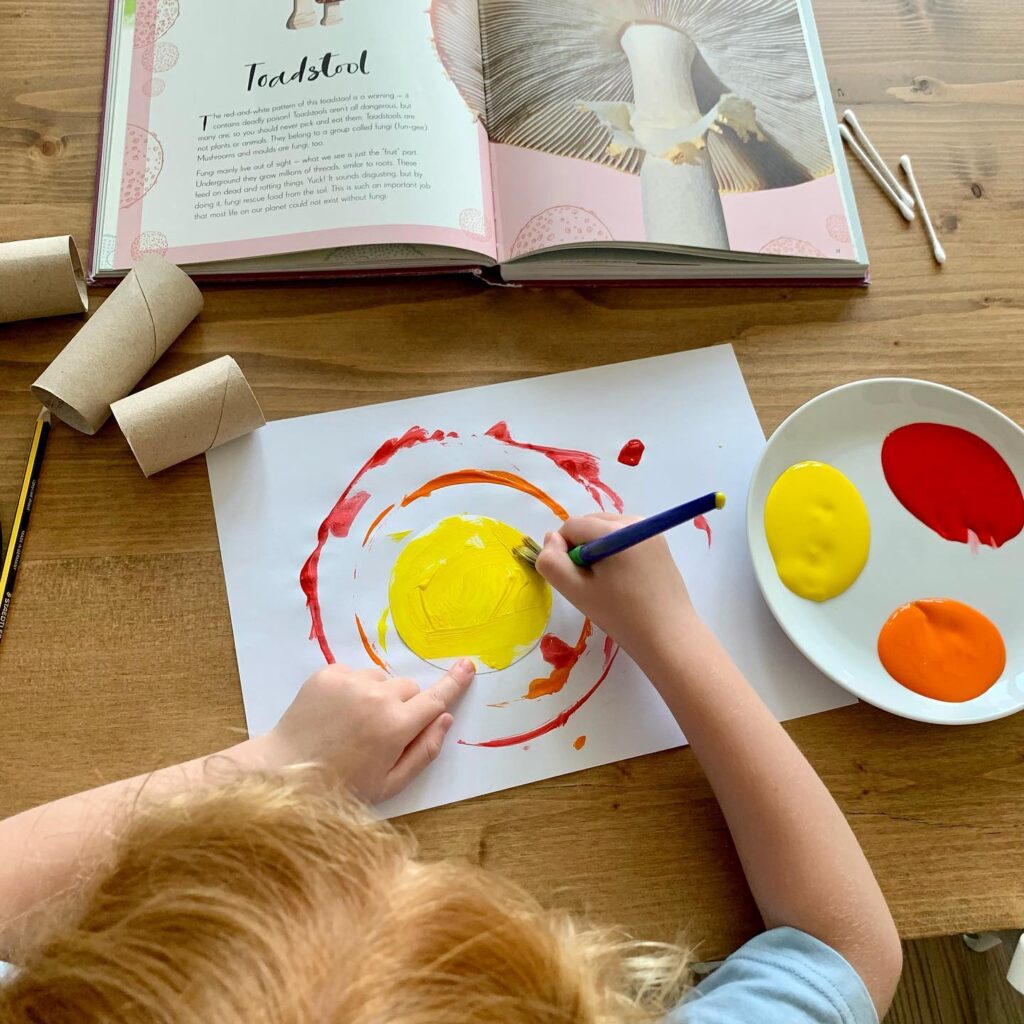
Everything is arranged before the painting begins. Cardboard tubes, cardstock circles, brushes, paint, and cotton swabs are all within easy reach.
Preparing supplies first keeps the project relaxed. Children can focus on creating instead of stopping to search for missing materials.
The limited color palette also sets the mood. Bright red, orange, and yellow immediately suggest woodland mushrooms without making the craft complicated.
Step 2: Paint the Mushroom Stems
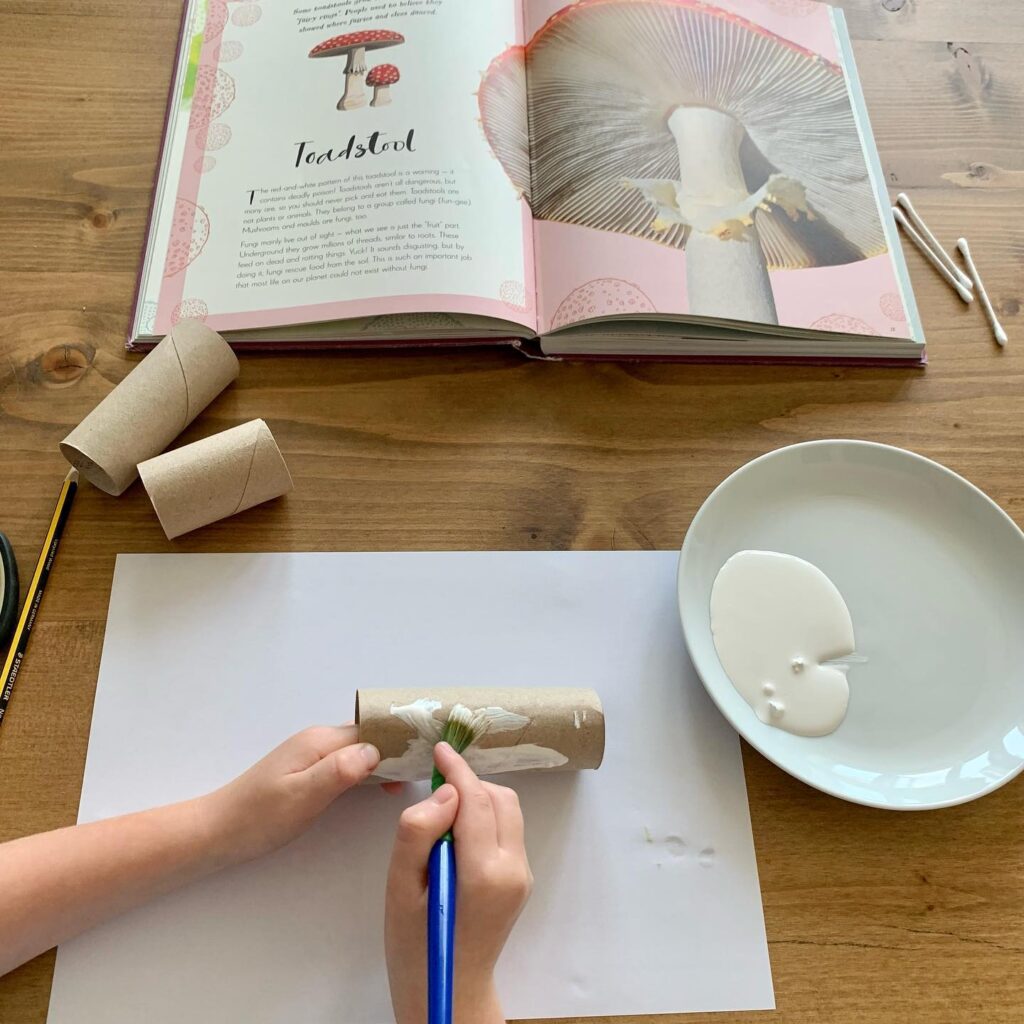
A coat of white paint completely changes the cardboard tubes. What was once packaging now resembles sturdy mushroom stems.
Visible brushstrokes add texture instead of looking unfinished. The subtle lines mimic the surface of real woodland fungi.
Painting every stem first also keeps the process organized. Each piece can dry while the colorful caps are prepared.
Step 3: Paint the Mushroom Caps
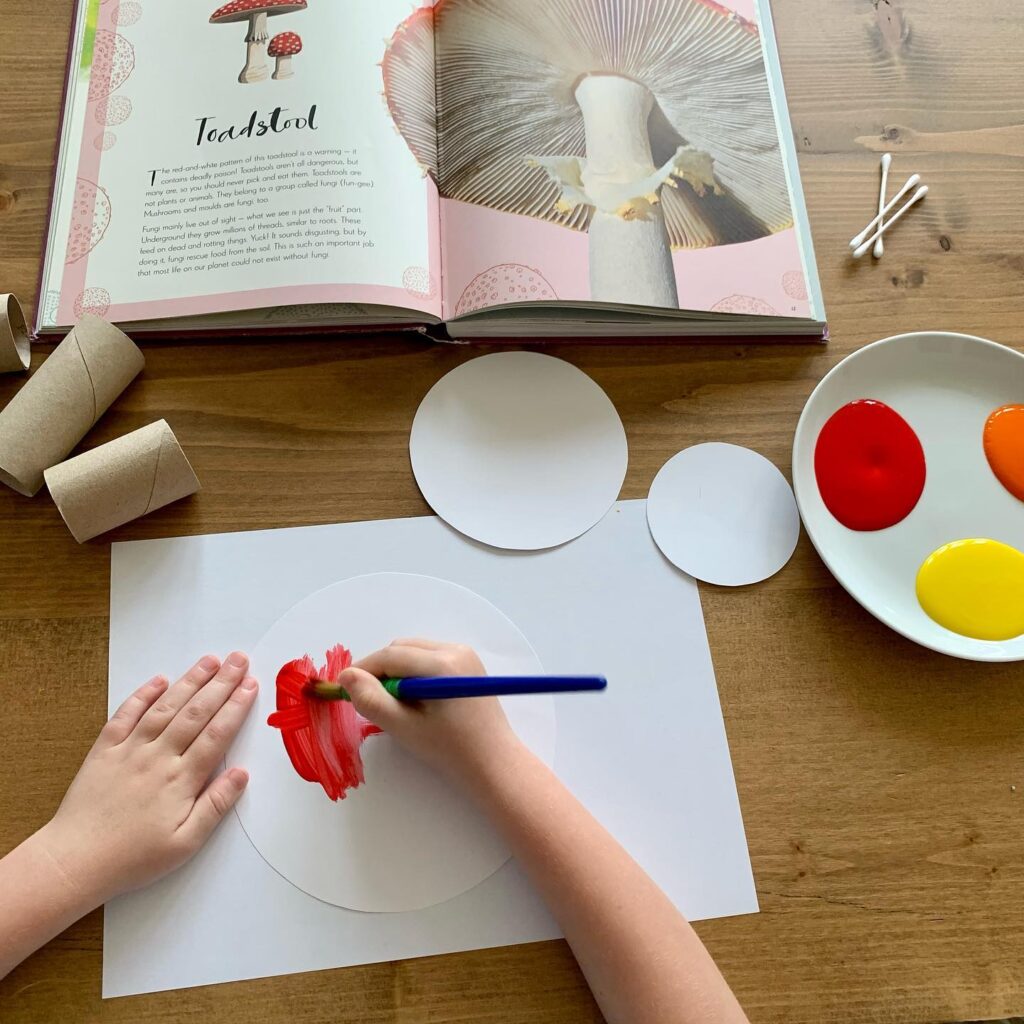
Large paper circles become mushroom caps with broad paint strokes. The slight texture keeps every cap looking handmade.
Using different circle sizes creates natural variety. Larger caps become the focal point while smaller ones complete the woodland collection.
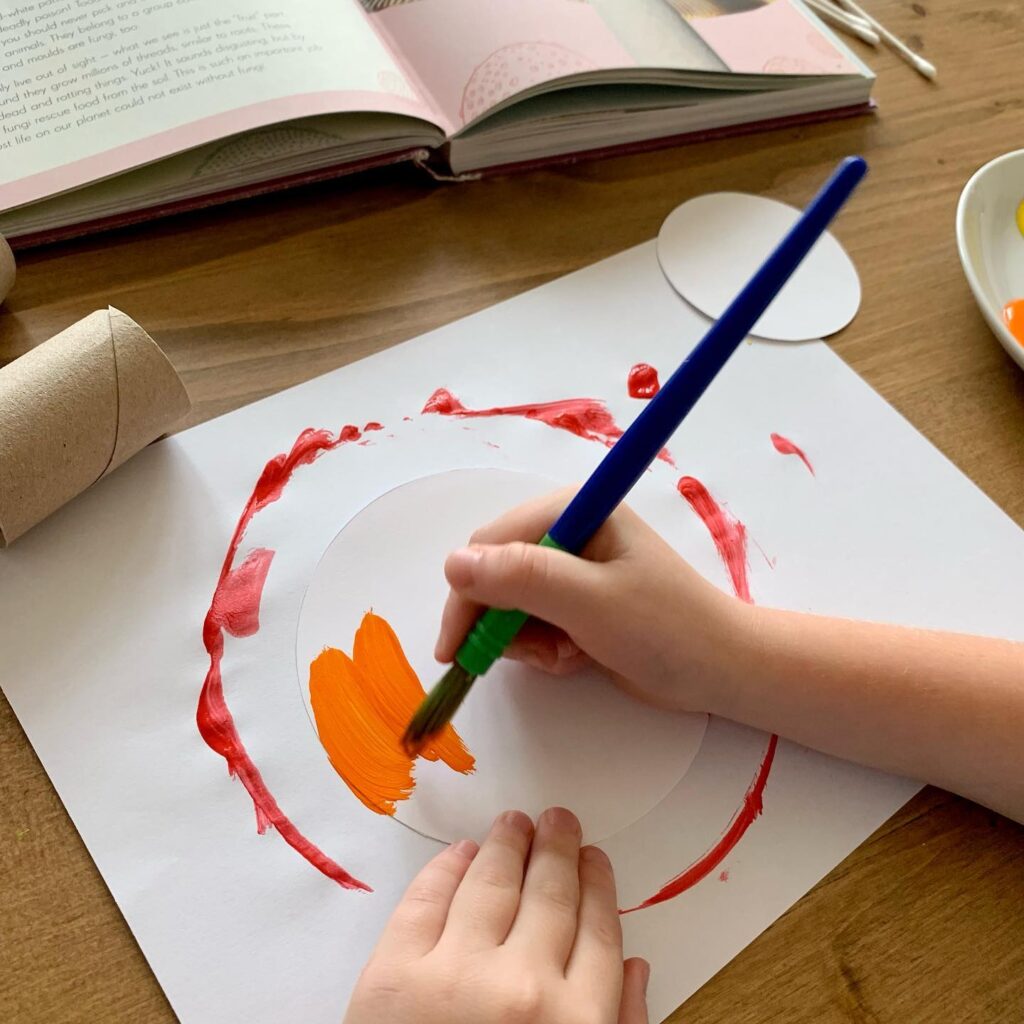
Simple shapes work because color carries the personality. The vibrant palette makes the mushrooms recognizable before any details are added.
Step 4: Add the White Spots
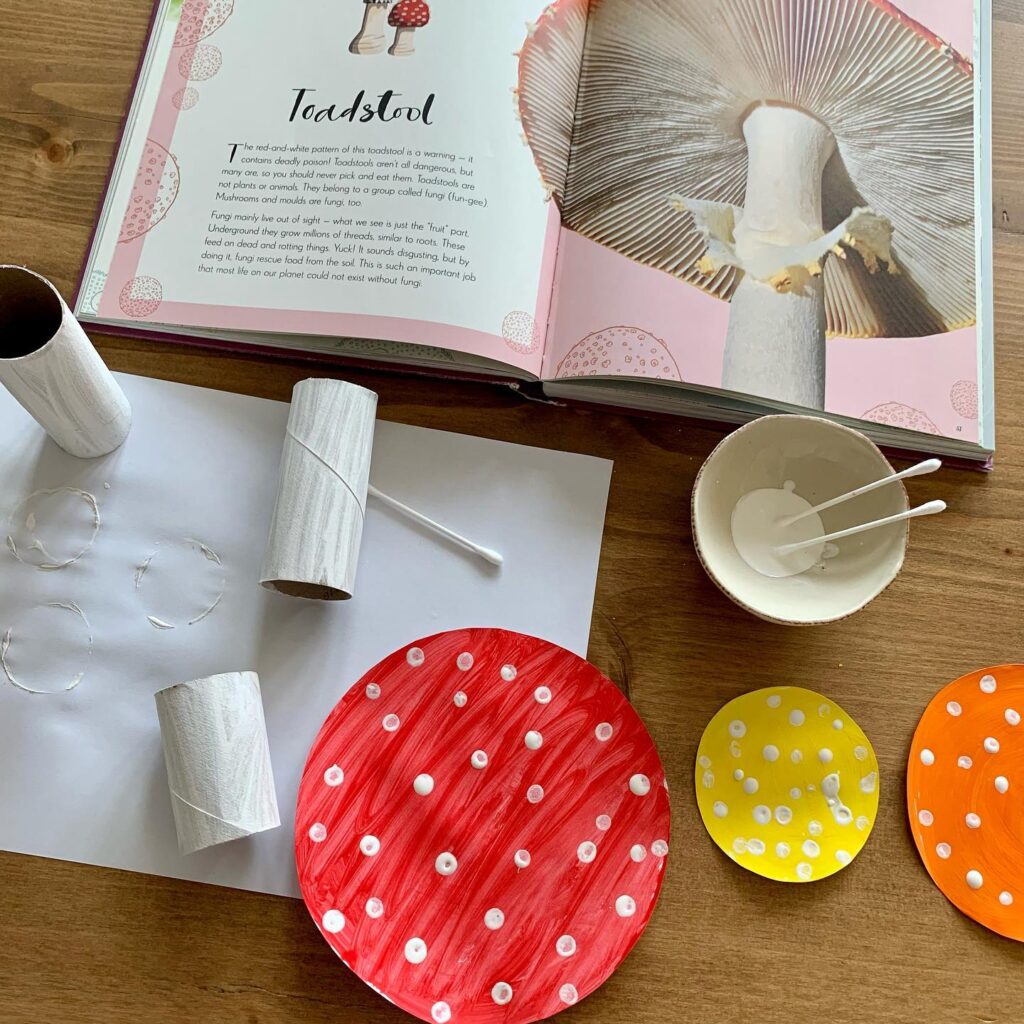
Cotton swabs make it easy to stamp neat white circles. Children can decorate each mushroom without needing advanced painting skills.
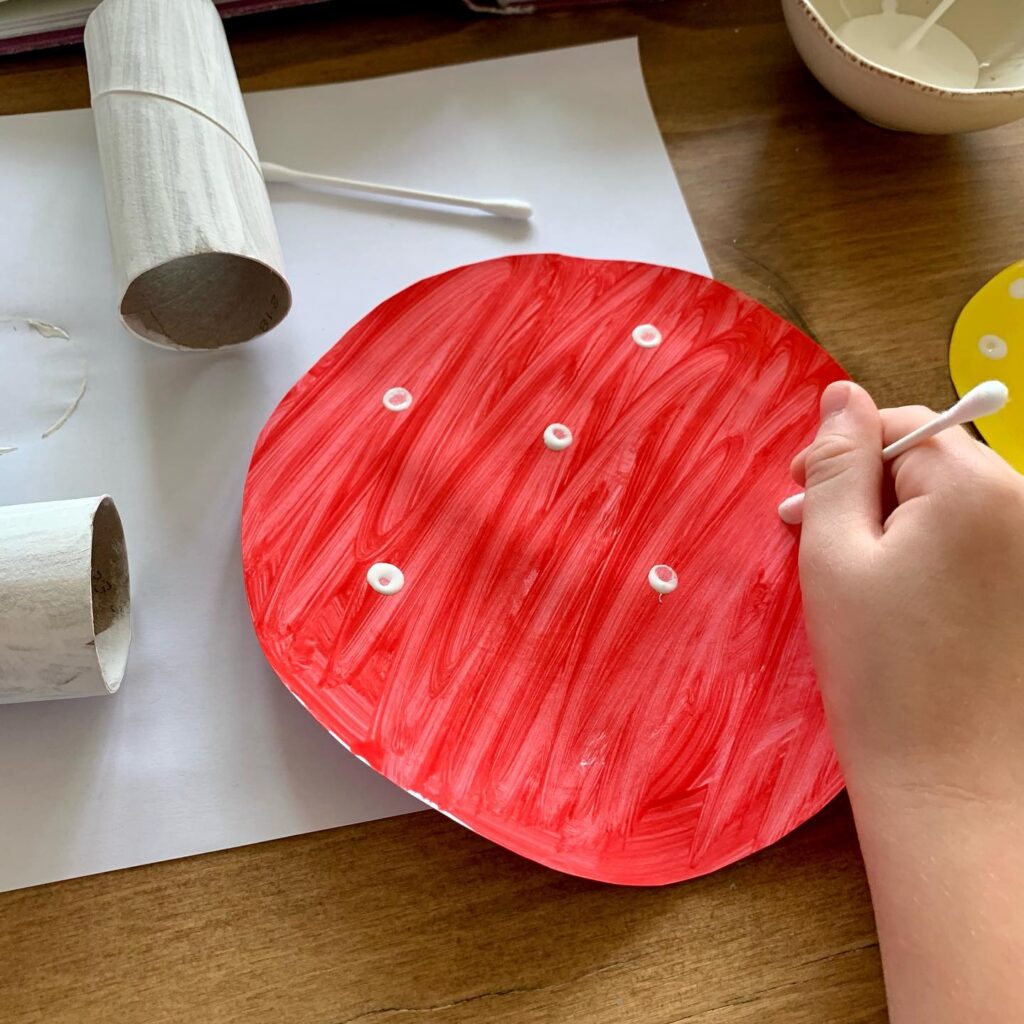
The dots do not need perfect spacing. Small differences make every cap look unique and full of character.
Repeating the same pattern across each mushroom creates harmony. It ties different colors and sizes into one playful display.
Step 5: Watch the Collection Come Together
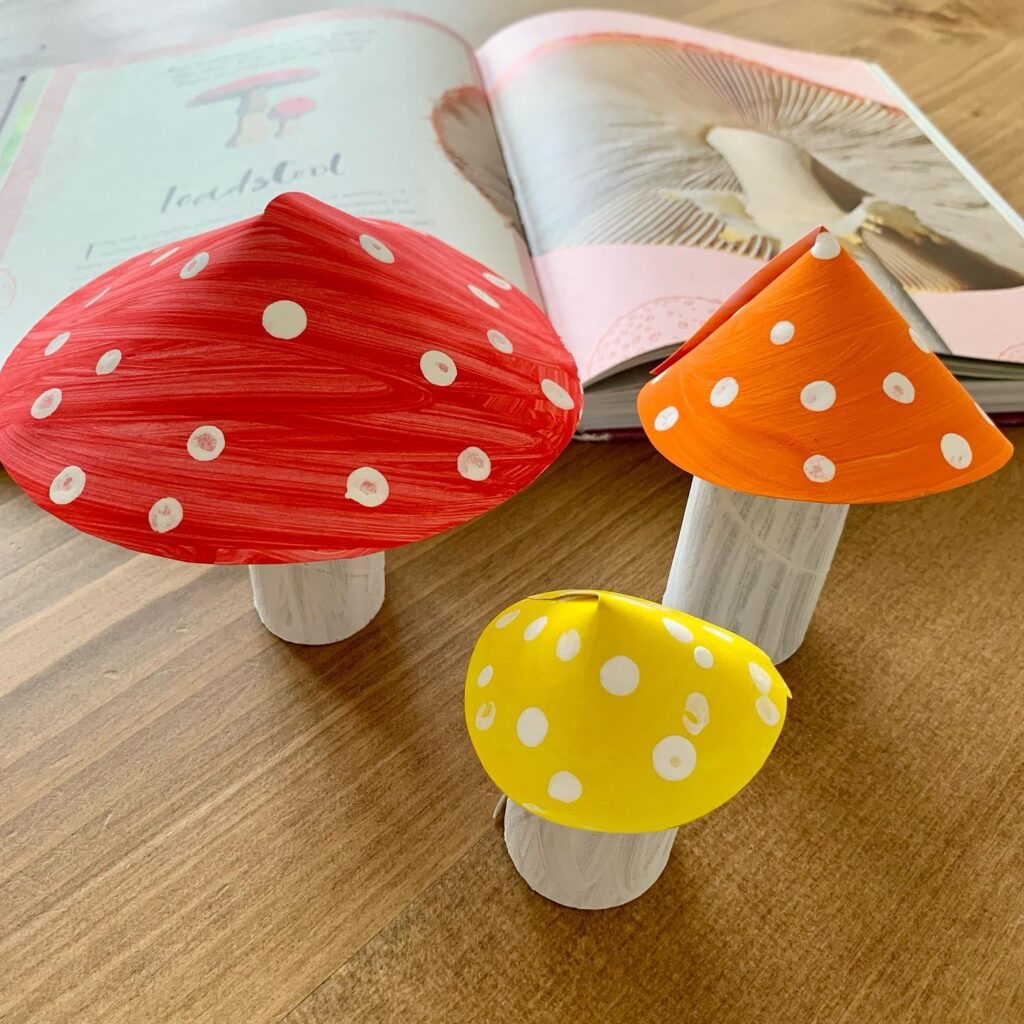
Once assembled, the mushrooms feel like a tiny forest. Each one has its own shape while still belonging to the same collection.
The bright caps naturally draw attention, while the white stems keep the composition balanced. Simple proportions make the finished display look complete.
Perhaps the most satisfying part is seeing recycled materials transformed. Cardboard tubes disappear beneath paint and become charming woodland decorations instead.
Step 6: Glue the Caps to the Stems
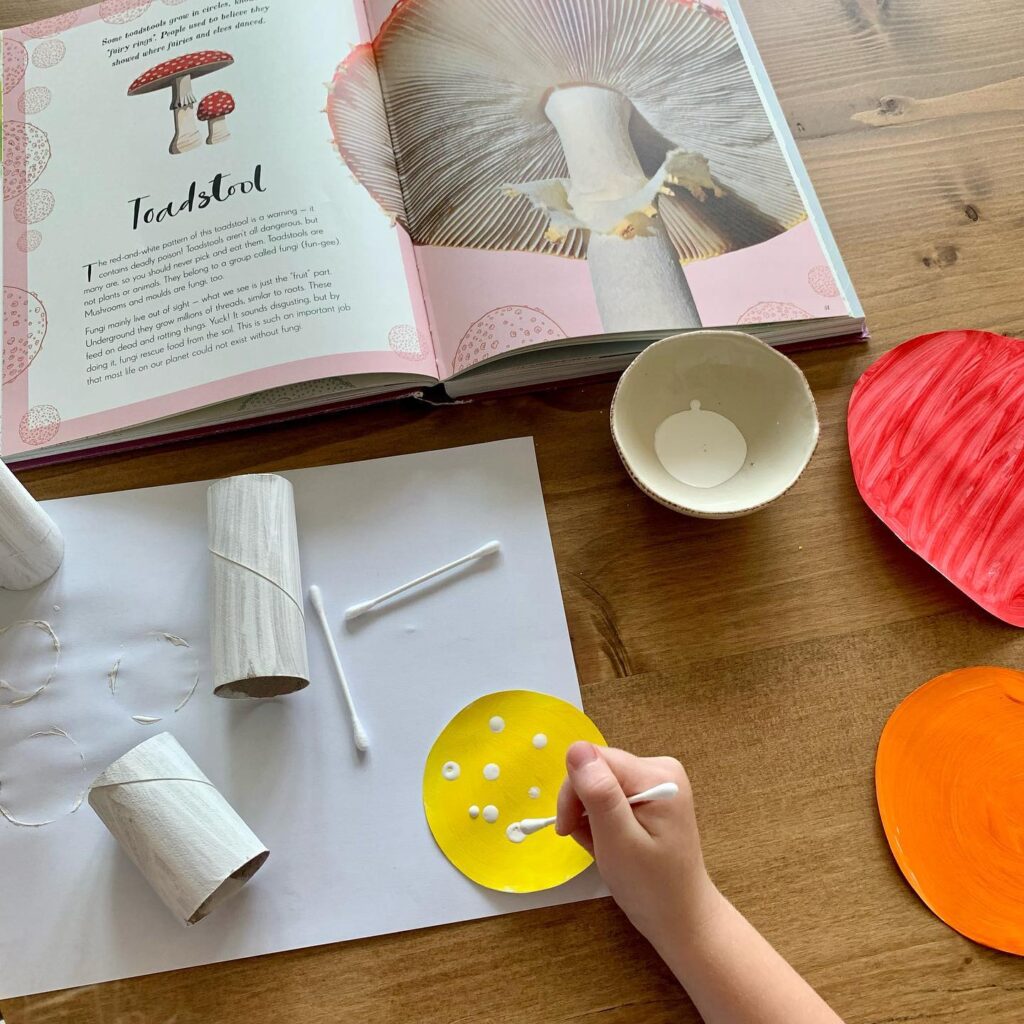
Once the paint has dried, glue each paper cap onto a painted toilet roll tube. Hold it in place for a few moments so it stays secure.
The curved cardstock naturally creates the rounded mushroom shape. A little overlap where the paper meets helps the cap hold its form.
Keeping the stems slightly different heights makes the finished group more interesting. Small changes create a collection that feels inspired by nature.
Small Details Make the Biggest Difference
As the spots are added across the colorful caps, each mushroom develops its own look. Some have larger dots while others are covered with tiny markings.
These little imperfections are what make handmade crafts feel special. Every child finishes with something that cannot be copied exactly.
The visible brushstrokes also soften the bright colors. Instead of looking flat, the paint gives the paper texture and movement.
The Finished Woodland Collection
Once grouped together, the mushrooms look like a tiny woodland scene. Different heights, colors, and cap sizes make the display feel lively.
Place them on a bookshelf, windowsill, seasonal table, or nature shelf. They also make sweet decorations for classrooms or children’s bedrooms.
Although each mushroom is simple on its own, the collection creates much greater impact. Repetition helps the eye read them as one playful display.
Why Recycled Crafts Never Go Out of Style
One of the most rewarding parts of this project is giving everyday materials a second purpose. A cardboard tube that would normally be thrown away becomes the foundation of a cheerful decoration.
Projects like these also teach children that creativity is not limited by expensive supplies. Imagination often matters far more than the materials themselves.
Paper, paint, and recycled cardboard come together to create something worth displaying. That simple lesson is one children often remember long after the paint has dried.
Image Credit: All craft and styling images courtesy of Instagram user @charlotte_and_the_boys.
Discover More Fun Paper Crafts
• Coffee Filter Butterflies
• DIY Sun Catchers
• DIY Egg Carton Flower Wreath
• DIY Alice In Wonderland Decorations