Garden Furniture and Decor Ideas on a Budget (How I Turned My Sad Patio Into a Cozy Outdoor Room for Less)
I used to avoid looking at my patio.
Not because it was tiny. Not because it was broken. But it felt unfinished. It had furniture. It had plants. Technically, it was “functional.” But it didn’t feel inviting. I never sat out there unless I had to.
What changed everything wasn’t spending more money.
It was having a plan.
I stopped randomly buying outdoor decor and started thinking about my patio like a real room. Once I approached it the same way I would style a living room, everything clicked. And I did it without blowing my budget.
Here’s exactly what I did, what worked, what didn’t, and how you can create a cozy, Pinterest-worthy outdoor space without overspending.
The Biggest Mistake I Made at First
I thought decorating outdoors was about adding cute things.
So I bought:
- A lantern
- A patterned pillow
- A small plant
- A string of lights
And somehow… it still looked messy.
The problem was I didn’t have structure.
Once I learned the “anchor + layers” approach, my patio started looking intentional instead of accidental.
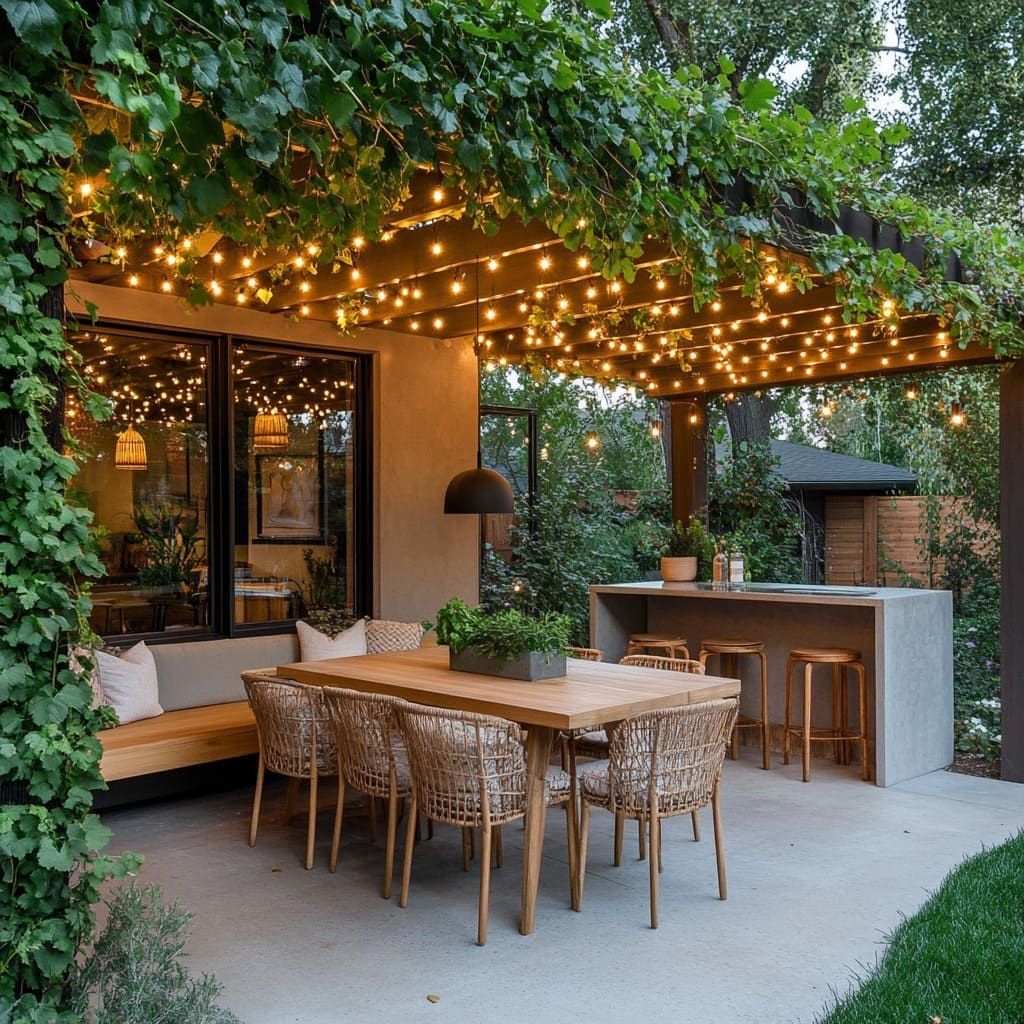
The Anchor + Layers Formula (The Turning Point)
This formula completely changed how I shop and style outdoor spaces.
Step 1: Choose One Anchor
Your anchor is the main functional piece:
- Seating
- Dining table
- Lounge chair
- Small loveseat
- Shade structure
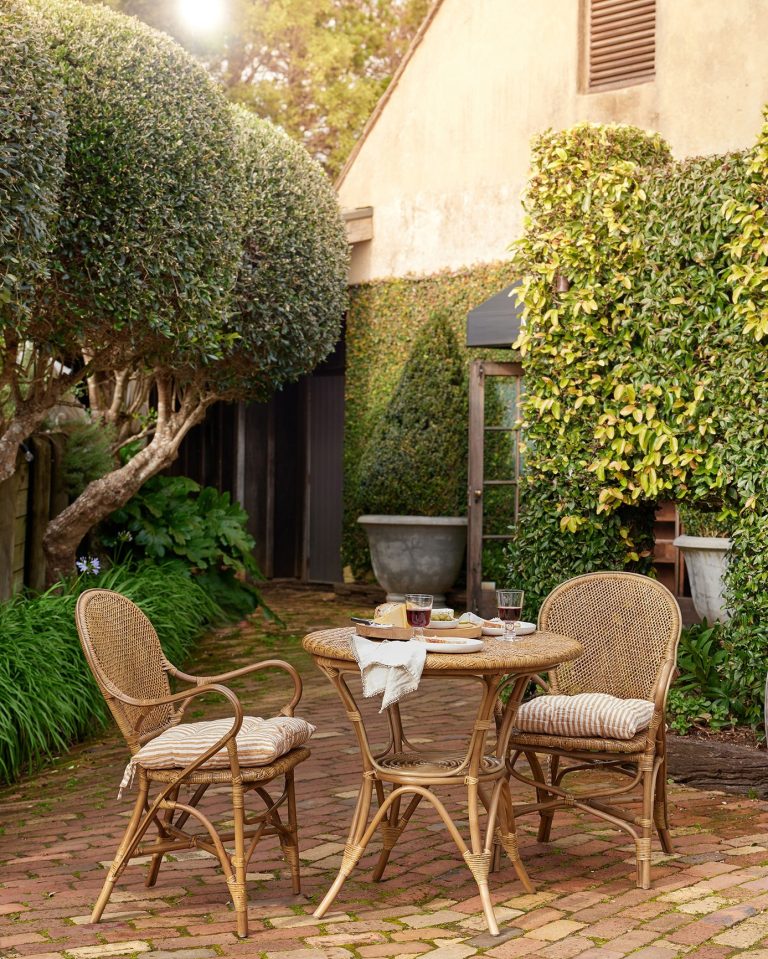
I chose seating because I wanted to sit outside in the mornings.
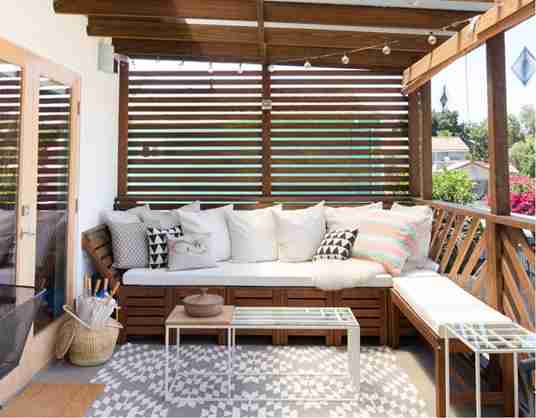
Instead of buying multiple small pieces, I invested in one comfortable resin wicker loveseat set. It wasn’t luxury pricing, but it wasn’t the absolute cheapest either. I focused on comfort and durability.
If you don’t love sitting on it, you won’t use it.
That was my lesson.
Step 2: Add Layers
Once I had the anchor, I added layers:
- Outdoor rug
- Neutral pillow covers
- Warm lighting
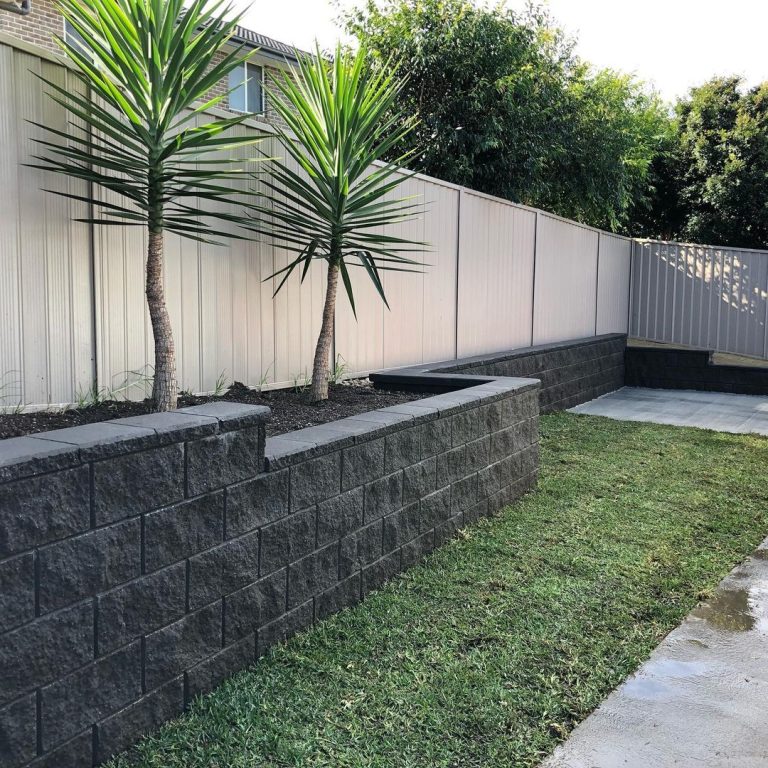
- One large planter for height
- A tray for styling
That’s it.
Suddenly, it looked styled instead of scattered.
My One-Weekend Patio Refresh Plan (What I Actually Did)
I didn’t renovate. I refreshed.
Here’s how I broke it down.
Phase 1: Free Improvements (1–2 Hours)
Before spending money, I:
- Power-washed the patio floor
- Wiped down furniture
- Removed broken or faded decor
- Rearranged seating into a defined conversation nook
Rearranging alone made it look bigger. I moved chairs closer together and created a clear walkway.
If you’re overwhelmed, start here. Cleaning and layout do more than people think.
Phase 2: Low-Cost High-Impact Changes
This is where it started to feel special.
1. Added a Rug
An outdoor rug grounded everything. It visually connected mismatched furniture and made the patio feel like a defined room.
I chose polypropylene because:
- It’s durable
- Easy to hose off
- Affordable
- Dries quickly
That single change elevated everything.
2. Upgraded Cushions Without Buying New Furniture
Instead of replacing furniture, I:
- Bought new pillow covers
- Added seat pads
- Mixed one subtle pattern with solids
Instant softness.
Cheap thin cushions flatten fast, so I avoided the lowest-tier foam options. Quality cushions last longer and make basic furniture feel better.
3. Layered Lighting
Lighting completely transformed the mood.
I followed a simple lighting structure:
Overhead: Warm white string lights
Mid-level: One lantern on the table
Low-level: Two solar ground lights
When all three layers are on at dusk, the patio feels warm and cozy.
Lighting made my budget furniture look expensive.
Phase 3: One Upgrade That Changed Everything
After living with the refreshed setup for a month, I upgraded one thing: my main seating.
Not everything.
Just one anchor.
That single upgrade made the entire patio feel intentional.
If your space feels temporary, upgrading one core piece creates stability.
What Furniture Actually Works on a Budget (From Experience)
I’ve tested different materials, helped friends redo balconies, and refinished thrifted pieces. Here’s what I’ve learned.
Resin Wicker
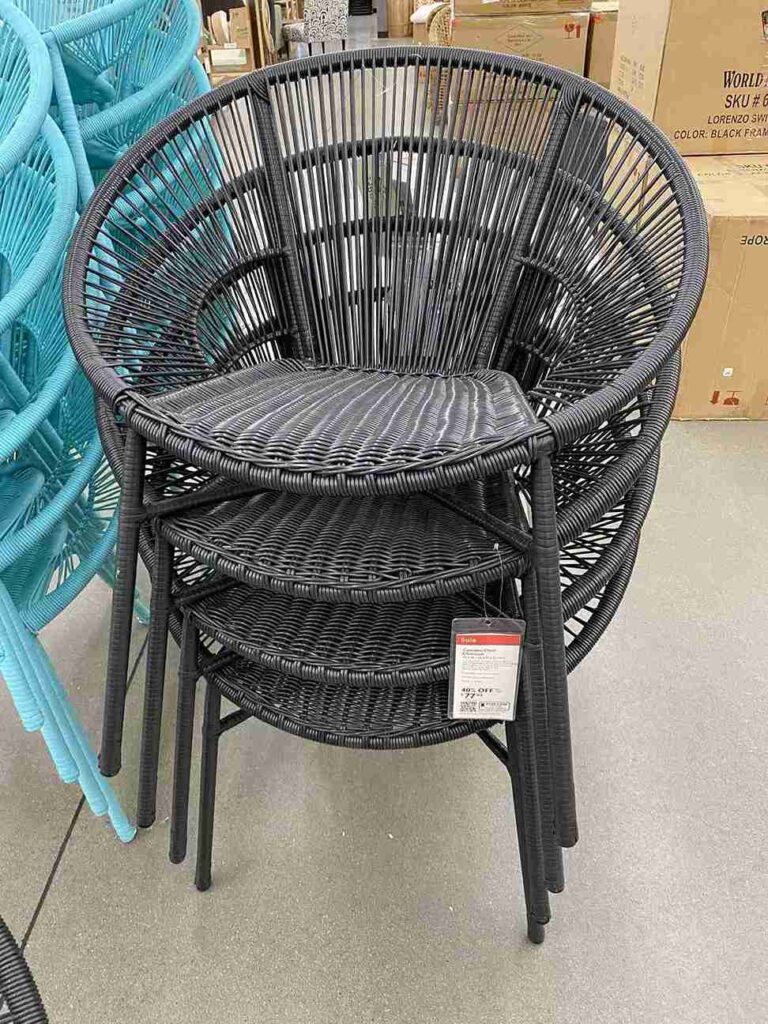
Best for cozy vibes and budget durability.
Pros:
- Weather-resistant
- Affordable
- Visually warm
- Easy to style
Keep cushions neutral. Add one patterned accent pillow max.
Aluminum
Great for small patios and frequent rearranging.
Pros:
- Lightweight
- Rust-resistant
- Easy maintenance
It can look cold alone, so soften with:
- Cushions
- Rugs
- Textiles
Wood
Beautiful but needs maintenance.
If you love warm tones, wood is worth it. But expect:
- Annual sealing
- Occasional sanding
- Weather care
If you’re low-maintenance by nature, aluminum may be better.
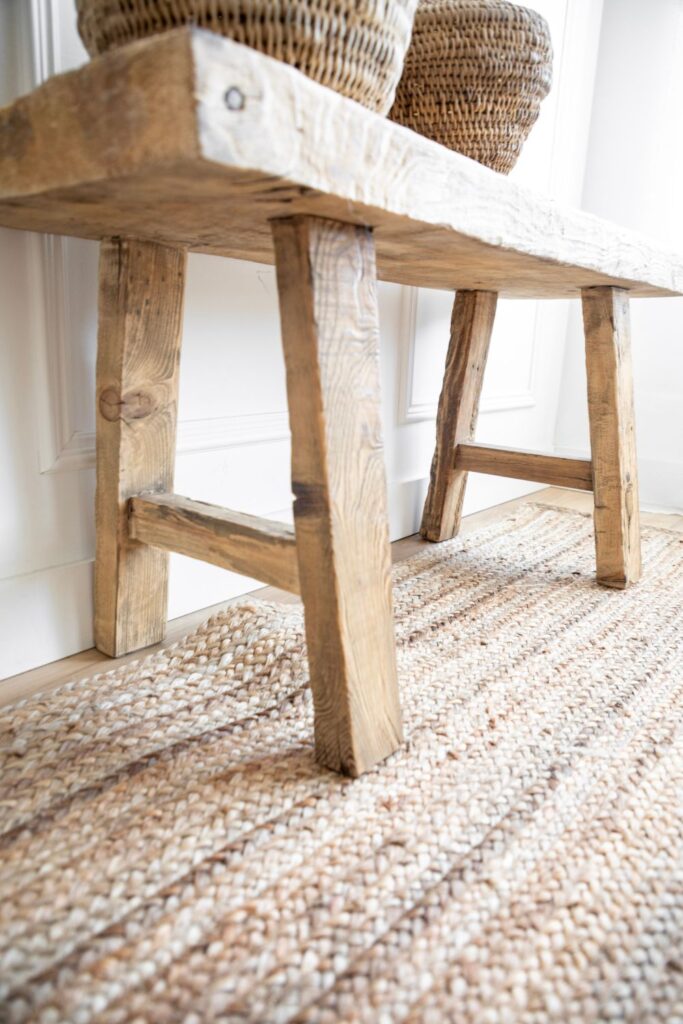
My Thrift + Upcycle Strategy (Huge Savings)
Second-hand furniture saved me hundreds.
Here’s what I look for:
- Solid frames
- No structural damage
- Surface-level cosmetic issues only
- Real wood instead of particle board
Ugly cushions don’t matter. You can replace covers.
How I Refreshed a Rusty Metal Set
- Removed rust with a wire brush
- Washed and dried
- Applied rust-blocking primer
- Spray-painted in thin coats
- Sealed
Total cost: under $50
Result: looked brand new.
How I Revived a Faded Wood Bench
- Cleaned thoroughly
- Sanded lightly
- Applied exterior stain
- Sealed with weather protection
The key is proper prep. Skipping sanding ruins results.
Textiles: The Fastest Way to Elevate Your Patio
If your patio feels unfinished, it probably needs softness.
I added:
- Outdoor rug
- Washable pillow covers
- Seat cushions
- Lightweight throw blanket
Stick to:
- Neutral base colors
- One pattern
- One texture
Too many patterns create visual chaos.
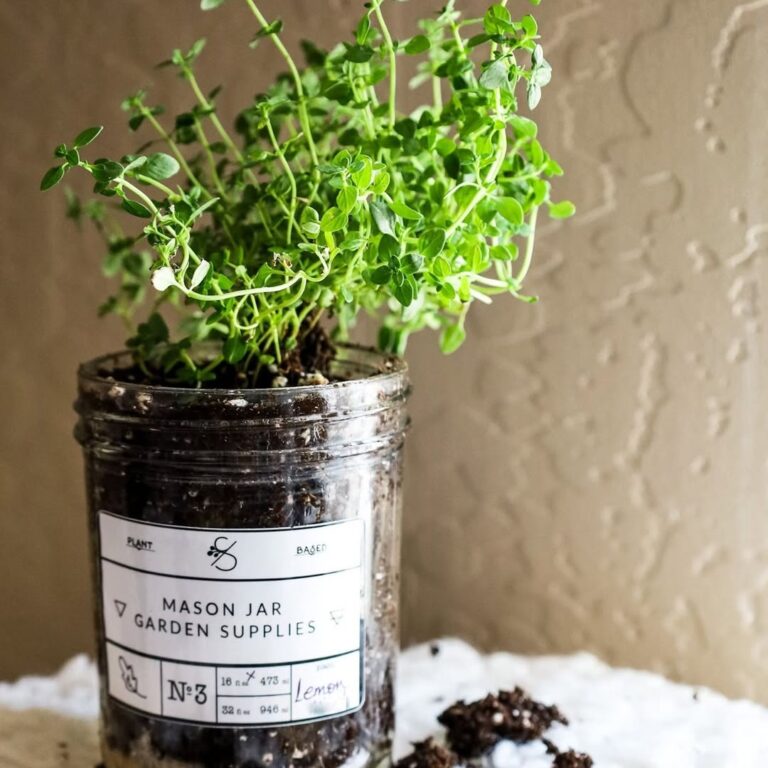
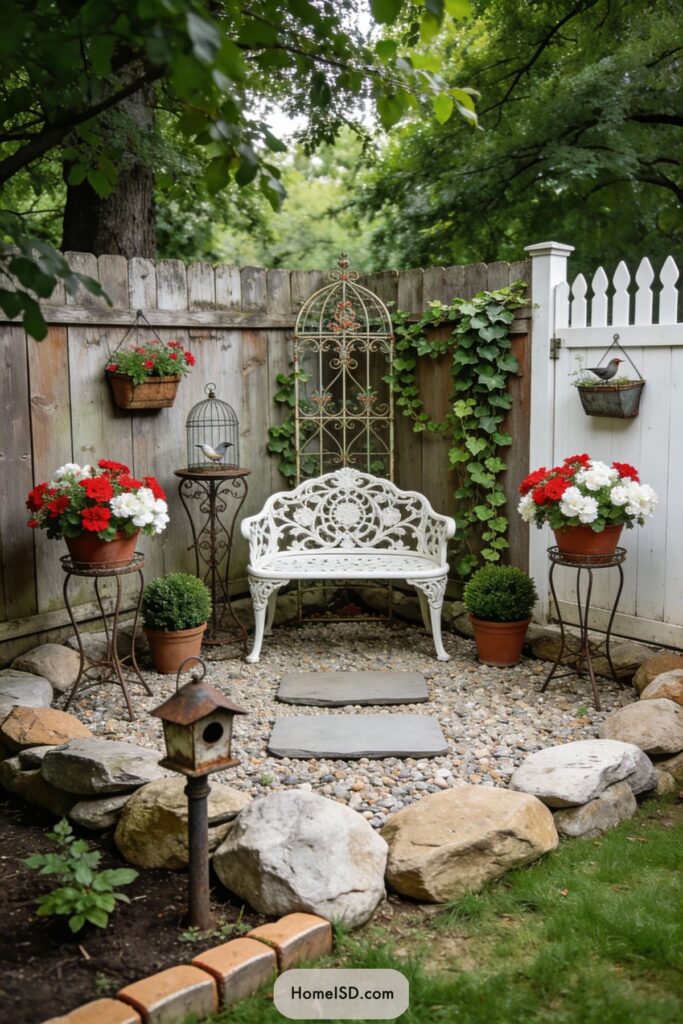
Small Decor That Works (Without Clutter)
I follow a simple 3-piece styling rule:
- Tray
- Something living
- Something tall
For example:
- Wooden tray
- Potted herb
- Lantern
That’s it.
No extra random pieces.
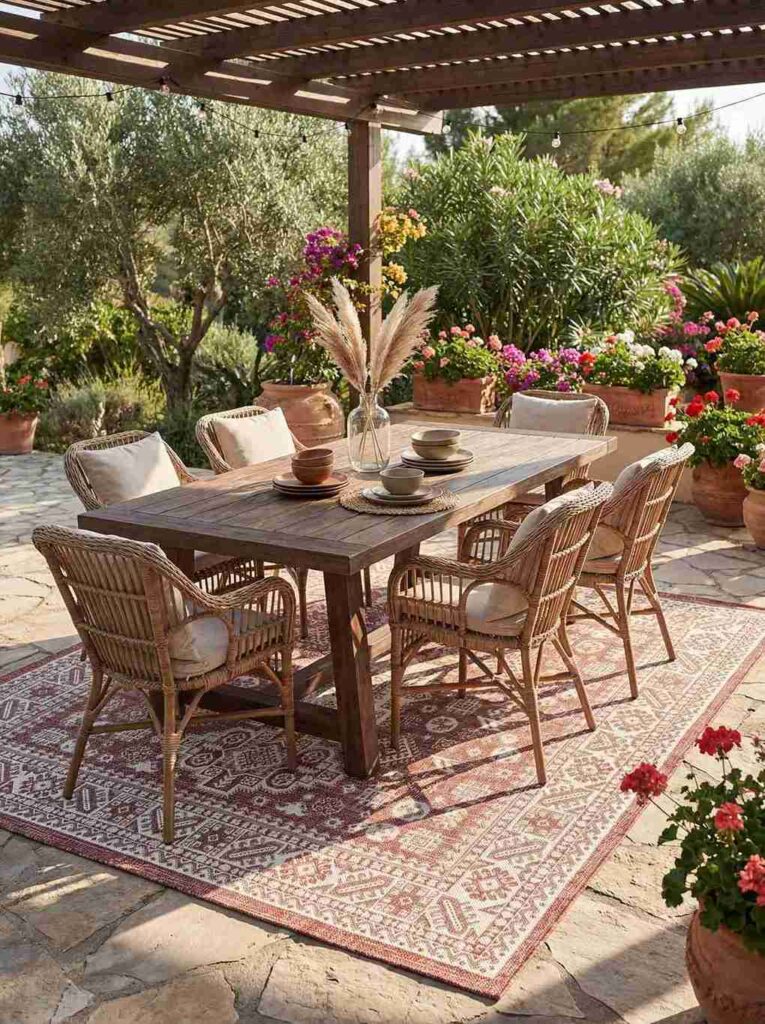
Outdoor Dining on a Budget
I didn’t buy fancy tableware.
Instead, I chose:
- Melamine plates
- Acrylic glasses
- Simple runner
- One centerpiece
It feels elevated but practical.
Outdoor dining doesn’t need to be expensive. It needs consistency.
Seasonal Swaps Instead of Replacements
I don’t redo everything each season.
I rotate:
- Pillow covers
- Planter fillers
- Table linens
- Decorative accents
This keeps the space fresh without major spending.
How I Shop Smart for Outdoor Deals
Best times I’ve found:
- End of summer clearance
- Late fall storage sales
- Post-holiday decor clearance
- Black Friday lighting deals
I always check:
- Shipping costs
- Bundle pricing
- Return policies
Buying off-season saves the most.
Protecting Budget Furniture So It Lasts
This part is important.
Budget furniture can last years if you:
- Store cushions inside during heavy rain
- Use covers in winter
- Seal wood annually
- Secure lightweight pieces in wind
- Avoid overloading seating
Care extends lifespan dramatically.
Budget Breakdown (Realistic Examples)
$50 Refresh
- String lights
- Two pillow covers
- One plant
- Battery candle set
Big mood shift for minimal cost.
$150 Refresh
- Outdoor rug
- Lighting
- Two planters
- Pillow upgrades
Feels like a room.
$300 Refresh
- Upgrade one anchor seating piece
- Rug
- Shade solution
- Storage bench
Feels fully intentional.
What I Stopped Buying
- Ultra-thin cushions
- Too many small lanterns
- Trendy pieces that don’t match my climate
- Decor without function
One quality anchor beats multiple cheap fillers.
The Real Secret
Build your patio around how you actually live.
Do you:
- Drink coffee outside daily?
- Host friends?
- Read in the evening?
- Want quiet alone time?
Design around that.
When I designed for how I live instead of how Pinterest looks, I started using my patio daily.
Final Advice If You’re Starting Today
- Clean and rearrange
- Add warm lighting
- Choose one comfortable seating anchor
- Ground it with a rug
- Style one intentional corner
You don’t need a full makeover.
You need structure.
I went from ignoring my patio to using it every day. And I did it slowly, intentionally, and within budget.
If I can transform a small, uninspired outdoor space into something cozy and functional, you absolutely can too.