How I Replaced My Bathroom Faucet and Instantly Made the Sink Look New Again
I did not plan on replacing my bathroom faucet. I just got tired of looking at it.
The finish was dull, the handles felt loose, and no matter how much I cleaned, it always looked a little grimy. One day it finally started dripping, and that was the push I needed. Instead of calling a plumber, I decided to try replacing it myself.
Turns out, swapping out a bathroom faucet is one of those DIY projects that looks intimidating but is actually very doable. If you can crawl under a sink and turn a wrench, you can handle this.
Can You Really Install a Bathroom Faucet Yourself?
I wondered the same thing before I started.
The short answer is yes. You do not need to be a plumber. You just need patience, a few basic tools, and enough space under the sink to move around. The whole project took me a couple of hours, and most of that time was spent working slowly and double-checking connections.
Bonus: fixing the faucet also solved a small drip that had been quietly wasting water for months.
If you are updating your bathroom, dealing with a leak, or just trying to freshen up the space without a full renovation, replacing the faucet is one of the fastest upgrades you can make.
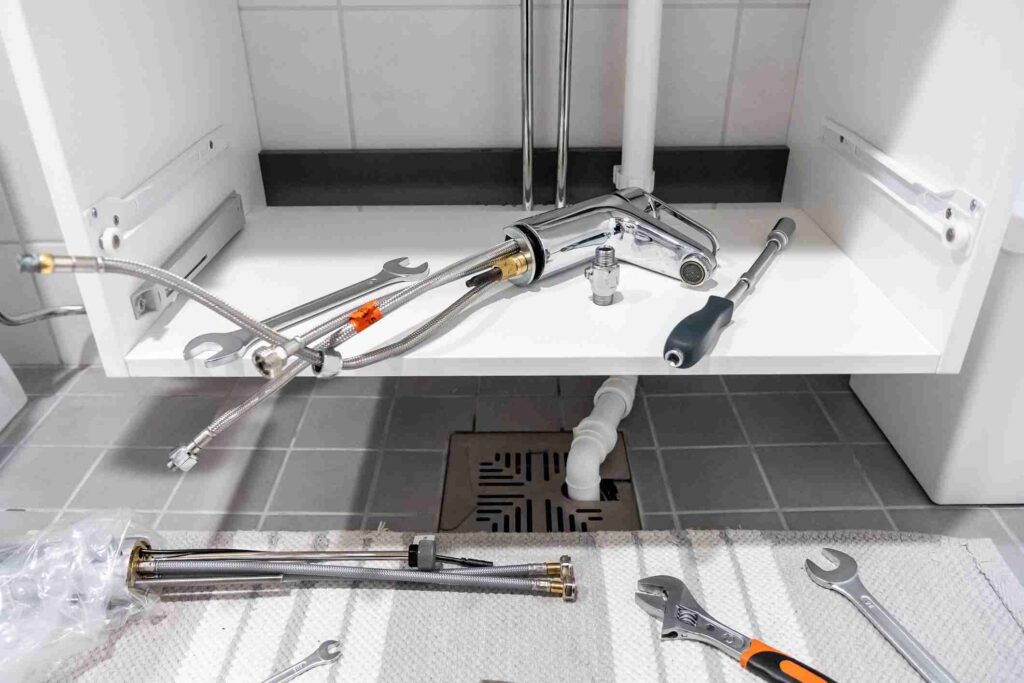
Tools I Used (Nothing Fancy)
Before I started, I laid everything out so I would not have to crawl out from under the sink halfway through.
- Tape measure
- Adjustable wrench
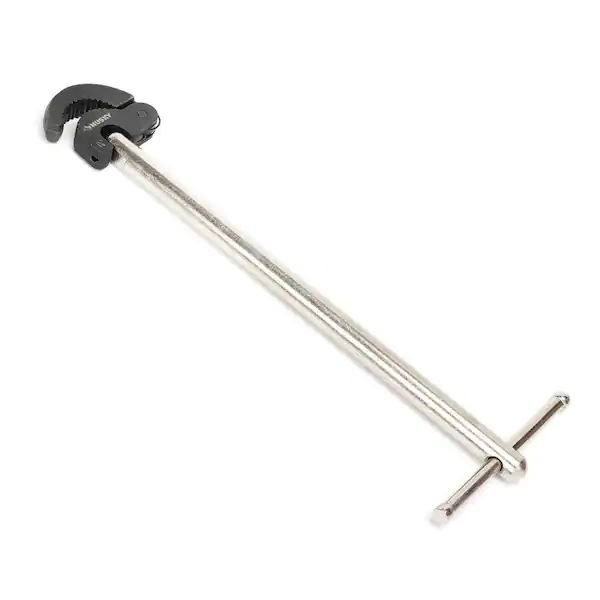
- Basin wrench
- New bathroom faucet
- Faucet supply lines
- Bucket
- Old rags or towels
- Plumber’s putty
- Putty knife
Tip: Open your faucet box and make sure all the parts are there before you begin. That saved me from a lot of frustration.
Step 1: Make Sure You Buy the Right Faucet
Before removing anything, I checked what type of faucet my sink actually needed.
Some sinks have one hole, some have three, and the spacing matters. Mine had three holes spaced four inches apart, so I needed a centerset faucet. If you are unsure, measure the distance between the holes before shopping.
If you are also replacing the vanity or countertop, this step becomes even easier because you can choose matching pieces from the start.
Step 2: Prep the Sink Area First
This step made everything else smoother.
I cleared out everything under the sink and put a bucket directly underneath the plumbing. Even with the water turned off, a little water always drips out.
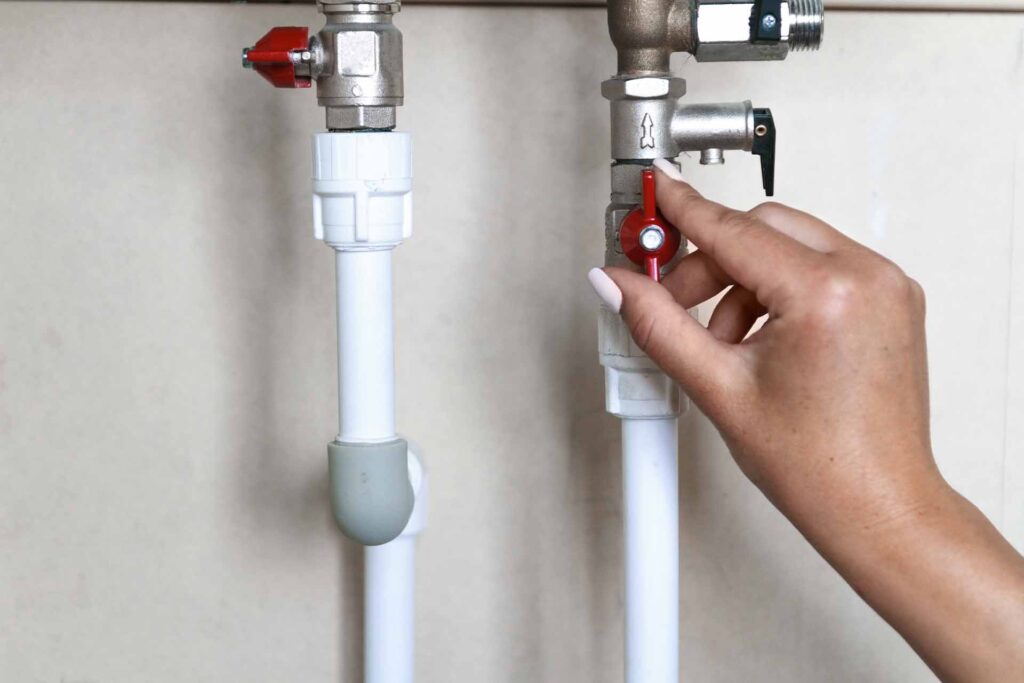
Then I turned off the hot and cold shut-off valves under the sink and turned the faucet on to drain any remaining water from the lines.
Having a clean, open workspace made a huge difference once I was on my back under the sink.
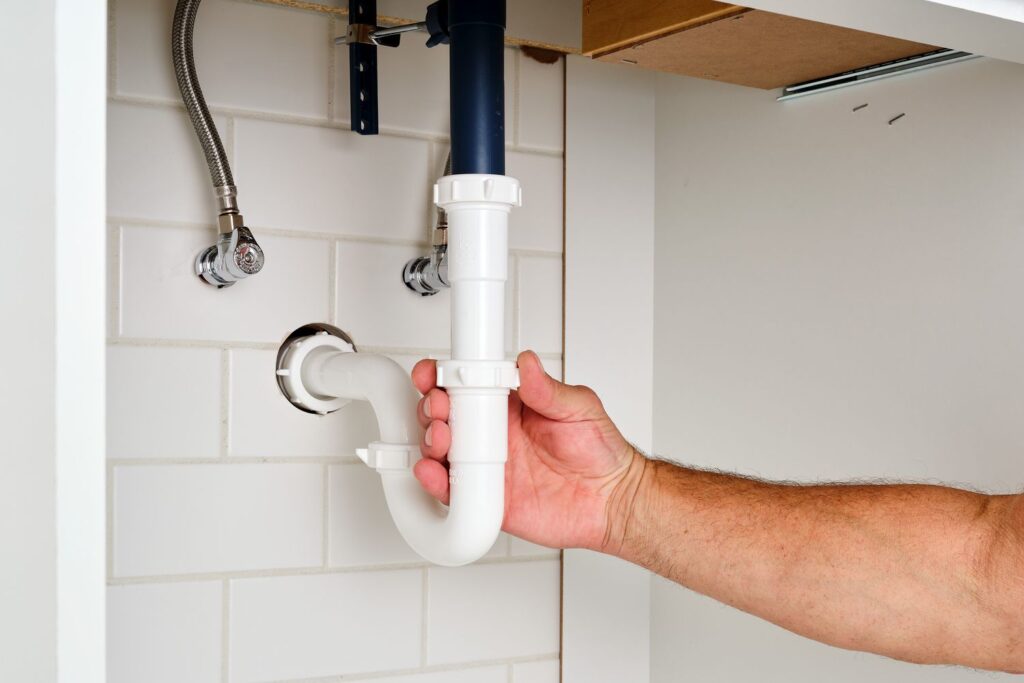
Step 3: Disconnect the Old Faucet
This part looks messy but is straightforward.
Under the sink, I disconnected the hot and cold supply lines from the faucet handles. Then I detached the lift rod that controls the drain stopper.
After that, I used a basin wrench to loosen the mounting nuts holding the faucet in place. There were two of them, and they were tighter than I expected.
Once the nuts were off, the faucet was finally free.
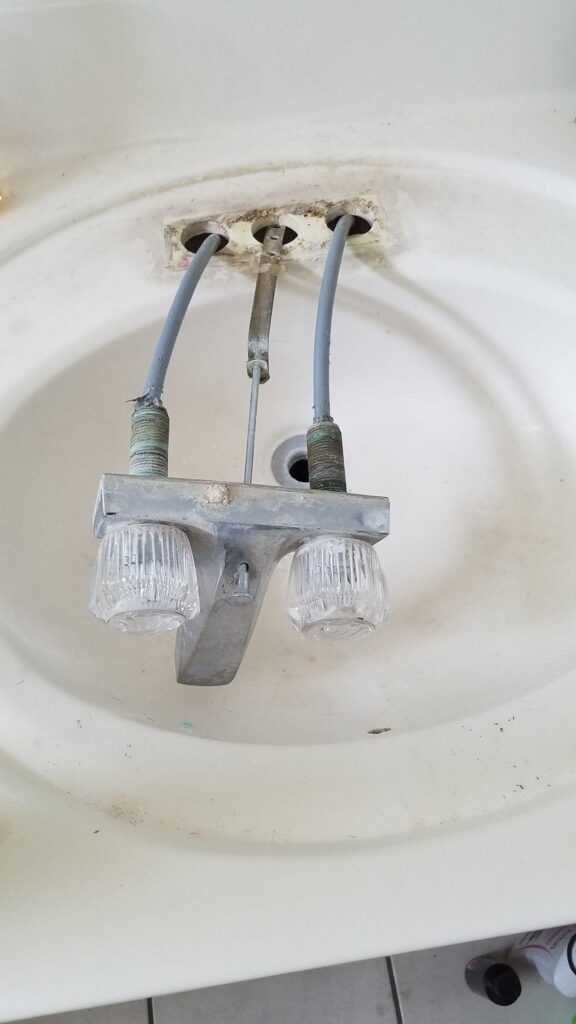
Step 4: Remove the Old Faucet and Clean the Sink
With everything disconnected, I lifted the old faucet straight up and out.
It was stuck slightly because of old putty, so I ran a putty knife around the base to loosen it. Once it came off, I cleaned the sink surface really well. There was a surprising amount of buildup hiding underneath.
This is also when I checked for rust or damaged hardware and replaced anything that looked questionable.
Step 5: Prep the New Faucet
Before installing the new faucet, I read the manufacturer instructions all the way through.
Most faucets install the same way, but some use a gasket while others require plumber’s putty. Mine needed a gasket, so I placed it on the base of the faucet before setting it into the sink.
Taking an extra minute here saved me from leaks later.
Step 6: Install and Test the New Faucet
I placed the new faucet into the sink holes from above, then climbed back under the sink to secure it.
Using the basin wrench, I tightened the mounting nuts until the faucet felt solid. I kept checking the top to make sure everything stayed straight and aligned.
Once secure, I reconnected the supply lines, turned the water valves back on slowly, and tested the faucet.
I let the water run for a few minutes while checking underneath for leaks. No drips. No wobble. Huge relief.
Should You Replace the Drain Too?
I did, and I am glad I did.
Since the new faucet had a different finish, replacing the drain made everything match and feel intentional. If you already have tools out and your drain looks worn, it is worth doing both at the same time.
Was It Worth It?
Absolutely.
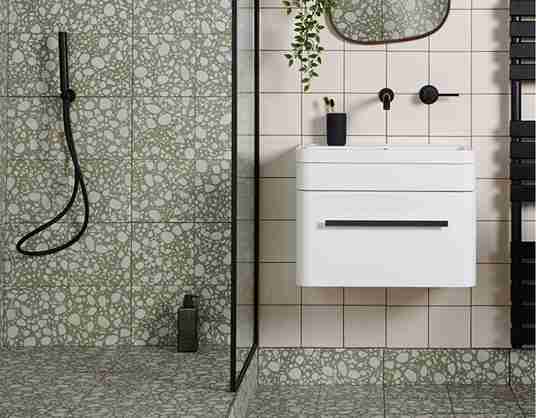
The bathroom instantly looks cleaner and more modern, and knowing I did it myself makes it even better. Replacing a bathroom faucet is one of those projects that gives a big visual payoff without requiring advanced skills.
If you have been putting it off because it feels intimidating, this is your sign. Take it slow, follow the steps, and you will be surprised how manageable it really is.