A bedroom is more than just a place to sleep—it’s a sanctuary where you unwind after a long day and recharge for the next one. One of the most prominent pieces in any bedroom is the headboard, a functional and stylish element that sets the tone for the room’s decor. If you’re looking to refresh your space without spending a fortune, a DIY headboard project could be just the thing you need. Whether you’re after a rustic look, a minimalist design, or something more playful, there’s a headboard idea for every taste.
In this post, we’ll walk you through 21 DIY headboard ideas that will elevate your bedroom and inspire you to get creative with your decor. These ideas are perfect for women aged 25 to 65 who want to add personality, charm, and functionality to their rooms. Let’s dive into the first half of these fantastic DIY headboard designs!
1. Rustic Wood Plank Headboard

Nothing says “cozy” quite like the warm, natural appeal of wood. If you love the idea of bringing a little bit of nature into your bedroom, a rustic wood plank headboard could be the perfect project for you. The beauty of a wooden headboard lies in its simplicity—whether you choose reclaimed wood or new planks, the texture and grains will add warmth and character to your space.
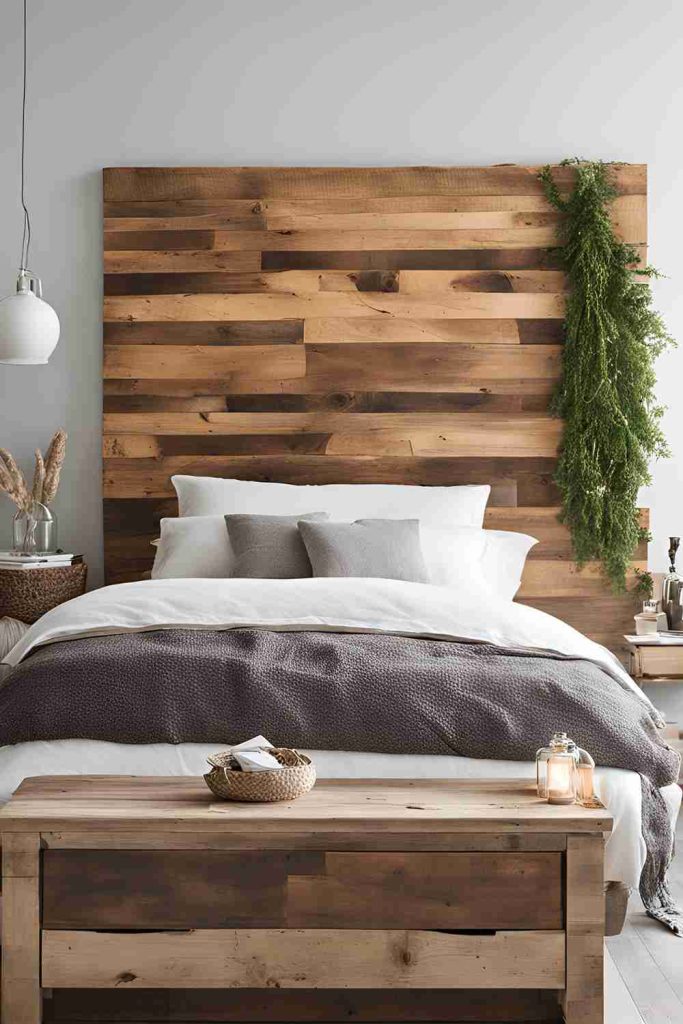
How to Create a Rustic Wood Plank Headboard:
- Materials Needed: Wood planks (reclaimed or purchased), saw, hammer, nails or screws, wood stain (optional), and a level.
- Step-by-Step Instructions: Start by measuring the width of your bed frame to determine how long your headboard should be. Next, cut the wood planks to the desired length. If you’re using reclaimed wood, you may want to sand them down to ensure a smooth surface. Arrange the planks vertically or horizontally, depending on your preferred style. Attach the planks to the wall or to a wooden frame, ensuring everything is level.
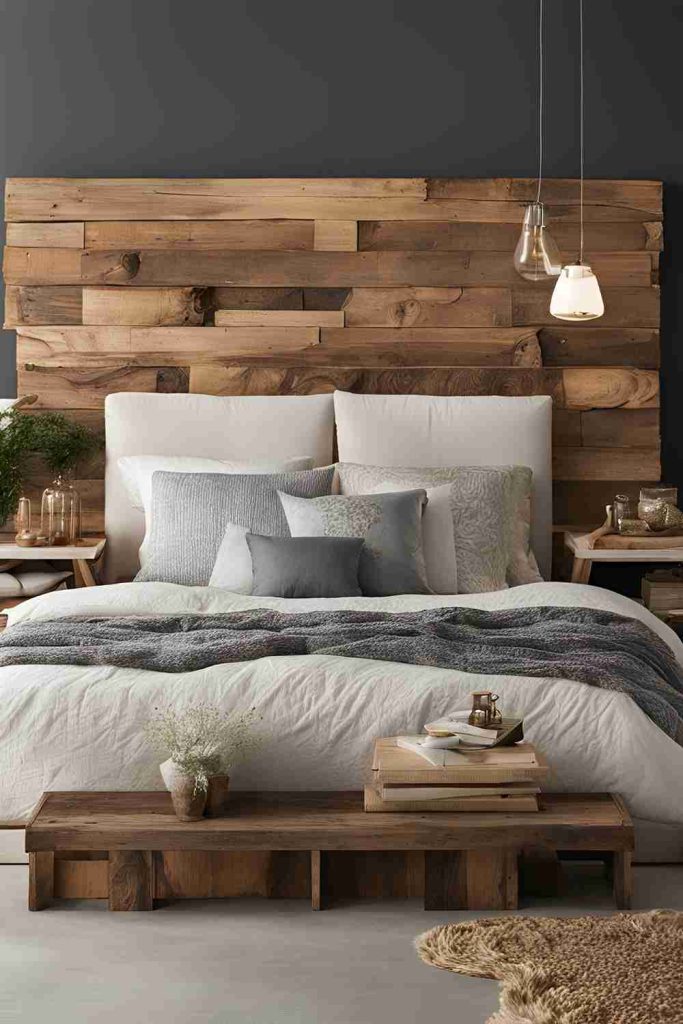
With its timeless look, this headboard pairs beautifully with modern, farmhouse, or rustic bedroom styles. If you want to add a personal touch, consider staining or painting the wood in your favorite color.
2. Upcycled Pallet Headboard
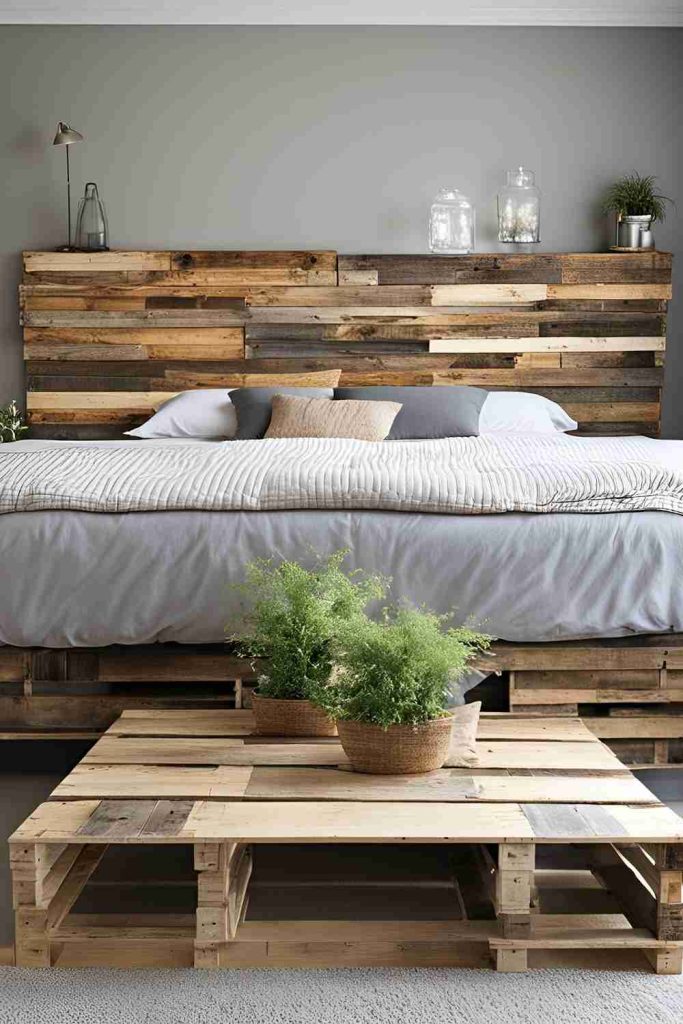
Upcycling old pallets is one of the most affordable and eco-friendly ways to create a beautiful DIY headboard. Pallet wood offers a rugged, industrial look that can be easily transformed into something stylish with a little creativity. Plus, you can often find pallets for free or at a very low cost, making it a budget-friendly option.
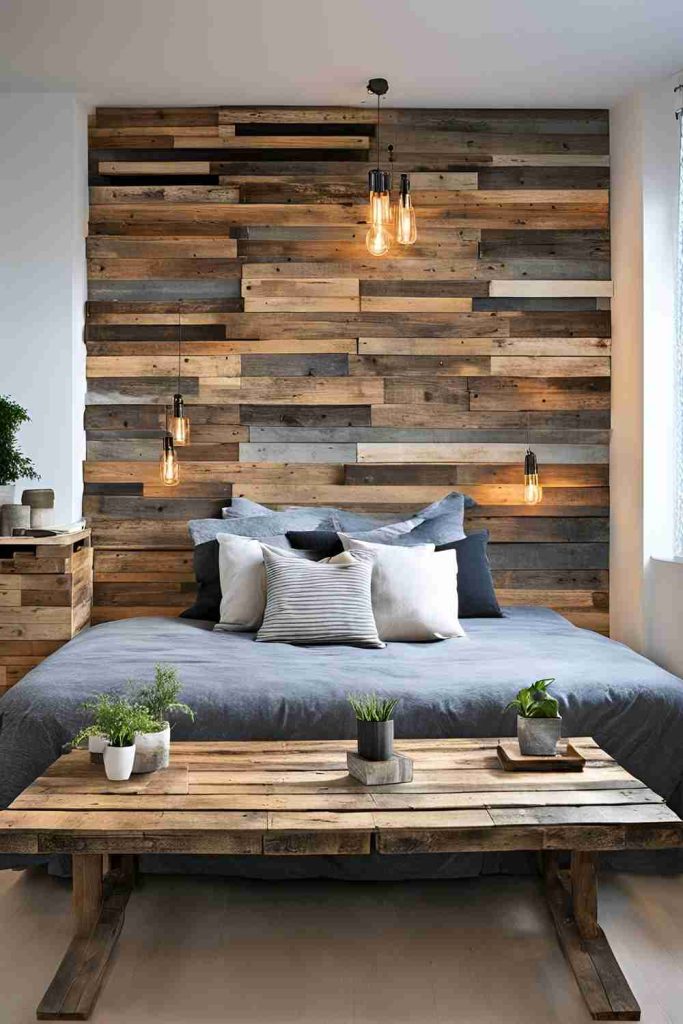
How to Create an Upcycled Pallet Headboard:
- Materials Needed: 2-3 pallets, saw, hammer, nails or screws, sandpaper, wood stain (optional), and a level.
- Step-by-Step Instructions: Start by disassembling the pallets using a saw or crowbar. Sand down any rough edges to ensure smoothness, then arrange the pieces to create the design you want (either stacked vertically, horizontally, or in a custom pattern). Once you’re satisfied with the arrangement, attach the planks to a wooden frame or directly to the wall. For a more polished look, you can stain the wood or leave it natural for a more rustic vibe.
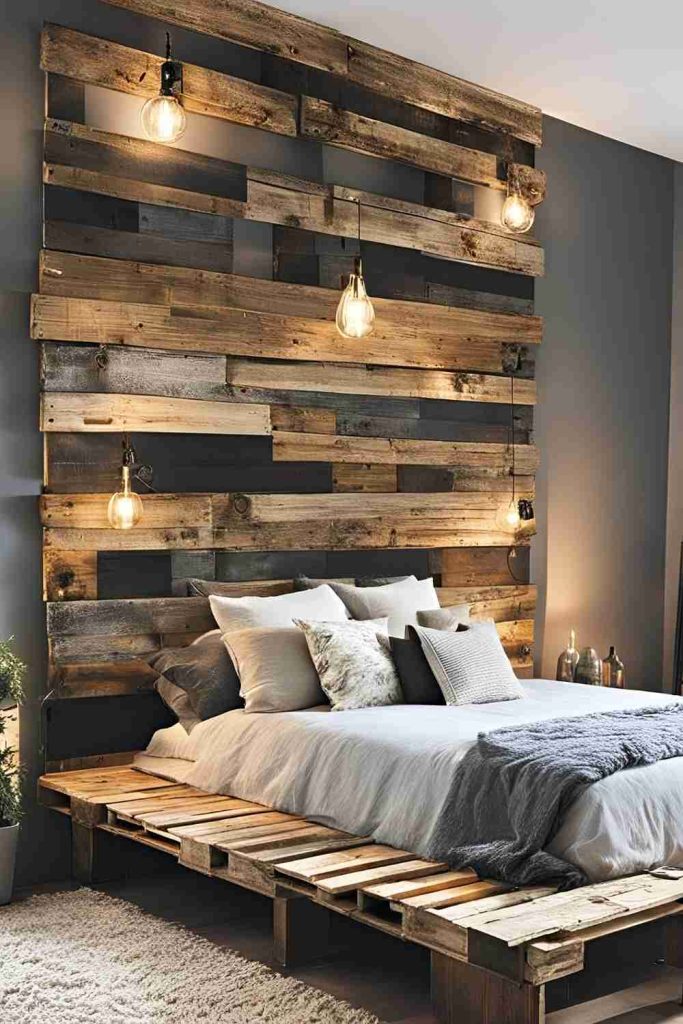
This headboard is perfect for those who want a laid-back, farmhouse feel. If you’re a fan of upcycling, this project will add a touch of environmental responsibility to your decor, too.
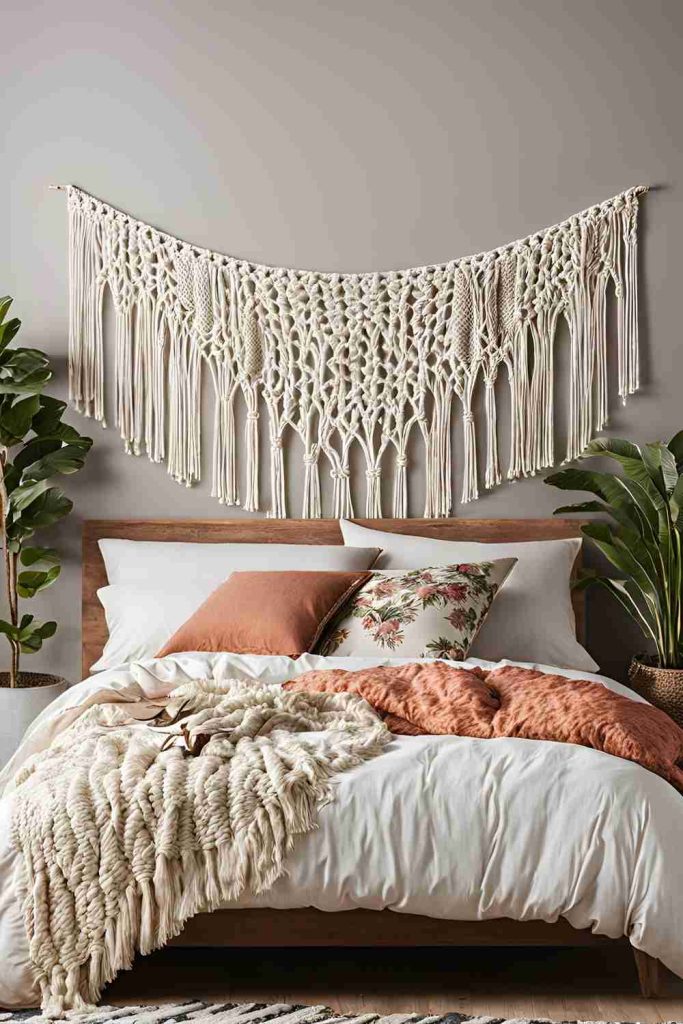
3. Boho Macrame Headboard
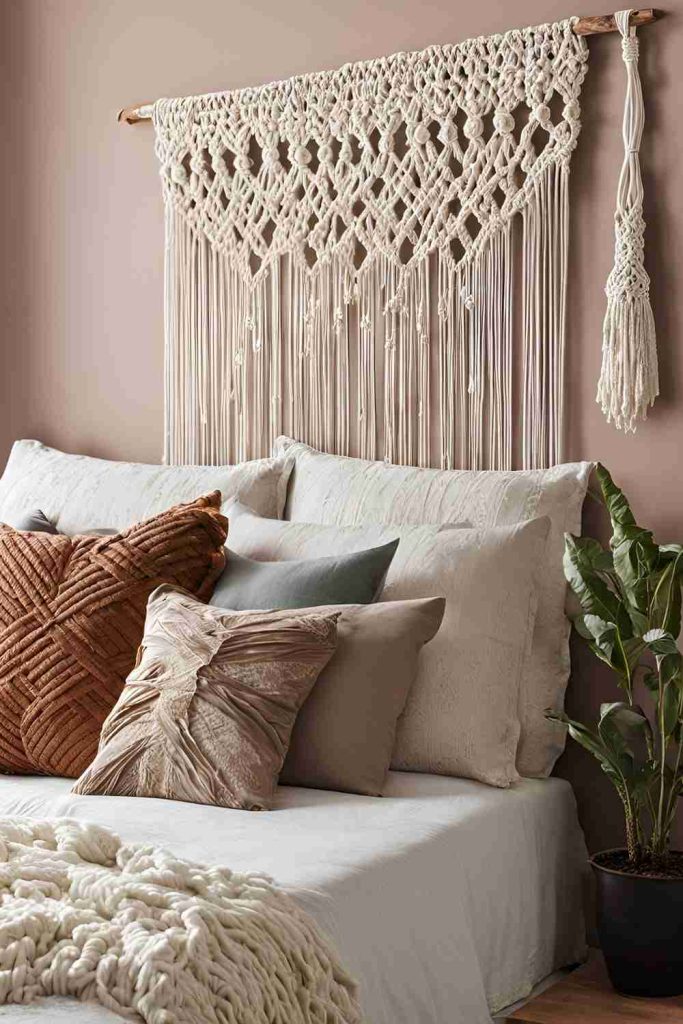
For a dreamy, bohemian-inspired bedroom, a macrame headboard brings texture, softness, and a sense of calm. Macrame is a craft that involves knotting cords into intricate patterns, and it’s an ideal material to create a statement piece for your bed. This headboard idea is particularly well-suited for women who enjoy crafting and want to add an artistic touch to their bedroom.
How to Create a Boho Macrame Headboard:
- Materials Needed: Macrame cord, wooden dowel or branch, scissors, and a measuring tape.
- Step-by-Step Instructions: Start by measuring the width of your bed frame to determine the length of your macrame piece. Cut the cord into long strands, and attach them to a wooden dowel or branch using larkshead knots. From there, you can begin knotting the cords into your chosen macrame pattern—whether that’s a classic diamond design or something more freeform. Once you’ve finished knotting, hang the piece behind your bed, securing it with hooks or nails.
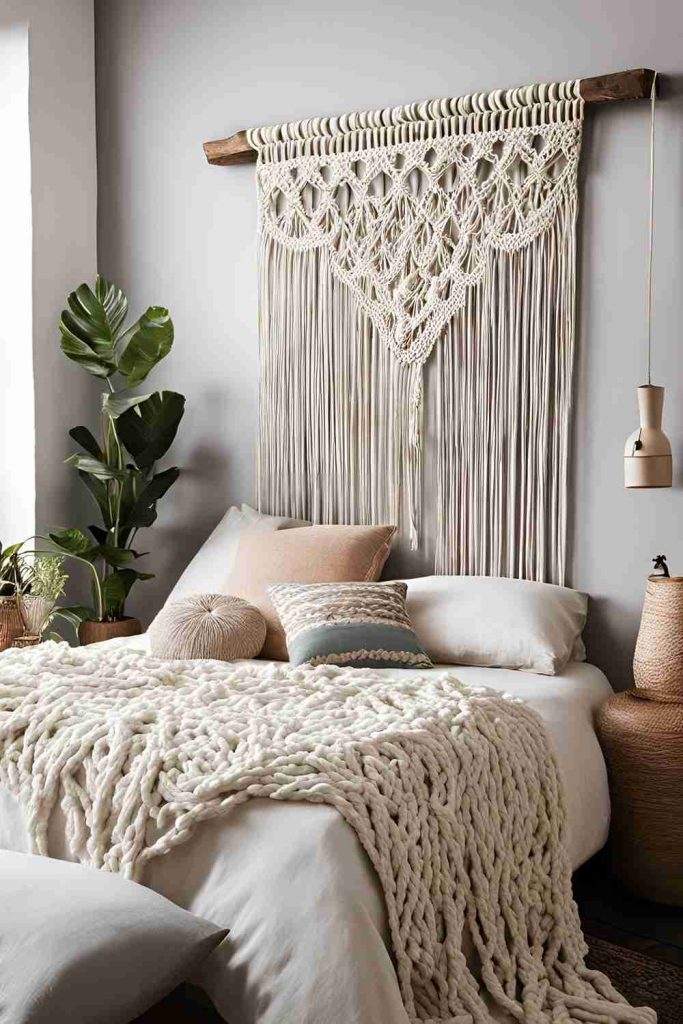
This headboard is perfect for anyone who loves bohemian or eclectic designs. It brings a sense of texture and artistry into the bedroom and can be customized with different knotting patterns or colors.
4. Upholstered Fabric Headboard

An upholstered fabric headboard is a chic and comfortable choice for those who want a luxurious yet accessible DIY project. The soft, cushioned surface provides extra comfort when sitting up in bed, making it ideal for reading or relaxing. Plus, you can choose fabric that matches your bedroom’s color scheme for a cohesive look.
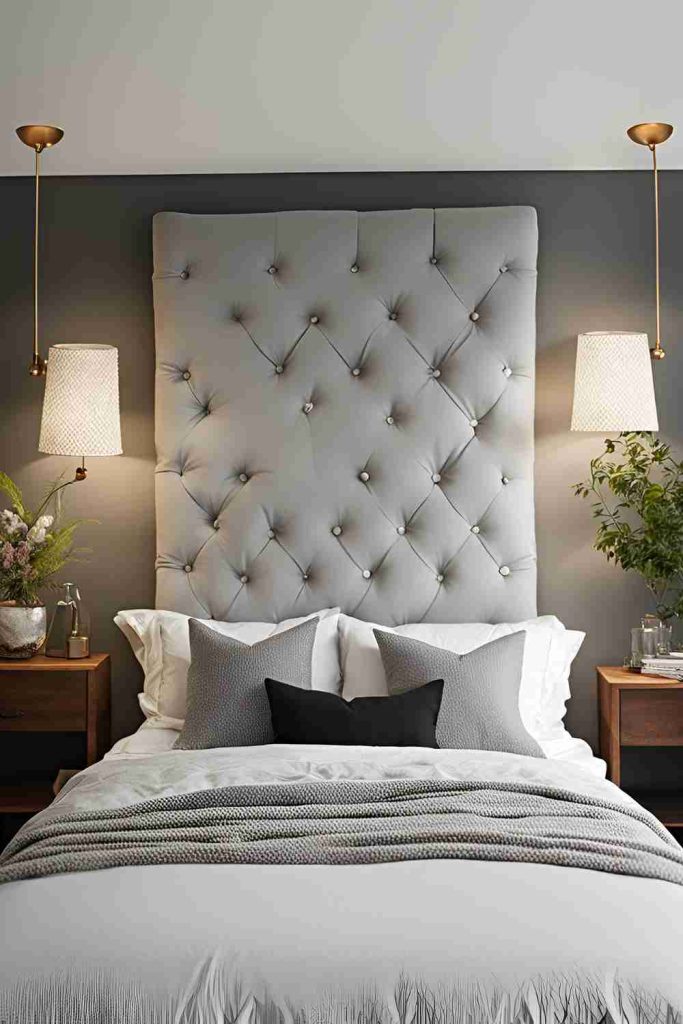
How to Create an Upholstered Fabric Headboard:
- Materials Needed: Plywood, foam padding, fabric, staple gun, scissors, batting (optional), and a drill.
- Step-by-Step Instructions: Begin by cutting a piece of plywood to the size of your desired headboard. Then, cut foam padding to fit the plywood and attach it using spray adhesive. For added softness, wrap the foam in batting before covering it with your chosen fabric. Pull the fabric taut and secure it to the plywood with a staple gun, ensuring there are no wrinkles or loose spots. Attach the headboard to the wall or mount it to your bed frame using screws.
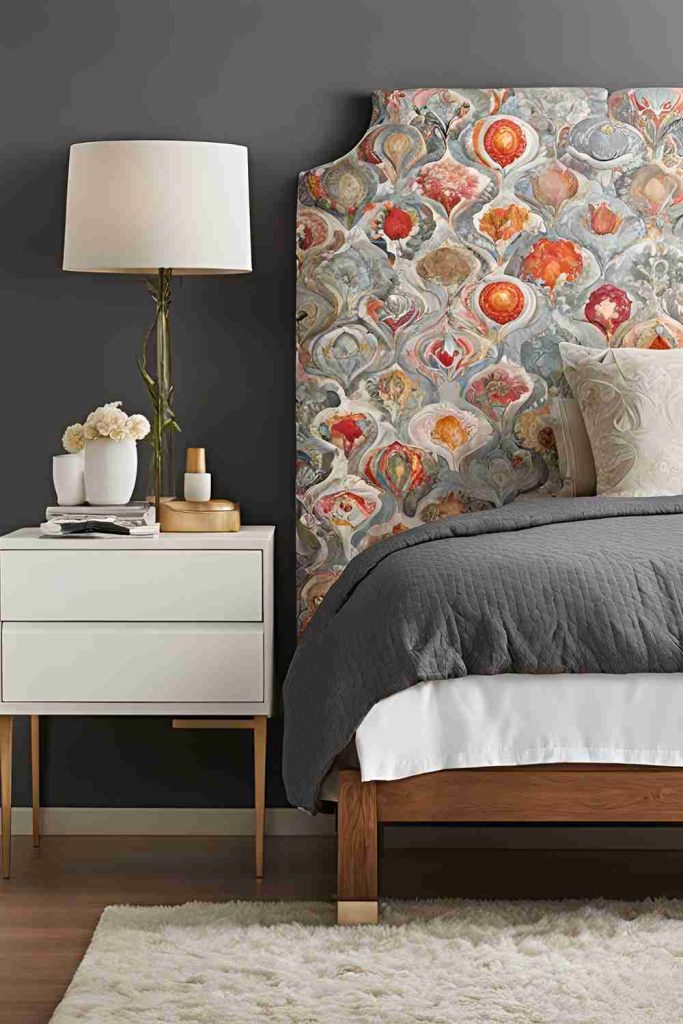
This headboard adds an elegant, tailored look to any bedroom. It’s perfect for those who want a more refined, comfortable addition to their space.
5. Minimalist Floating Headboard
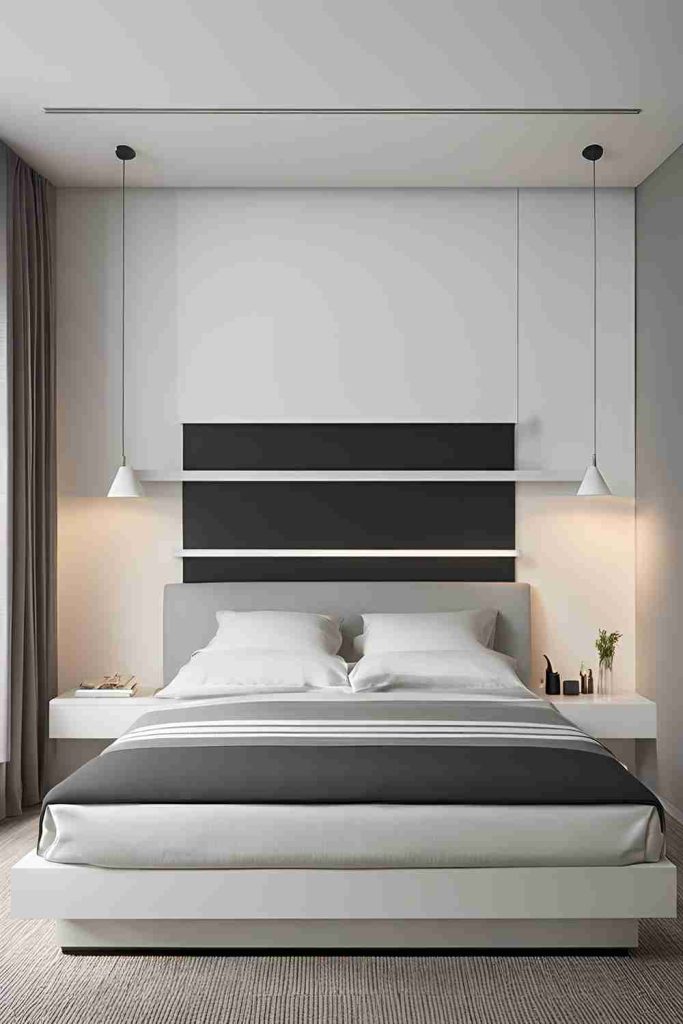
If you love modern design and clean lines, a floating headboard will give your bedroom a sleek and contemporary look. A floating headboard appears as if it’s suspended above the bed, offering a minimalist design that’s both striking and understated.
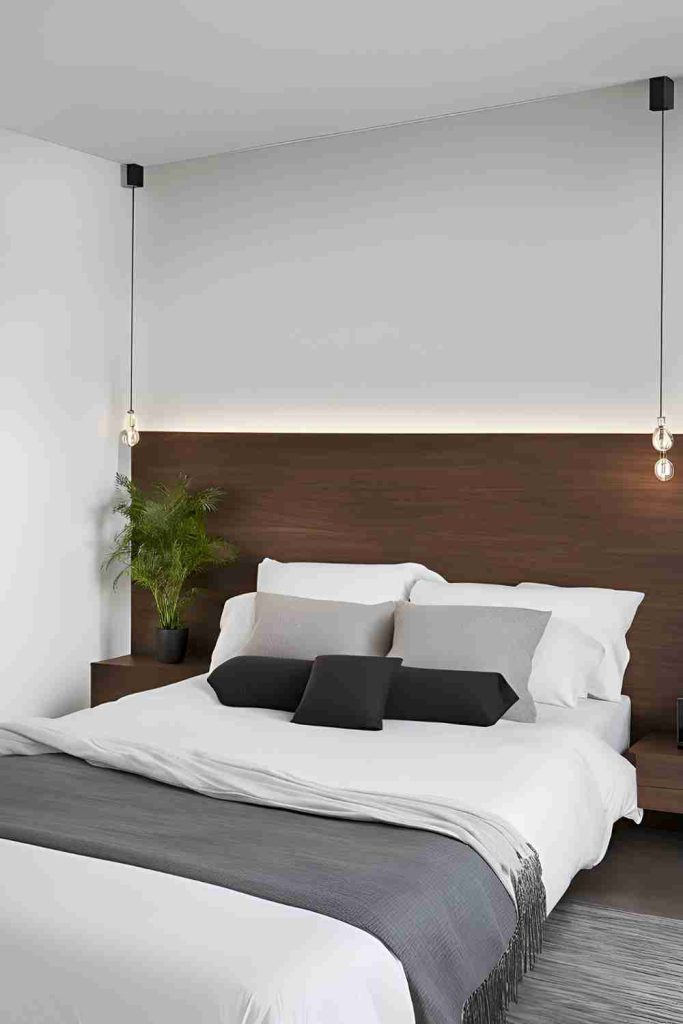
How to Create a Minimalist Floating Headboard:
- Materials Needed: Wood or MDF, saw, screws, drill, wall anchors, and a level.
- Step-by-Step Instructions: Measure the width of your bed and cut your wood to size. To create the floating effect, mount the headboard slightly off the wall using strong wall anchors. Ensure it’s level before securing it in place. You can also paint the wood in a neutral color or leave it natural for a minimalist look.
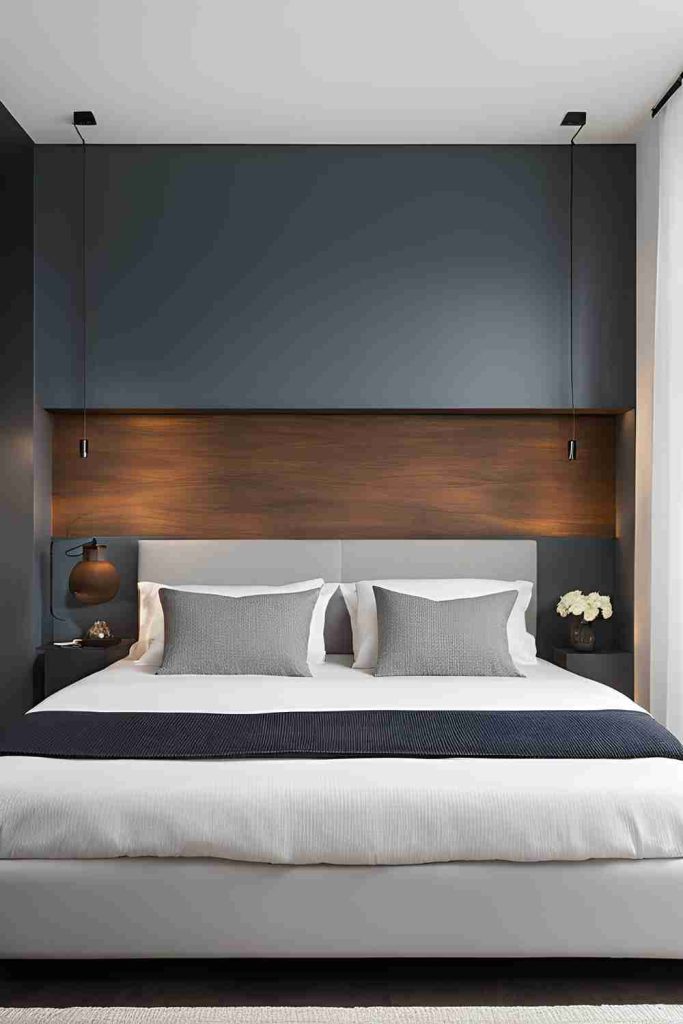
This headboard is perfect for modern bedrooms with minimalist decor. It offers a clean, open feel while still serving as a striking focal point.
6. Chalkboard Headboard
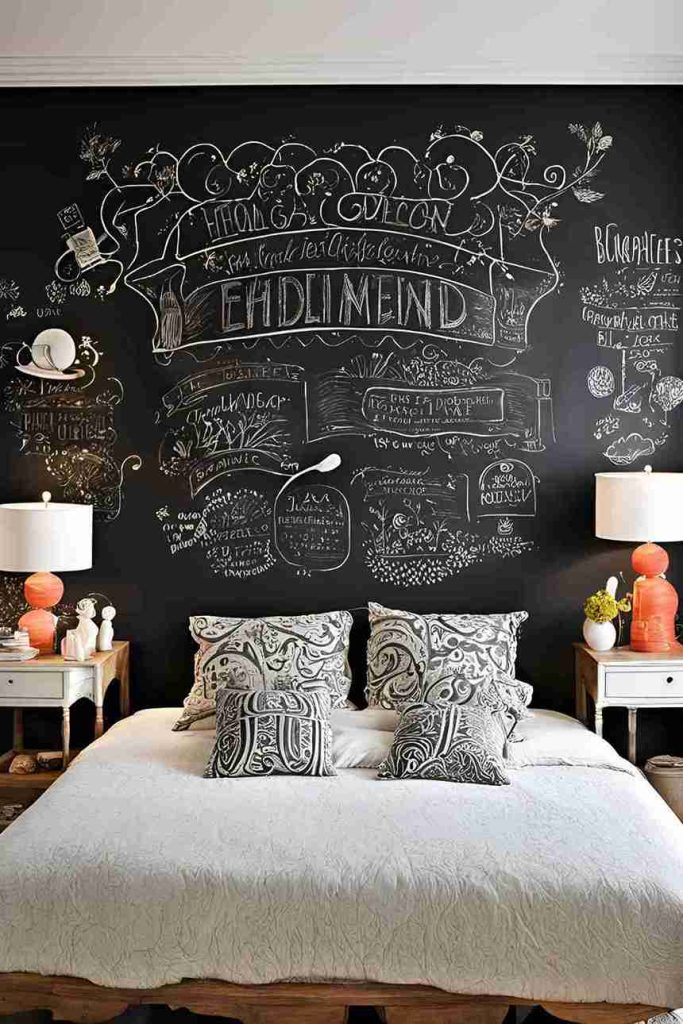
If you enjoy having a little fun with your decor, a chalkboard headboard offers endless opportunities for customization. Whether you want to jot down inspirational quotes, to-do lists, or draw doodles, this interactive headboard is a fun and creative way to make your bedroom unique.

How to Create a Chalkboard Headboard:
- Materials Needed: Plywood, chalkboard paint, paintbrush, and a level.
- Step-by-Step Instructions: Start by cutting the plywood to the size of your desired headboard. Paint the entire surface with chalkboard paint, allowing each coat to dry before applying the next. Once the headboard is dry, mount it behind your bed or secure it to your bed frame. For extra flair, you can add wooden trim around the edges.
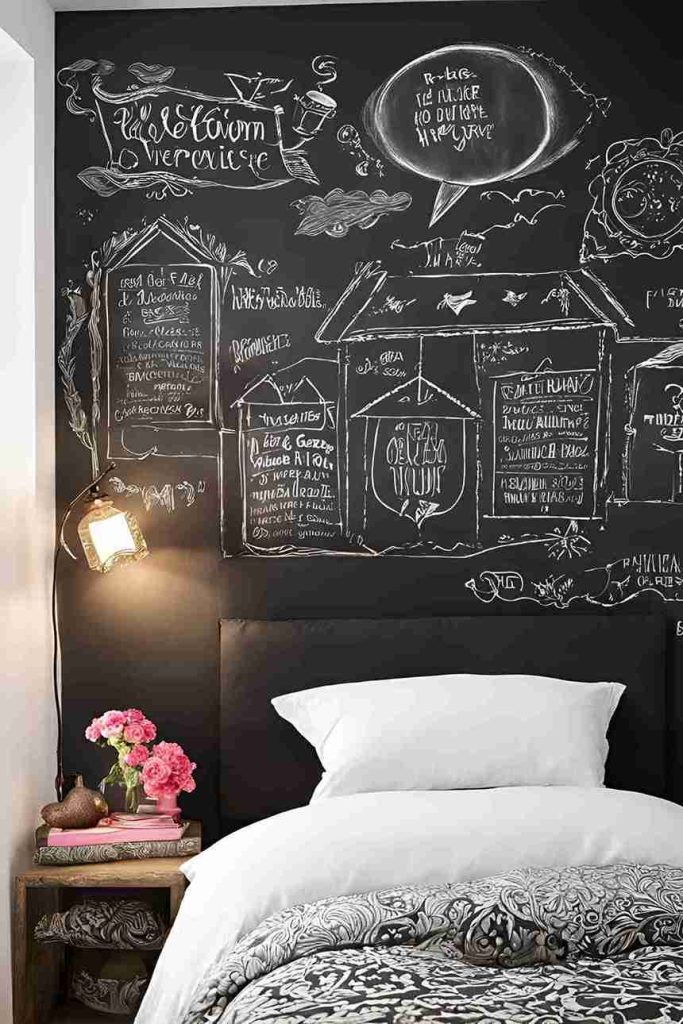
This headboard works particularly well in playful or eclectic bedrooms. It’s a great option for those who enjoy personalizing their space and want a creative outlet.
7. Shutter Headboard
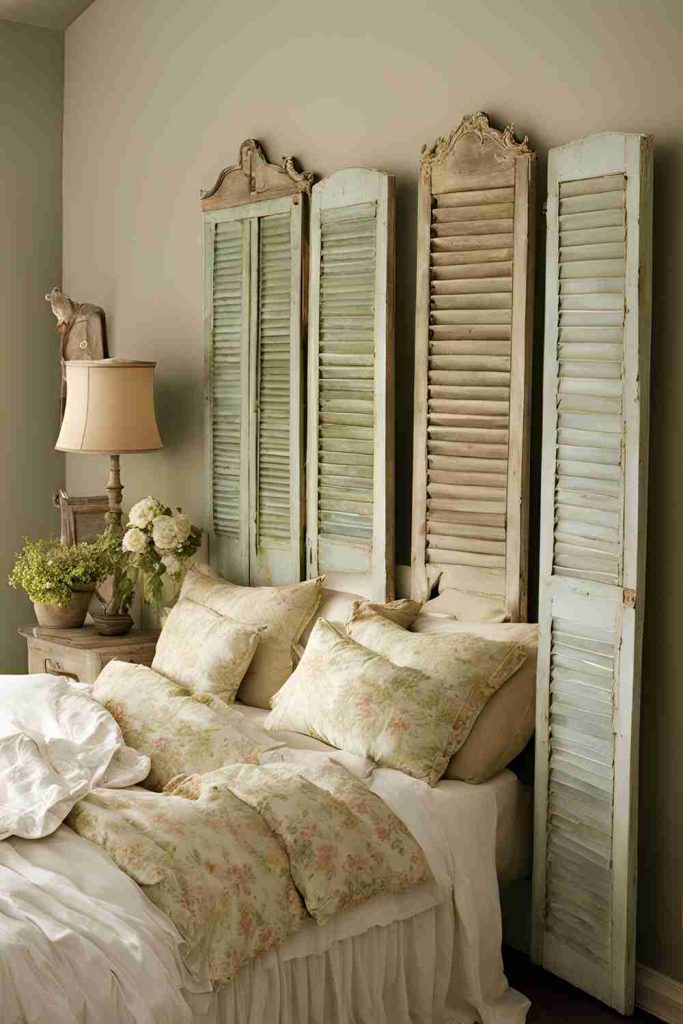
For a vintage-inspired look, an old set of shutters can be transformed into a charming headboard. Whether you have antique shutters lying around or find some at a thrift store, this project is easy to execute and will give your bedroom a timeless appeal.
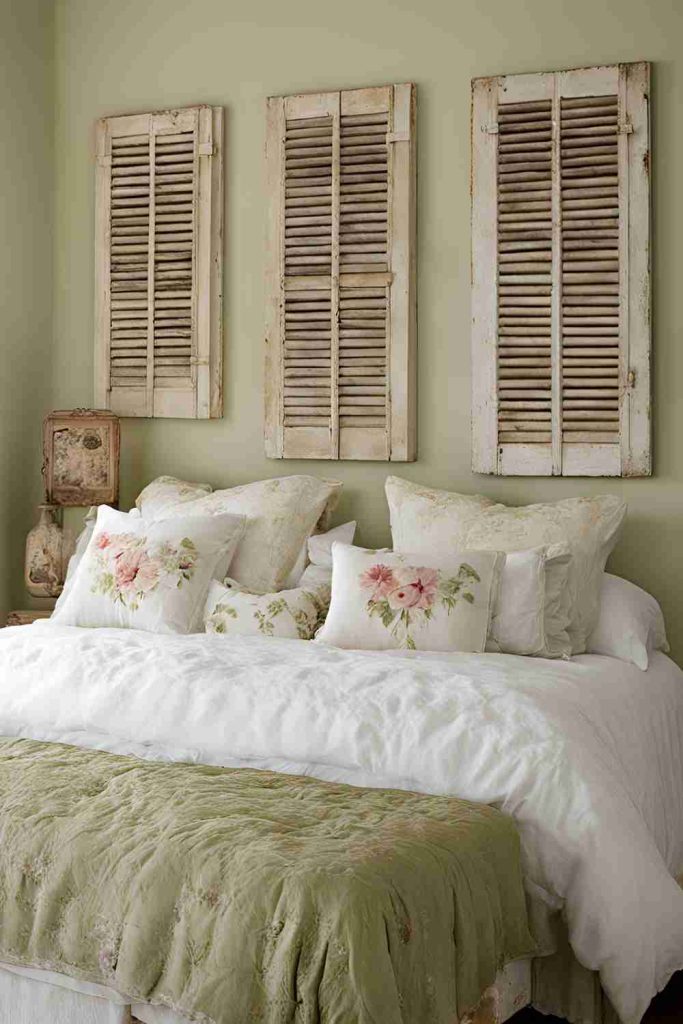
How to Create a Shutter Headboard:
- Materials Needed: Old shutters, paint (optional), hinges, screws, and a level.
- Step-by-Step Instructions: Begin by sanding the shutters to remove any rough spots. If you prefer a more distressed look, you can leave the shutters as-is, or you can paint them in a color that complements your bedroom decor. Attach the shutters to the wall using hinges or directly to the bed frame. Ensure they are securely fastened and level before moving on to the next step.
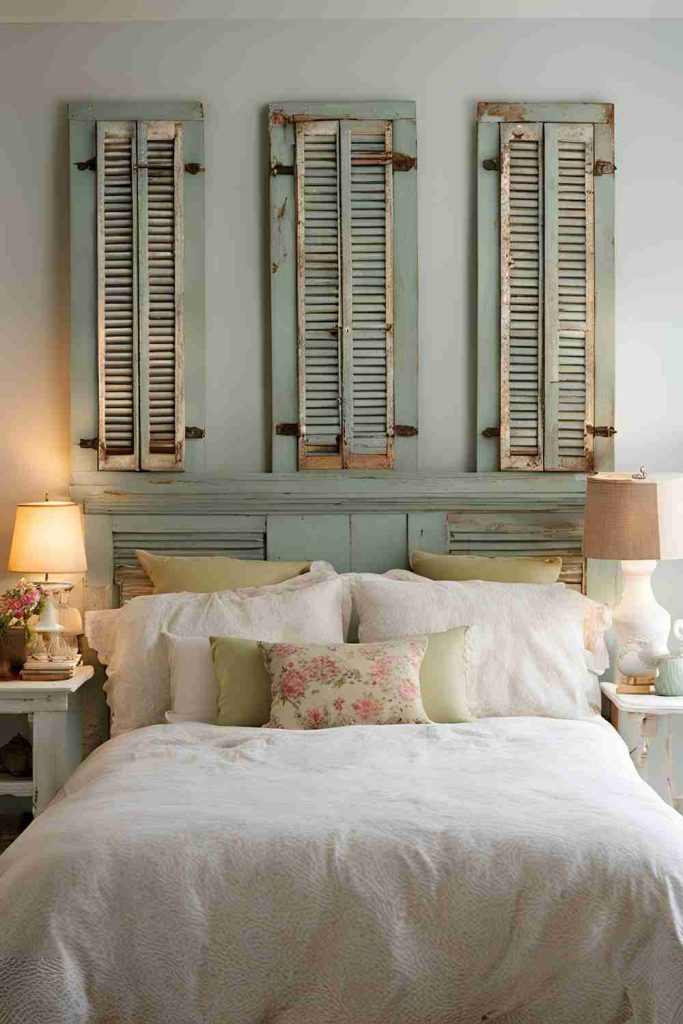
Shutter headboards are ideal for farmhouse, cottage, or vintage-inspired bedrooms. They add a charming and nostalgic touch to the space.
8. Mirror Headboard
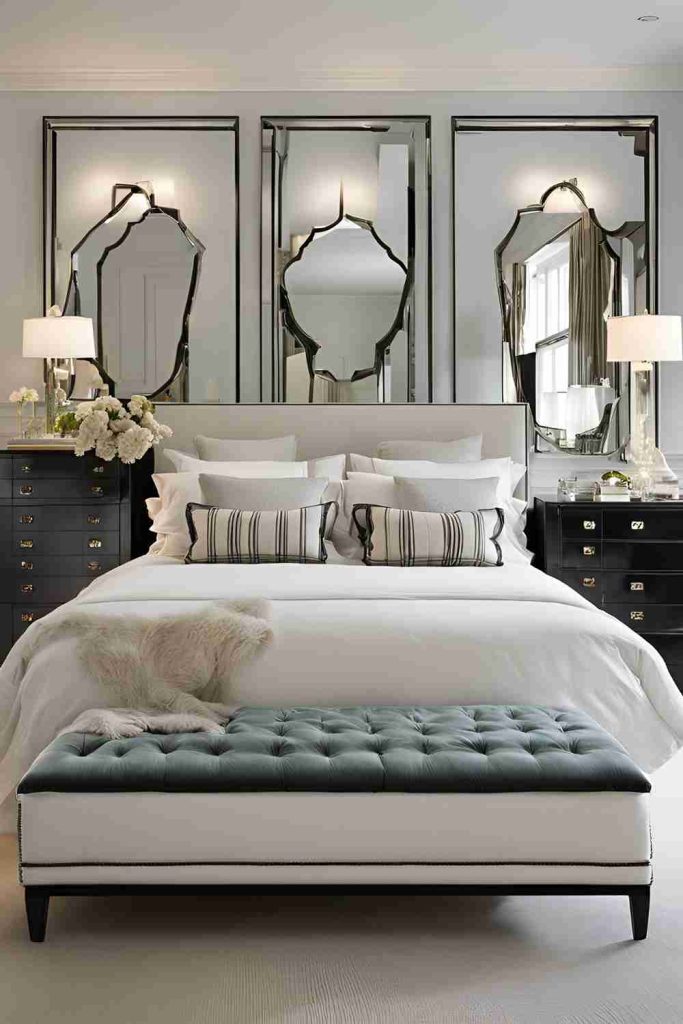
A mirror headboard is a sophisticated and reflective option that can make your bedroom feel more spacious and elegant. Mirrors add light and depth to the room, making it feel open and airy. Plus, they serve as both functional and decorative elements.
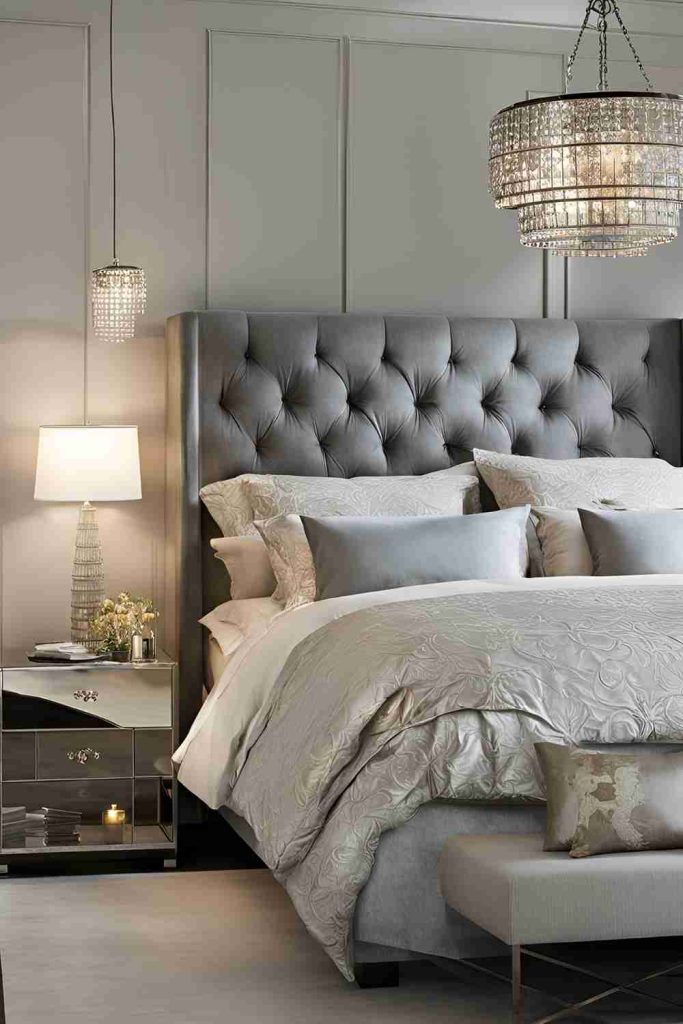
How to Create a Mirror Headboard:
- Materials Needed: Large mirrors, mirror adhesive, and a level.
- Step-by-Step Instructions: Measure the width of your bed and choose mirrors that fit accordingly. Depending on your design, you can use one large mirror or multiple smaller mirrors to create a pattern. Attach the mirrors to the wall or mount them on a wooden frame using mirror adhesive. Ensure everything is level and securely attached.
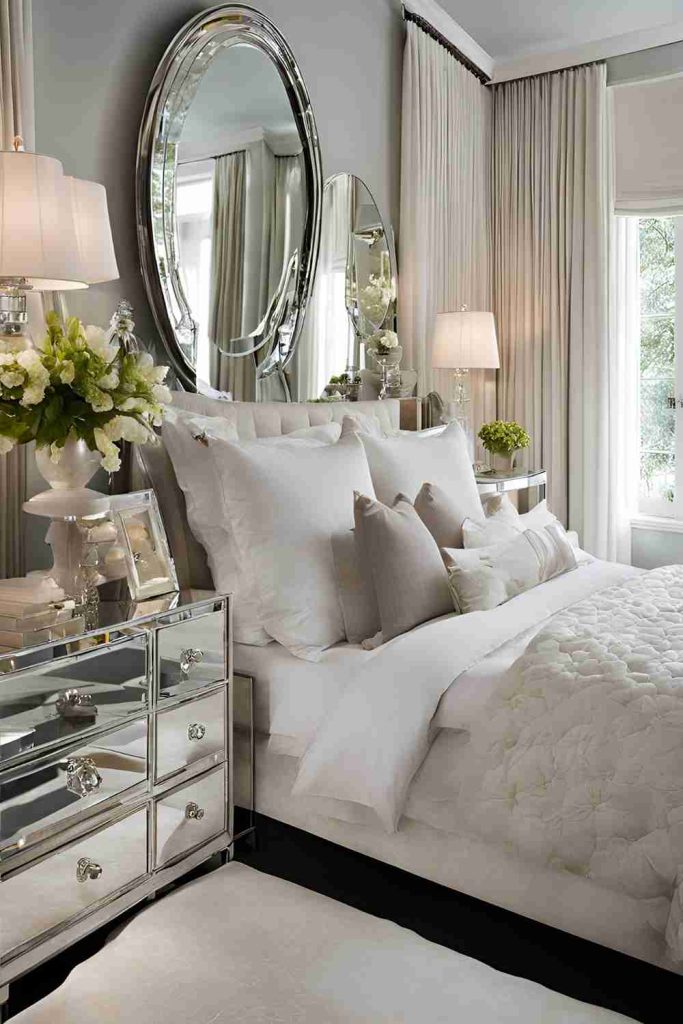
This headboard design is perfect for creating a luxurious, modern atmosphere. It works especially well in smaller rooms by reflecting light and making the space appear larger.
9. Pallet and Rope Headboard
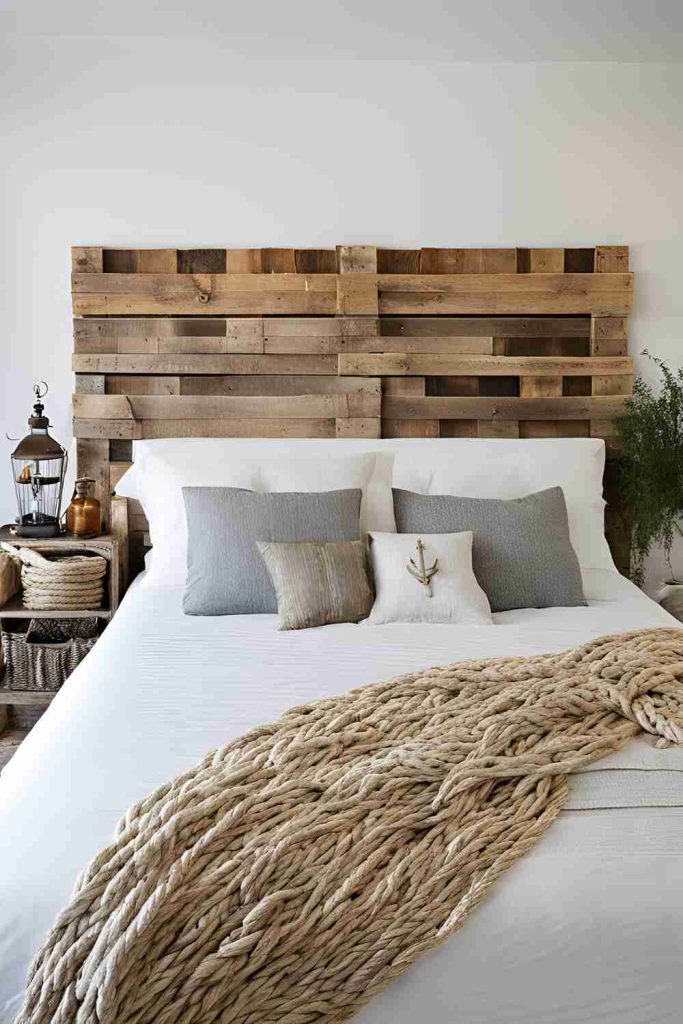
For a nautical or rustic feel, consider combining pallet wood with thick rope to create a one-of-a-kind headboard. The texture of the wood paired with the rope creates a stunning visual contrast that works well in bedrooms with rustic or beach-inspired decor.
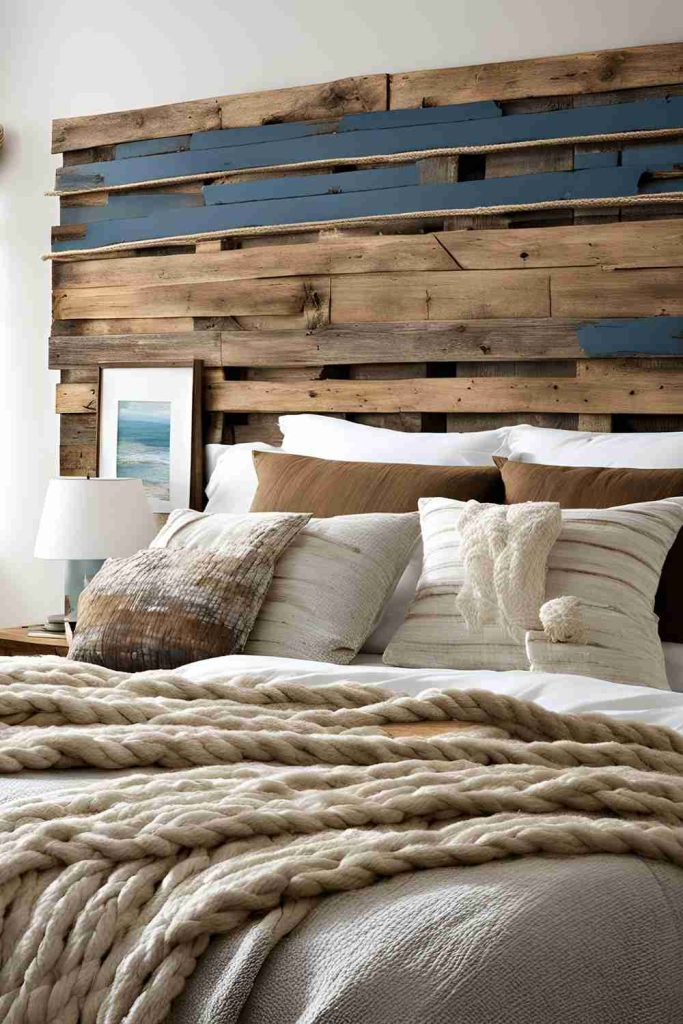
How to Create a Pallet and Rope Headboard:
- Materials Needed: Pallets, thick rope, saw, hammer, nails, and screws.
- Step-by-Step Instructions: Disassemble the pallets and arrange the planks to form your headboard. Drill holes along the edges of the planks and weave the rope through them in a criss-cross pattern. Once you’re happy with the design, secure the rope with nails or knots at each end. Attach the completed headboard to the wall or bed frame.

This headboard offers a textured, cozy atmosphere and is perfect for creating a rustic, beachy vibe in your bedroom.
10. Industrial Pipe Headboard
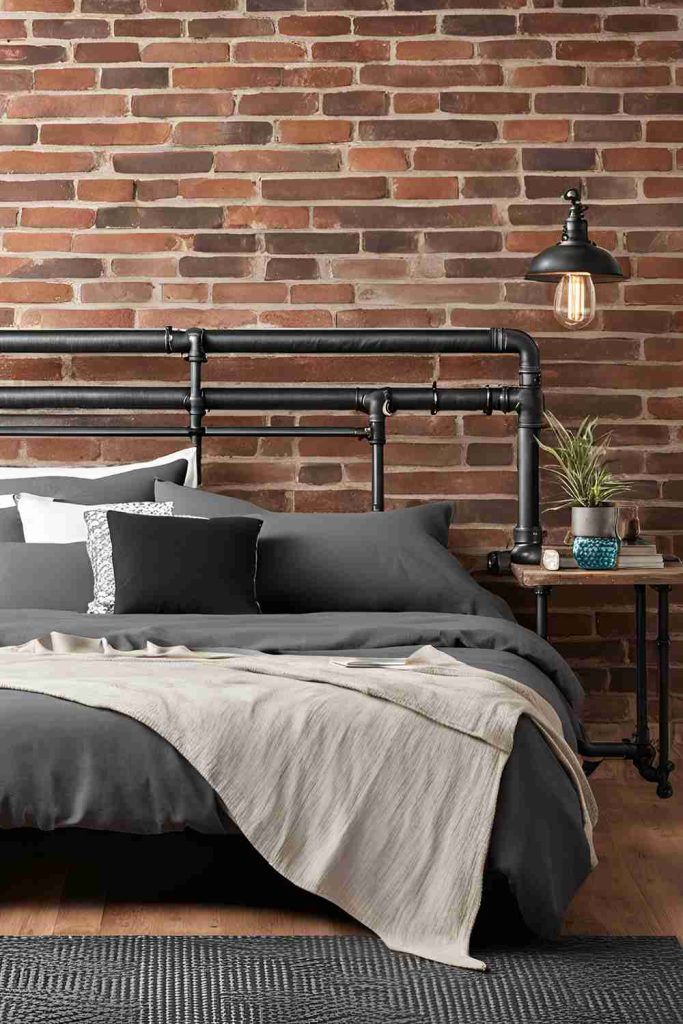
For a bold and modern look, an industrial pipe headboard is a striking choice. This headboard uses metal pipes to create an industrial, factory-inspired design that’s sure to be a conversation starter. It’s perfect for anyone who loves industrial decor or wants to add a touch of masculinity to their space.
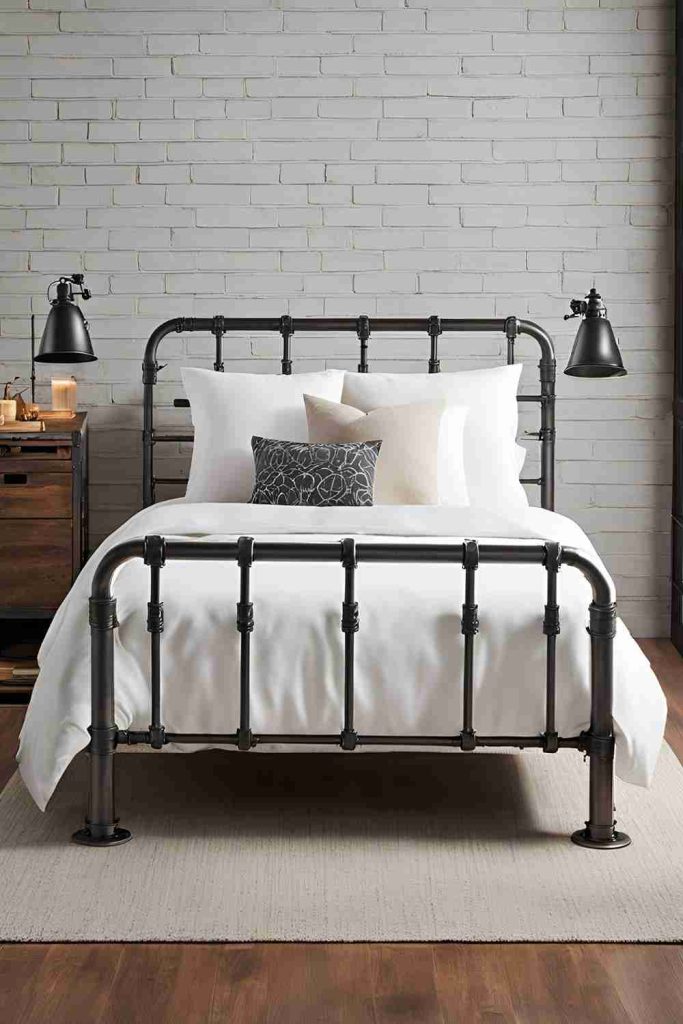
How to Create an Industrial Pipe Headboard:
- Materials Needed: Metal pipes, pipe fittings, pipe caps, wood for the base, screws, and a wrench.
- Step-by-Step Instructions: Measure the width of your bed and gather the necessary pipes to create the frame. Begin by assembling the pipes into a rectangular or square shape, using pipe fittings to connect them. If you want to add a wooden touch, you can attach a wooden shelf or panel to the top of the frame for additional character. Once everything is assembled, secure the pipes to the wall or bed frame using screws.
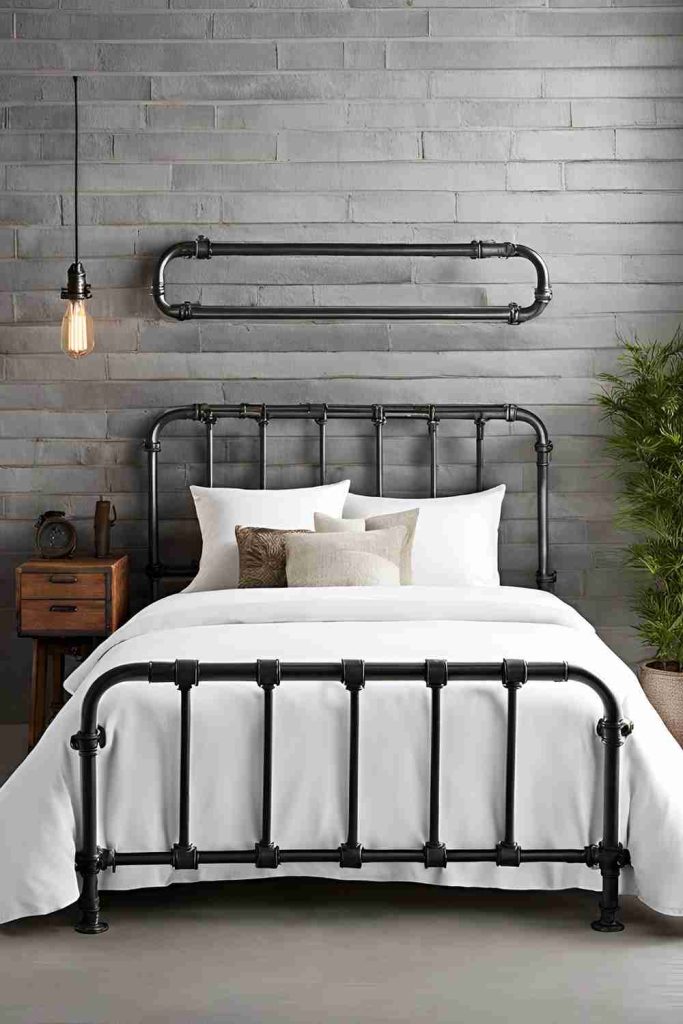
This headboard offers an edgy, industrial vibe that’s perfect for modern or loft-style bedrooms.
11. Branch and Twig Headboard
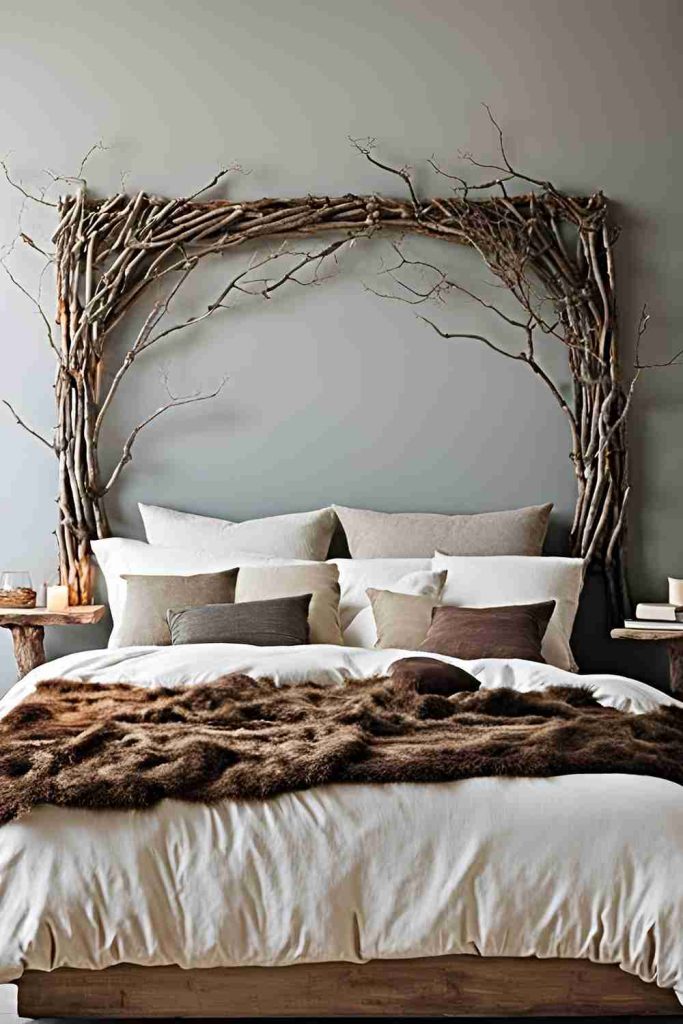
If you love the outdoors and want to bring a bit of nature into your bedroom, a branch and twig headboard is a beautiful, organic solution. This DIY headboard project is a creative way to incorporate natural elements into your decor while giving your bedroom a unique, whimsical touch.
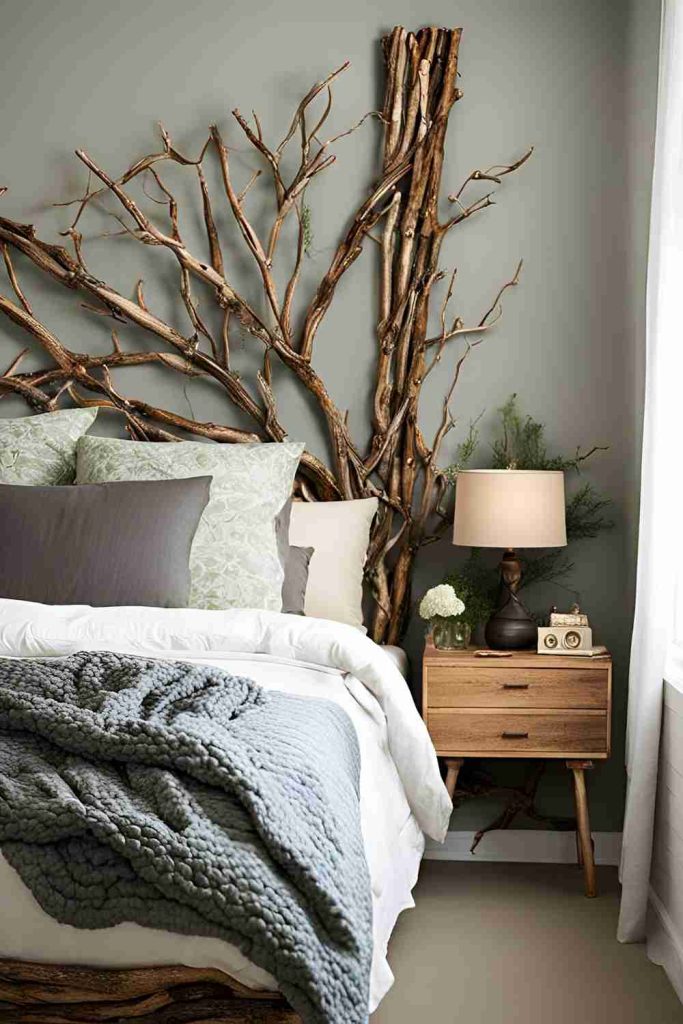
How to Create a Branch and Twig Headboard:
- Materials Needed: Branches or twigs, saw, nails or screws, and a hammer.
- Step-by-Step Instructions: Start by selecting branches or twigs that are sturdy enough to support the design you want to create. Arrange them vertically, horizontally, or in any pattern you like. Once you’re satisfied with the arrangement, secure the branches to the wall using nails or screws. For added texture, you can paint or stain the branches to give them a polished look.

This headboard works well for boho, rustic, or nature-inspired bedrooms, creating an earthy atmosphere that’s both tranquil and unique.
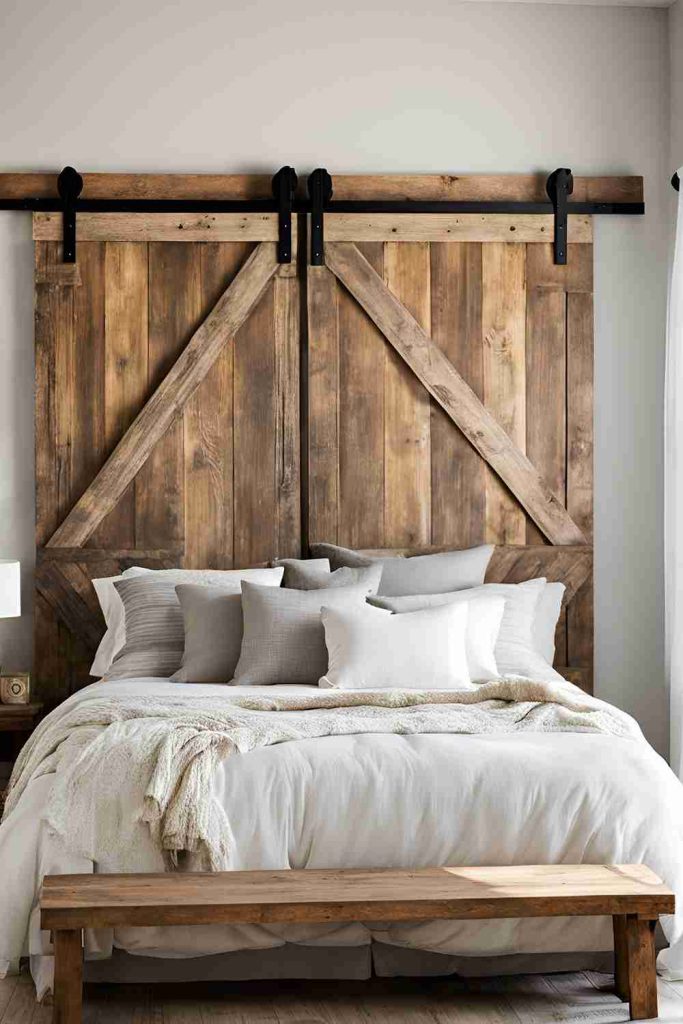
12. Farmhouse Barn Door Headboard
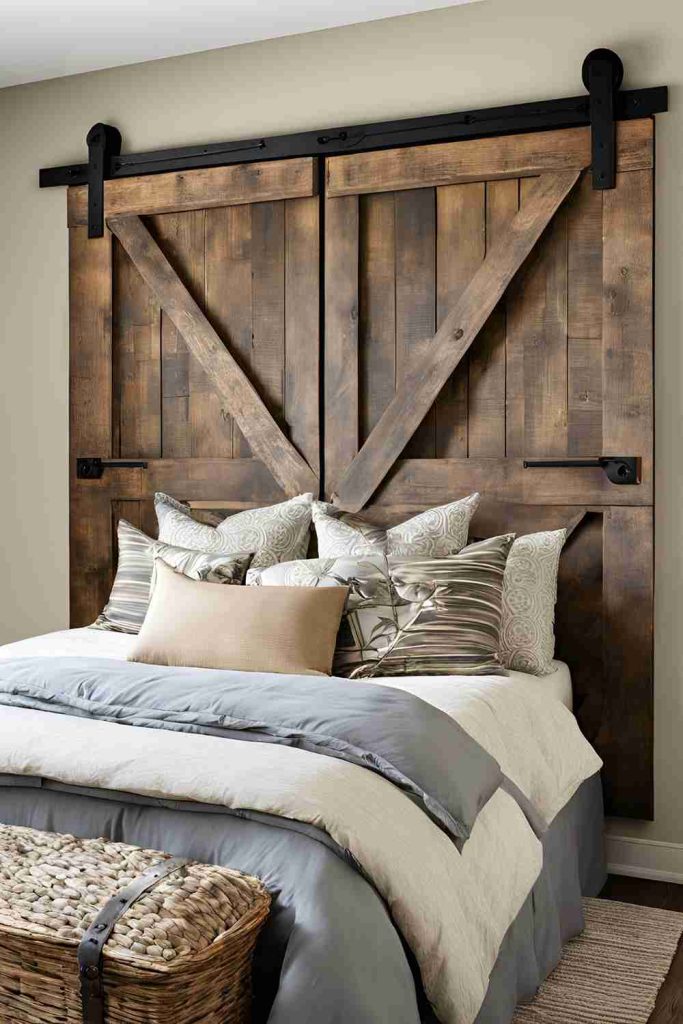
For a rustic, farmhouse-inspired look, a barn door headboard is a charming and functional option. Barn doors evoke a sense of warmth and coziness, and incorporating one into your bedroom can make your space feel welcoming and full of character. Plus, the large size and sturdy construction of a barn door create a visually striking feature behind your bed.
How to Create a Farmhouse Barn Door Headboard:
- Materials Needed: Barn door (or similar size wooden door), hardware for sliding door (optional), saw, screws, and a drill.
- Step-by-Step Instructions: If you already have a barn door, great! If not, you can easily build one by attaching planks of wood to create a door-like shape. Once your door is ready, you can either mount it directly to the wall or install a sliding door track for a functional, movable headboard. Paint or stain the door to match your room’s decor, and make sure it’s securely attached to the wall or frame.
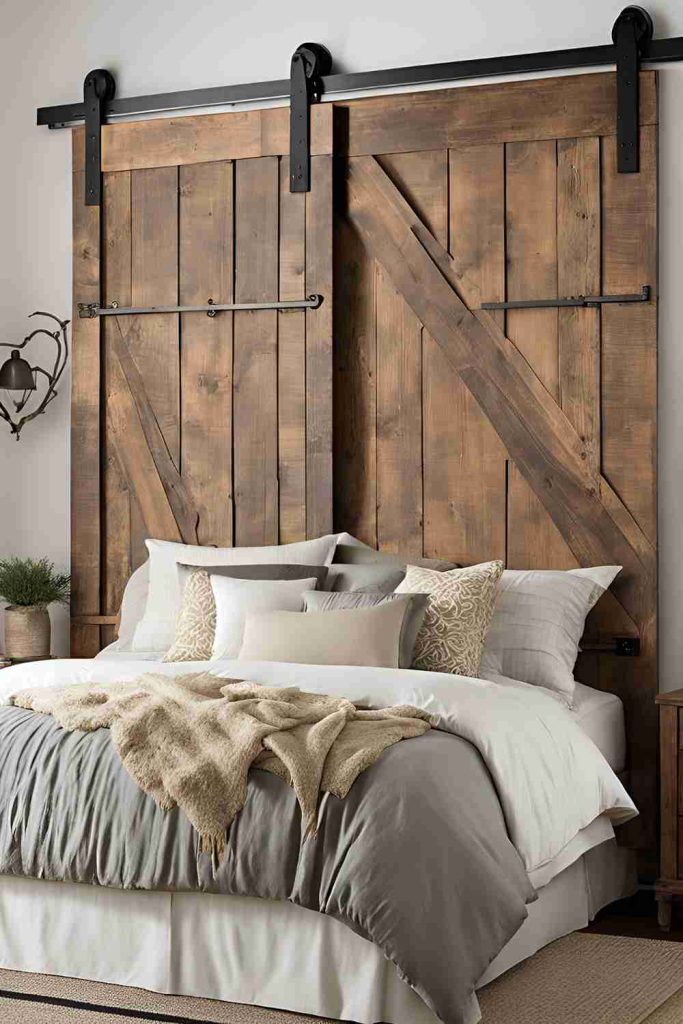
A barn door headboard is perfect for farmhouse, rustic, or even industrial-style rooms. It brings an authentic, charming touch to your bedroom and can serve as both a decorative and practical piece.
13. Fabric-Covered Corkboard Headboard
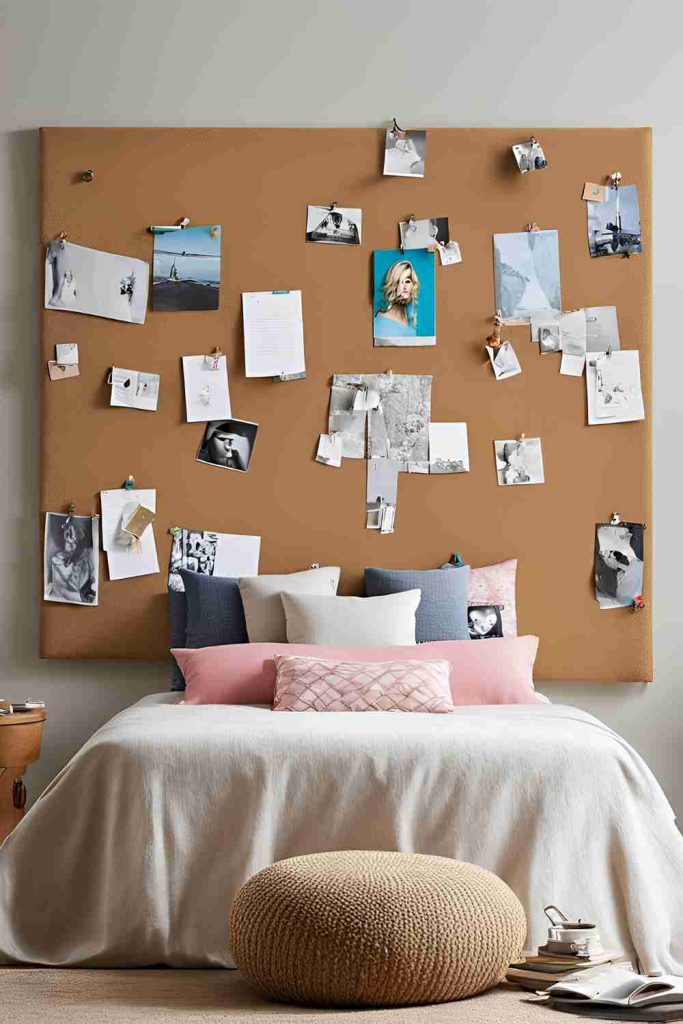
For a creative and multifunctional headboard, consider a fabric-covered corkboard. This type of headboard allows you to combine both style and function by creating a surface where you can pin up photos, notes, and personal mementos. It’s a fantastic option for those who want a dynamic, ever-changing decor feature.
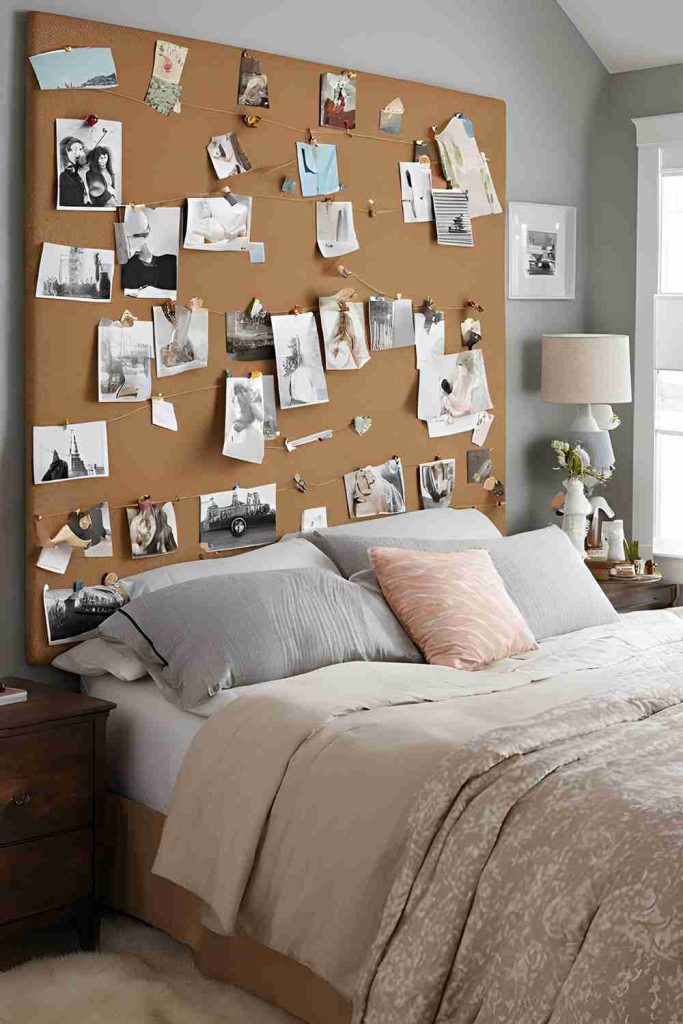
How to Create a Fabric-Covered Corkboard Headboard:
- Materials Needed: Corkboard, fabric (your choice of pattern), scissors, staple gun, and a wooden frame (optional).
- Step-by-Step Instructions: Begin by cutting the corkboard to the size of your desired headboard. Wrap the corkboard in your chosen fabric, securing it tightly with a staple gun. If you want a more polished look, you can attach the fabric-covered corkboard to a wooden frame for a finished edge. Once the headboard is ready, mount it to the wall behind your bed.
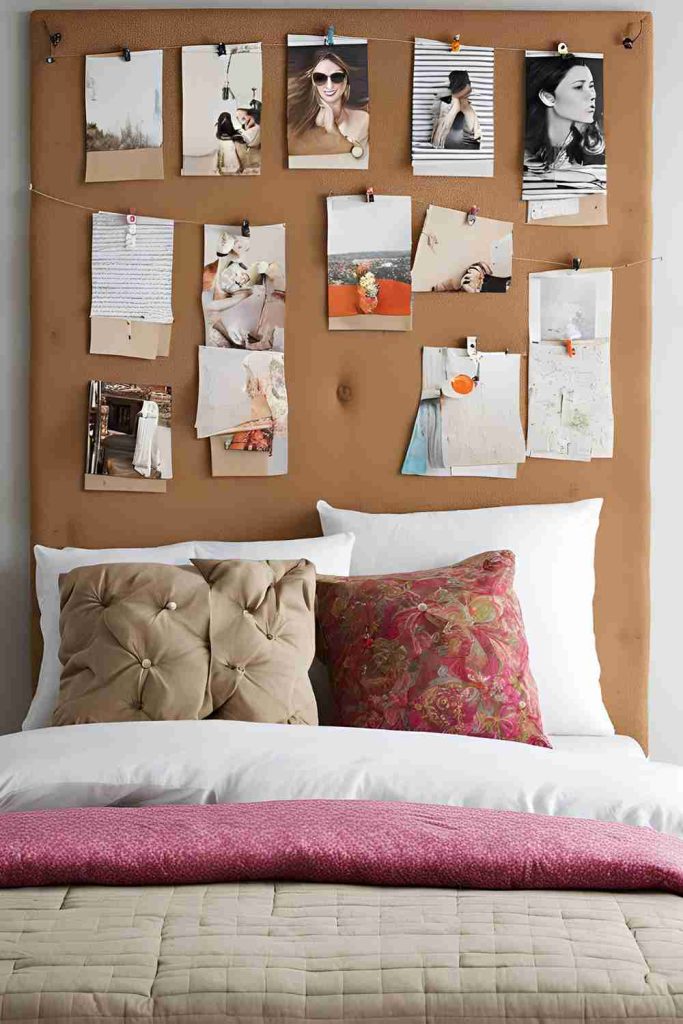
This headboard idea is ideal for anyone who likes to keep their space organized and personalized, as it provides both storage and style in one. You can easily swap out photos or notes to keep the space fresh.
14. Geometric Wood Panel Headboard
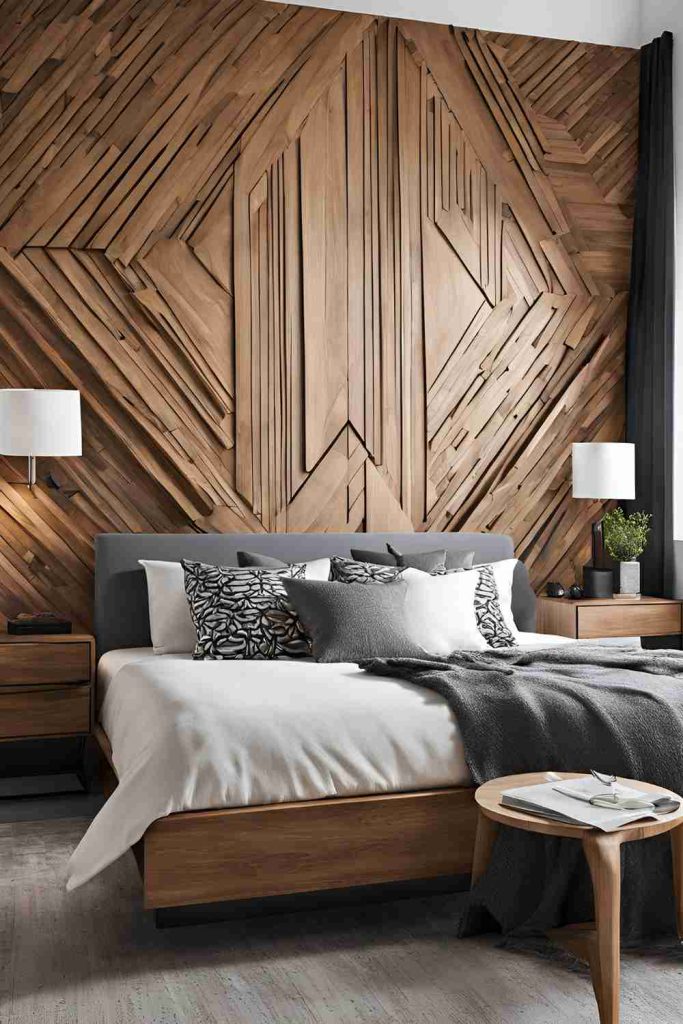
If you enjoy modern design, a geometric wood panel headboard can add a contemporary flair to your bedroom. The angular patterns of wood panels create visual interest and make a bold statement. It’s perfect for those who want a headboard that doubles as art.
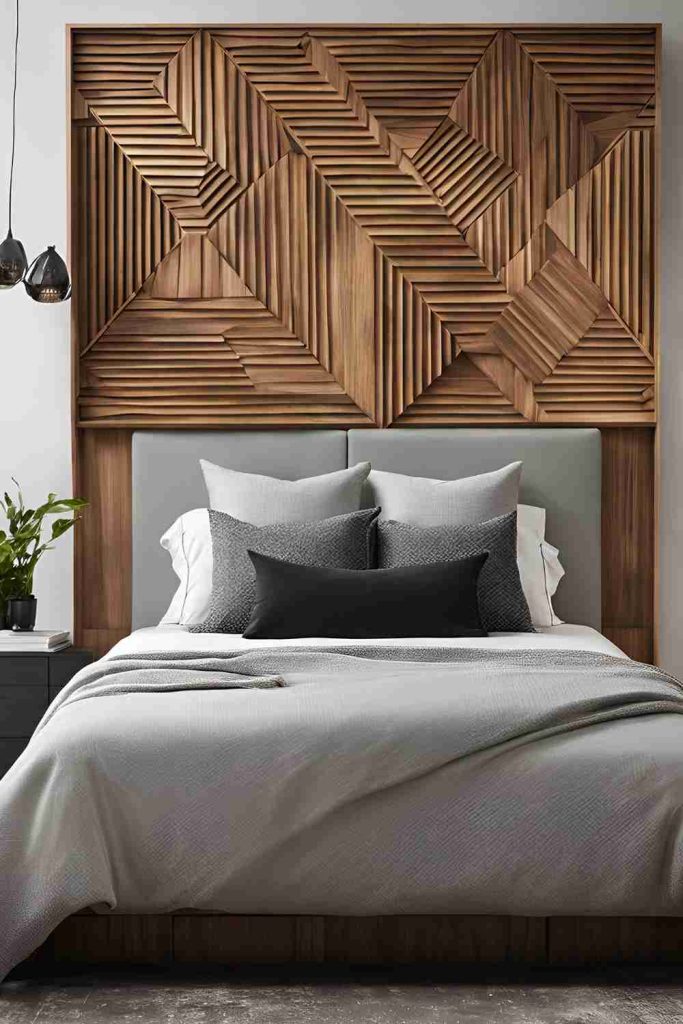
How to Create a Geometric Wood Panel Headboard:
- Materials Needed: Wood panels (cut into different shapes), wood glue or nails, saw, and a drill.
- Step-by-Step Instructions: Measure the width of your bed and determine the pattern you’d like to create with the wood panels (triangles, diamonds, squares, etc.). Cut the panels to size and arrange them in the pattern of your choice. Secure the panels to the wall or a wooden frame with wood glue or nails. You can paint the panels in different colors or leave them natural for a sleek look.
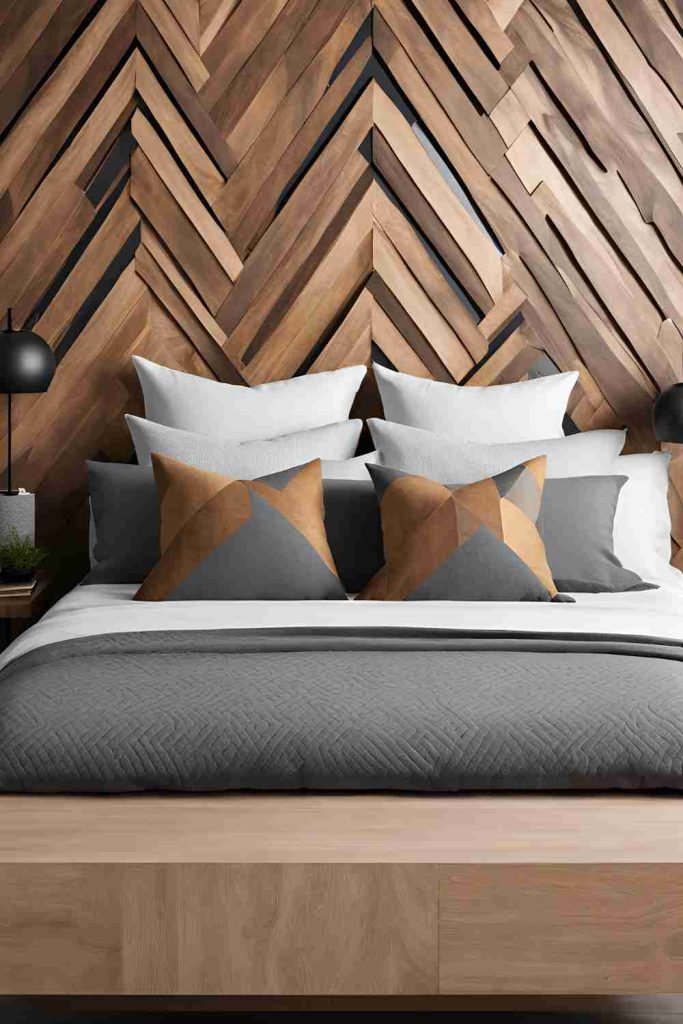
This headboard is perfect for modern or minimalist bedrooms. It adds a creative touch without overwhelming the space, giving your bedroom a high-design feel.
15. Faux Leather Headboard
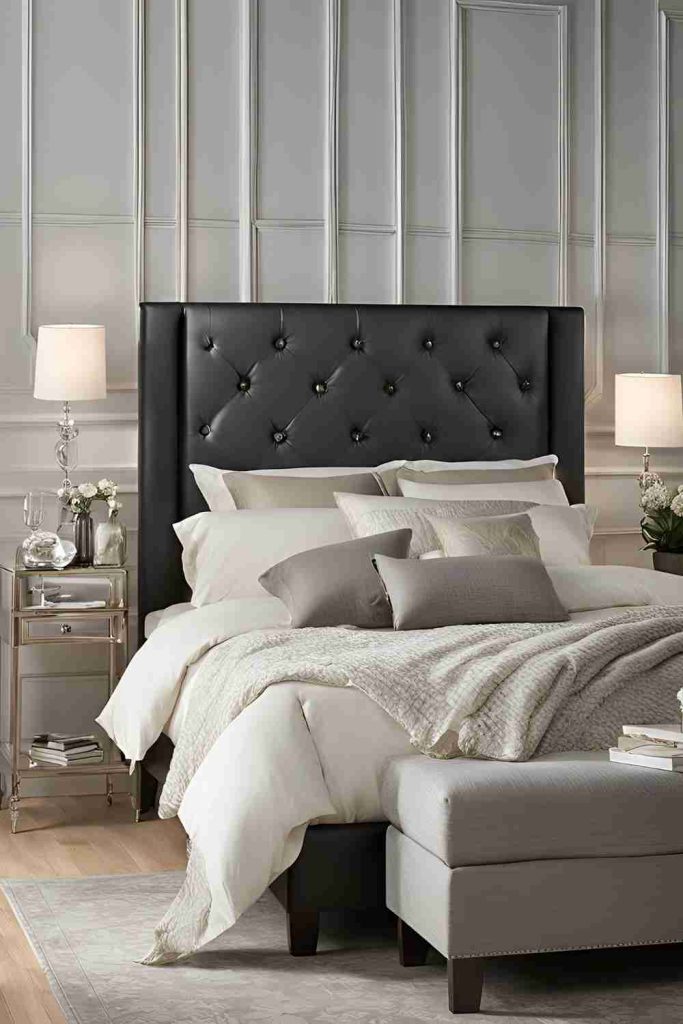
A faux leather headboard exudes luxury and sophistication, without the high cost of real leather. This material is soft, durable, and easy to clean, making it a great choice for a high-end look with minimal maintenance. Plus, it’s versatile enough to fit in various bedroom styles, from modern to classic.
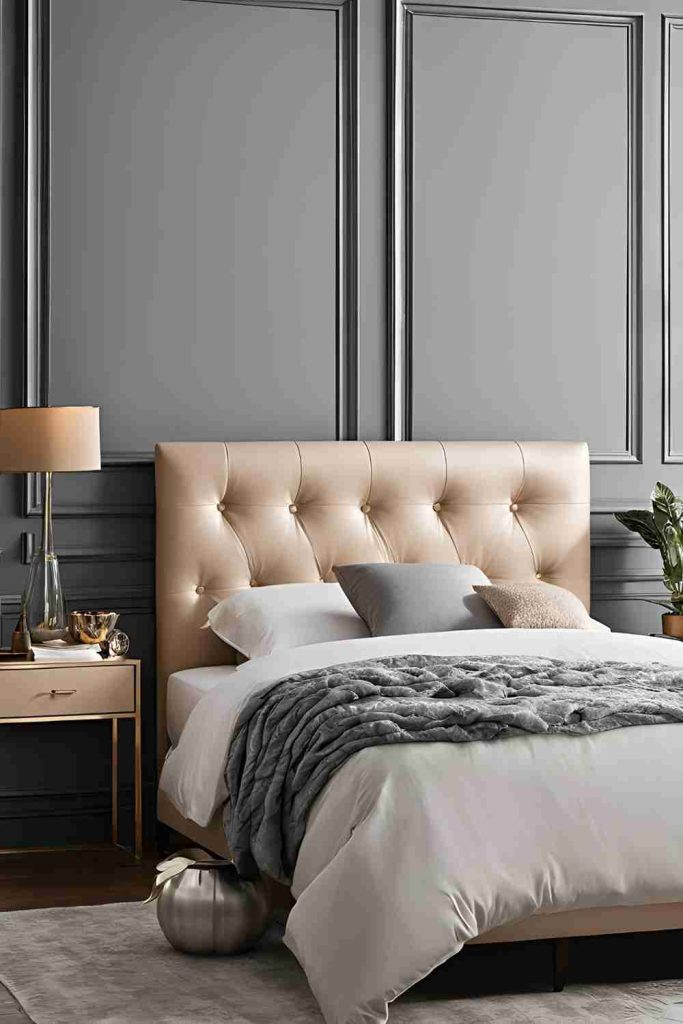
How to Create a Faux Leather Headboard:
- Materials Needed: Faux leather fabric, plywood, foam padding, batting, scissors, staple gun, and a drill.
- Step-by-Step Instructions: Start by cutting the plywood to your desired size. Then, attach foam padding to the plywood, followed by batting for extra cushioning. Cut the faux leather to size and staple it tightly over the padding. If you want a button-tufted look, use a drill to create holes in the plywood, threading buttons through the fabric to create a chic tufted effect. Finally, mount the headboard to the wall or attach it to your bed frame.
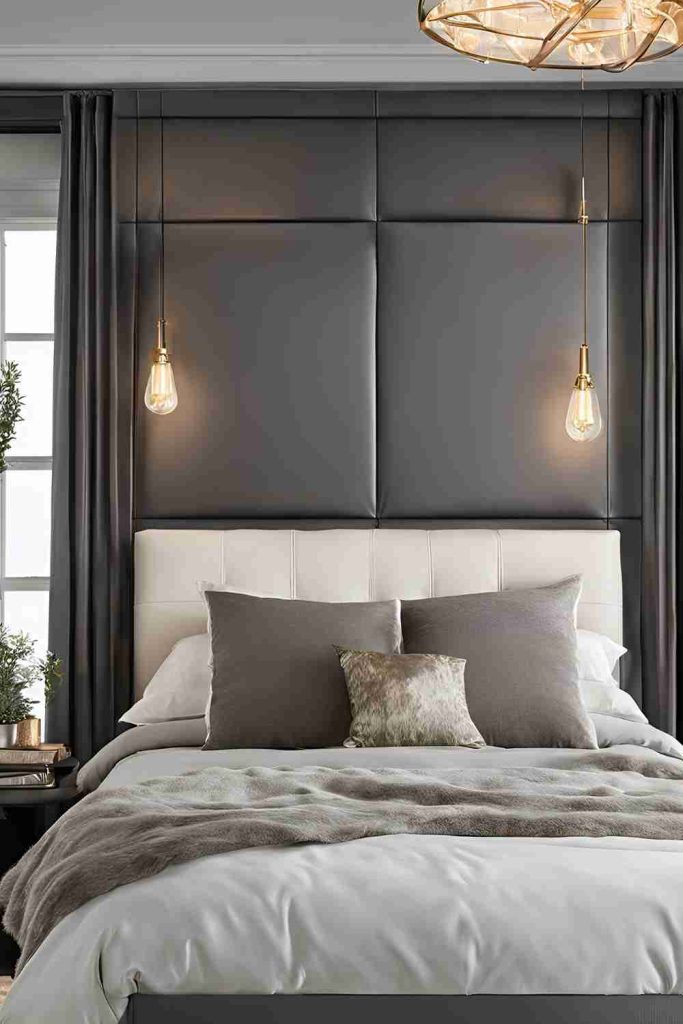
This headboard design adds a refined, modern touch to your bedroom and is perfect for anyone who loves a sophisticated, polished look.
16. Vertical Slat Headboard
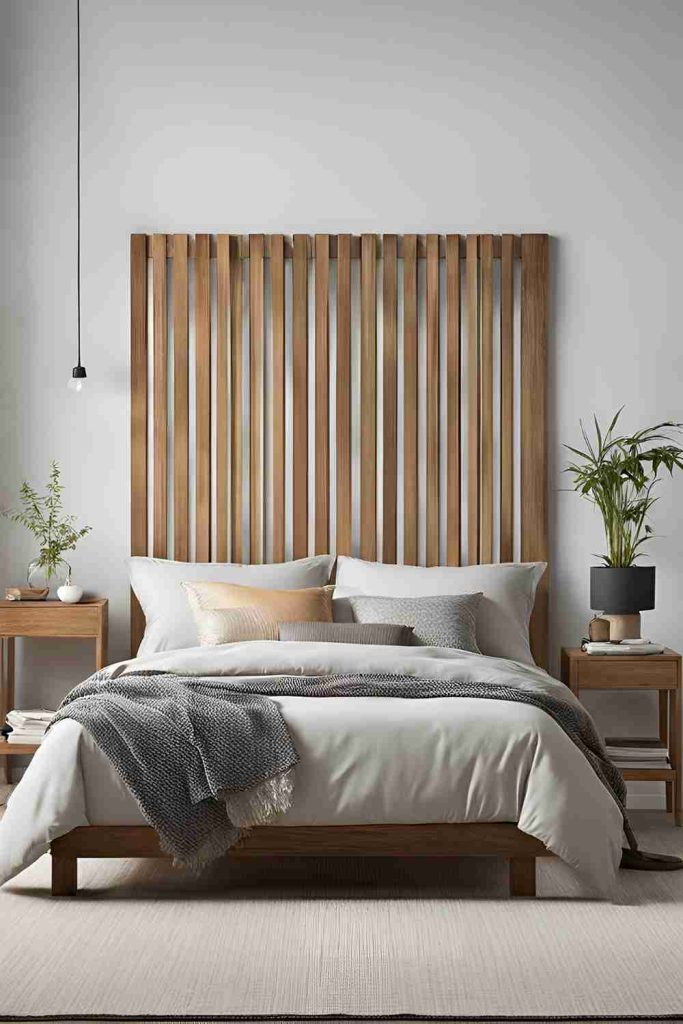
If you prefer a minimalist yet striking look, a vertical slat headboard could be just the right choice. This design is clean and simple, yet it offers enough texture and visual interest to serve as the focal point of your bedroom.
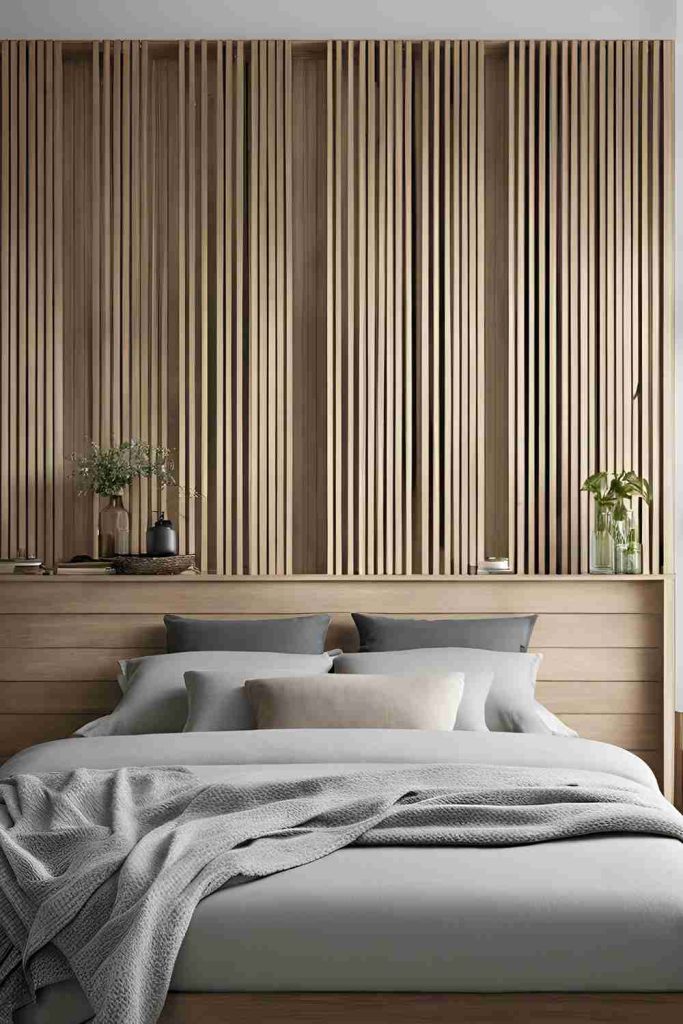
How to Create a Vertical Slat Headboard:
- Materials Needed: Wooden slats, saw, hammer, nails, and a level.
- Step-by-Step Instructions: Begin by cutting the wooden slats to the desired length. Space them evenly and attach them vertically to the wall or to a wooden frame using nails. Use a level to ensure the slats are aligned properly. If you want to add more dimension, consider painting the slats in different colors or staining them for a more rustic feel.
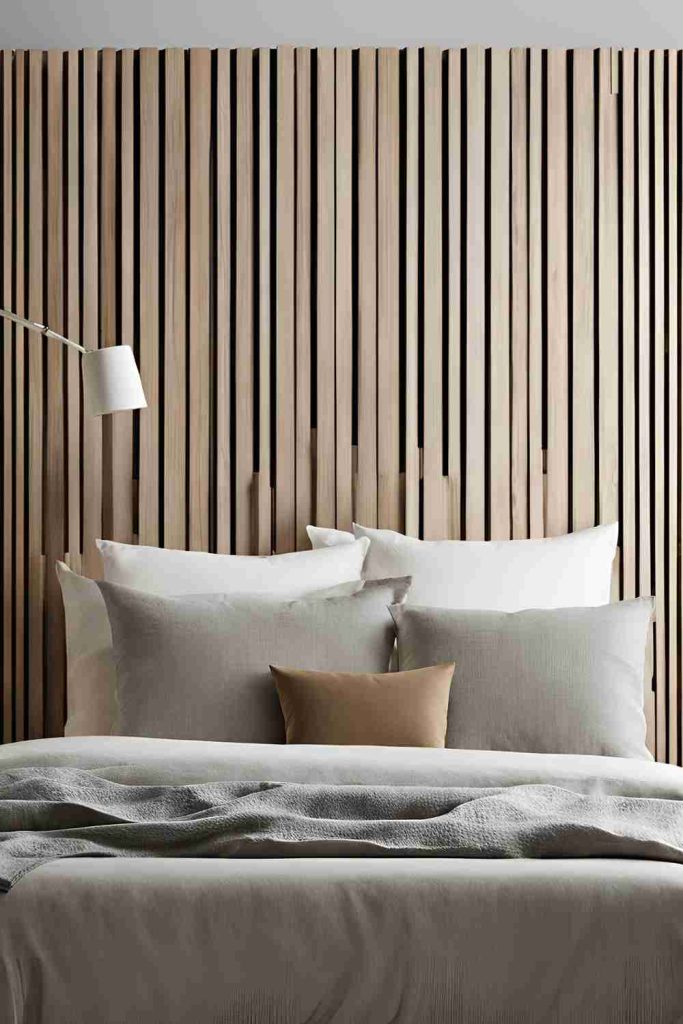
A vertical slat headboard adds a modern, clean-lined look to any bedroom. It’s perfect for those who want something simple, yet impactful, without overwhelming the room with intricate details.
17. Floating Shelf Headboard
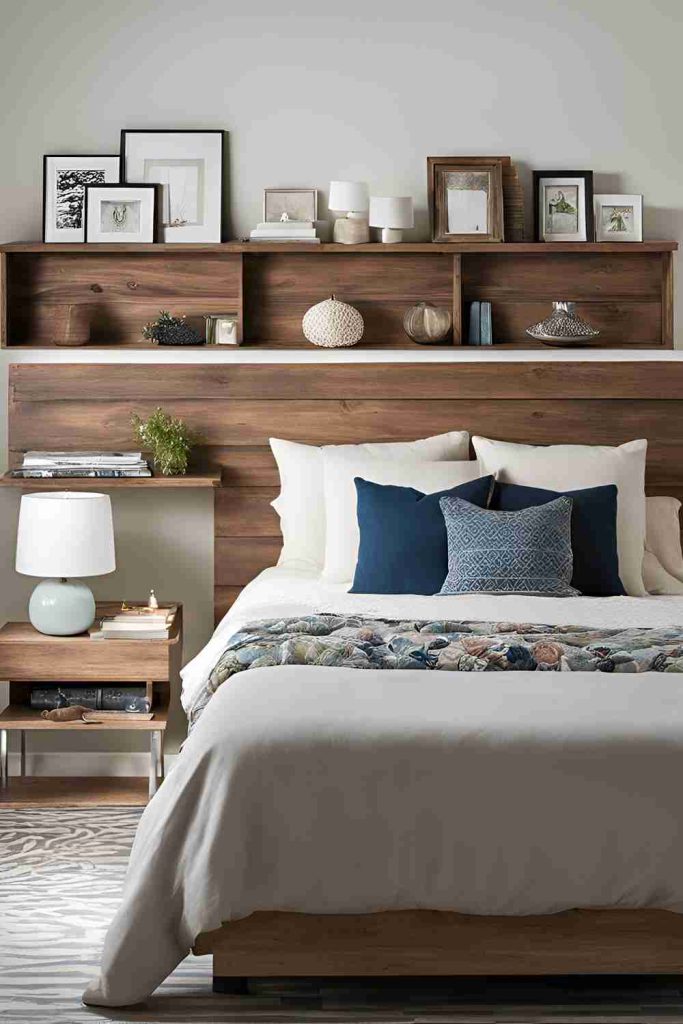
If you’re looking for a functional and stylish headboard, a floating shelf headboard might be the perfect solution. This type of headboard incorporates a shelf into the design, offering extra storage or display space for books, lamps, or decorative pieces.
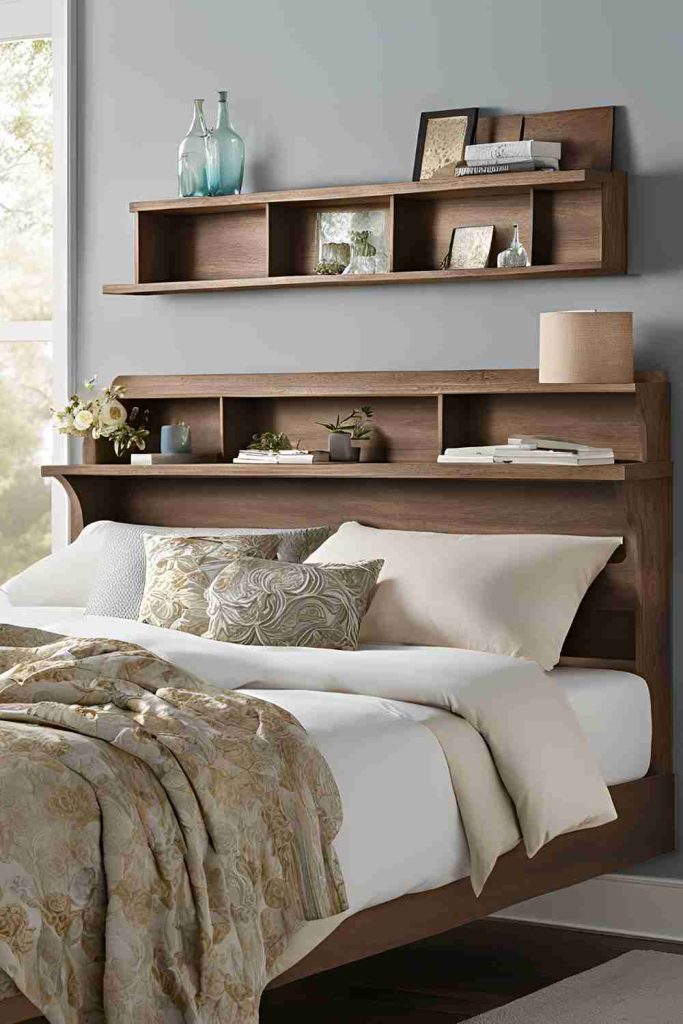
How to Create a Floating Shelf Headboard:
- Materials Needed: Wood for the shelf, brackets, screws, and a drill.
- Step-by-Step Instructions: Measure the width of your bed and cut the shelf to size. Attach the brackets to the wall at the desired height and secure the shelf to the brackets. You can choose to paint the shelf to match the rest of your room or leave it in a natural wood finish for a more rustic vibe. The shelf can also double as a place to store your favorite books, plants, or photos.
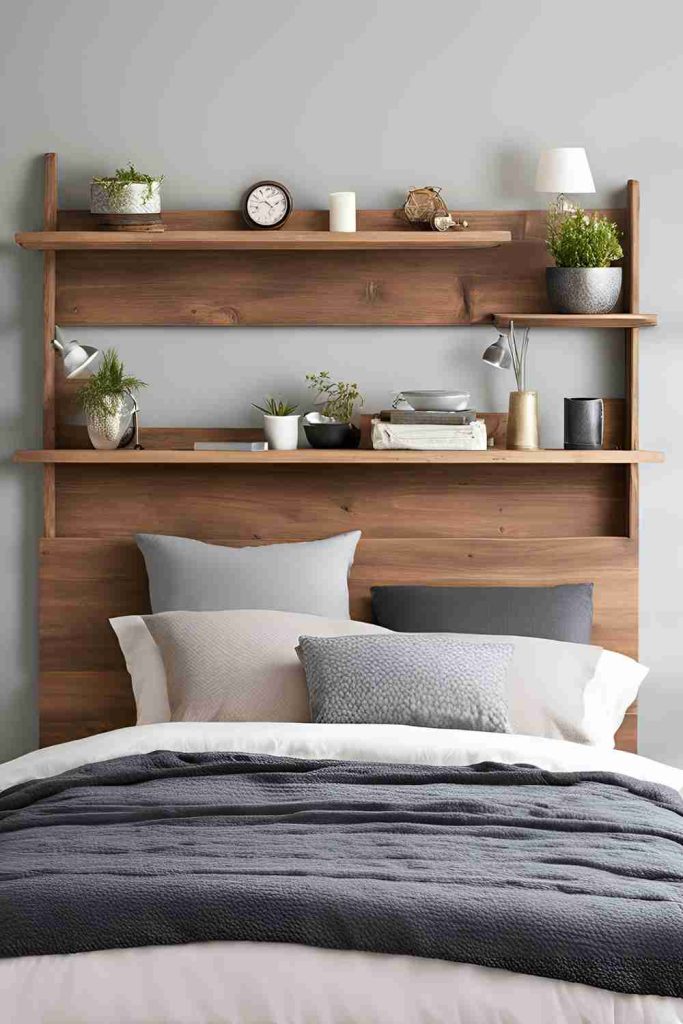
This headboard is ideal for anyone looking for a practical solution that also looks great. It combines form and function, making it a perfect choice for smaller spaces.
18. Neon Sign Headboard
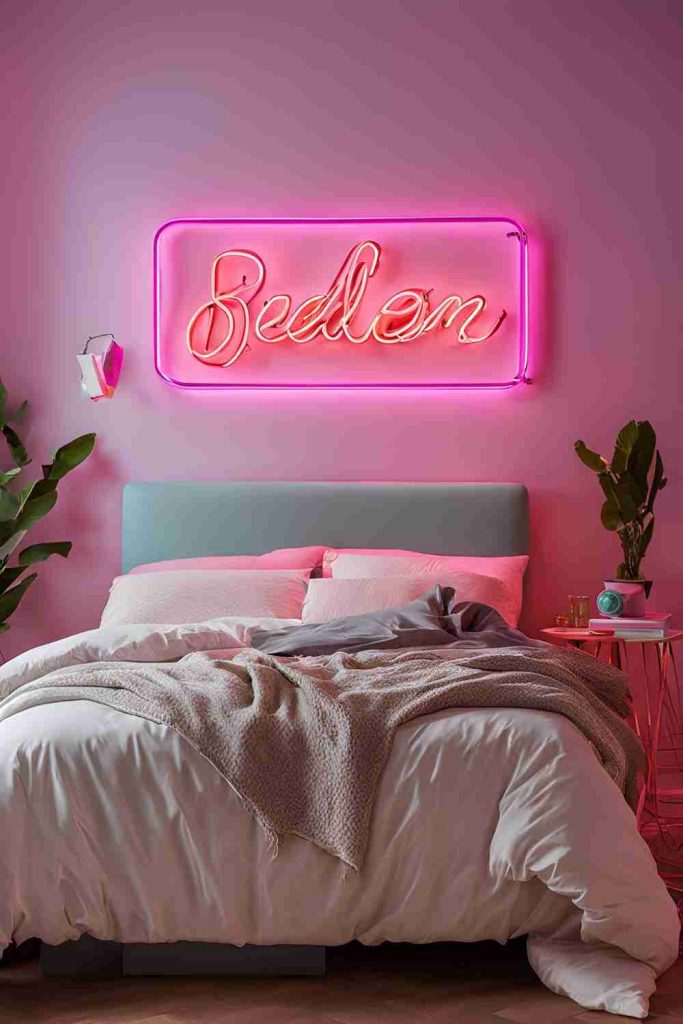
If you want to add a fun, personalized touch to your bedroom, a neon sign headboard is an exciting option. Neon signs offer vibrant colors and modern appeal, and they can be customized with a quote, word, or design that reflects your personality.
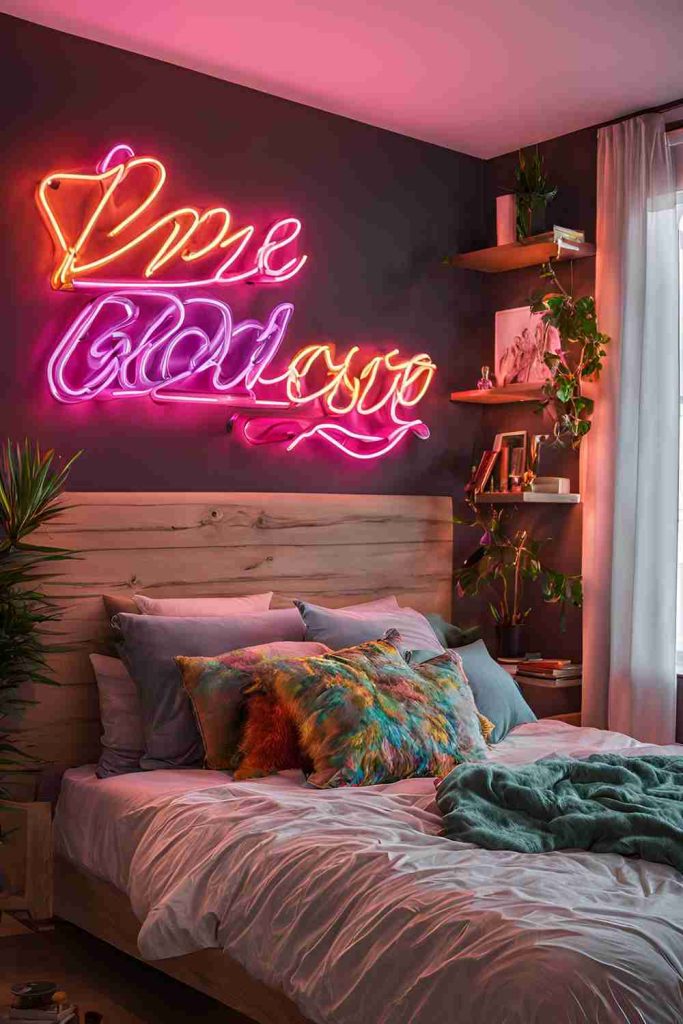
How to Create a Neon Sign Headboard:
- Materials Needed: Neon sign (either pre-made or custom), extension cord, and mounting hardware.
- Step-by-Step Instructions: You can either buy a pre-made neon sign or create a custom one with your favorite phrase or design. Mount the sign on the wall above your bed, ensuring it’s securely attached and properly positioned. You may want to add dimmable lighting to adjust the brightness to your liking. For added flair, you can combine the neon sign with other lighting elements to create a cohesive, atmospheric look.
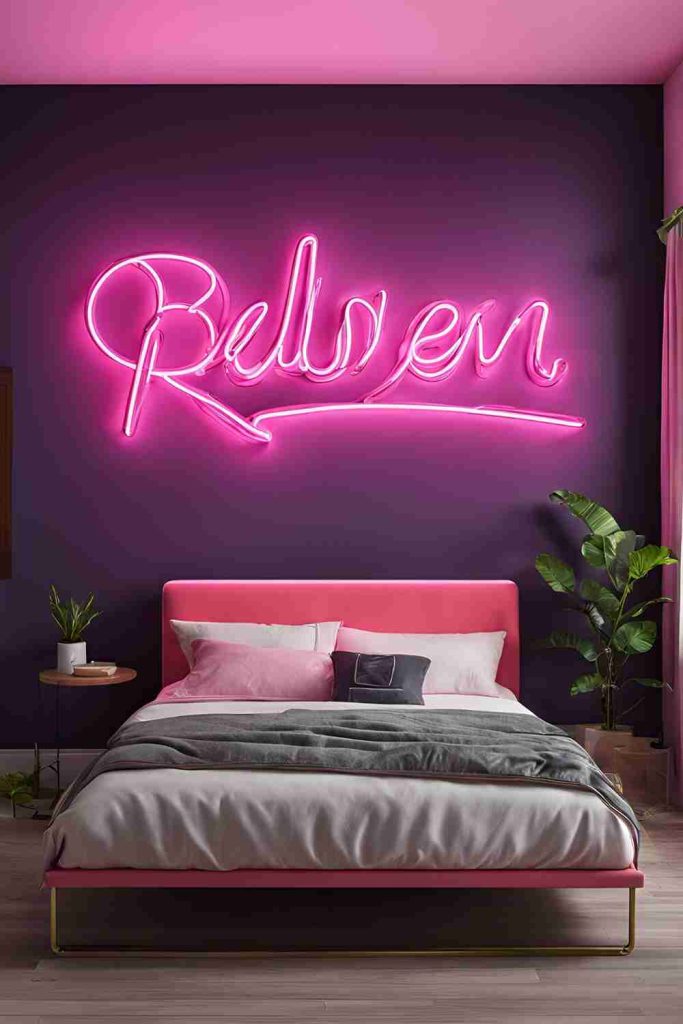
This headboard design is perfect for anyone who wants a playful, bold statement piece in their bedroom. It’s especially ideal for modern, eclectic, or youth-inspired spaces.
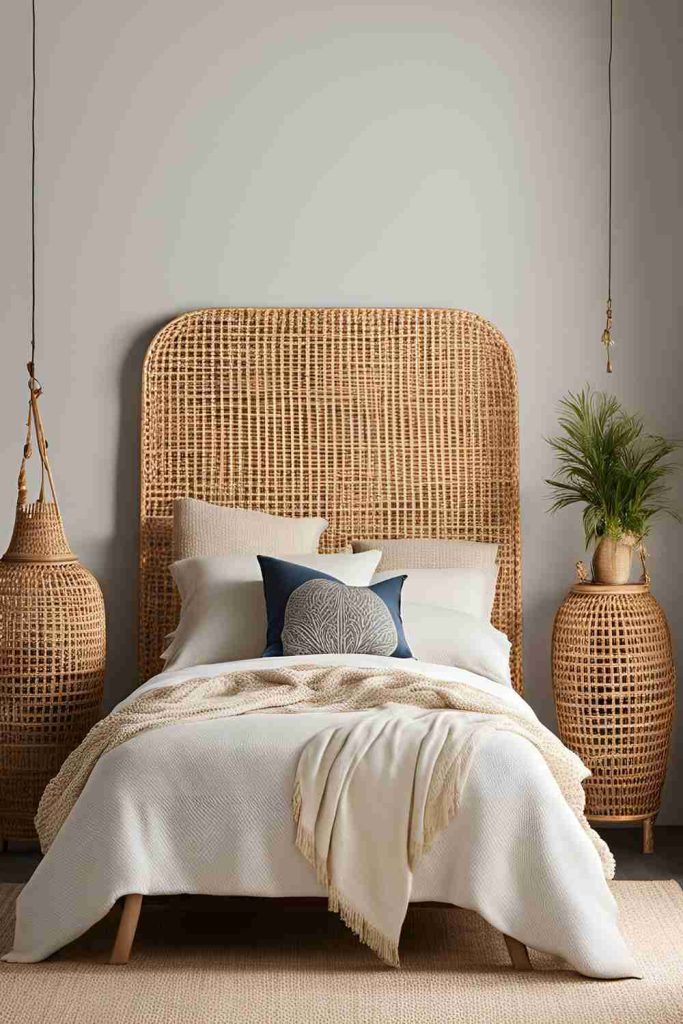
19. Woven Cane Headboard
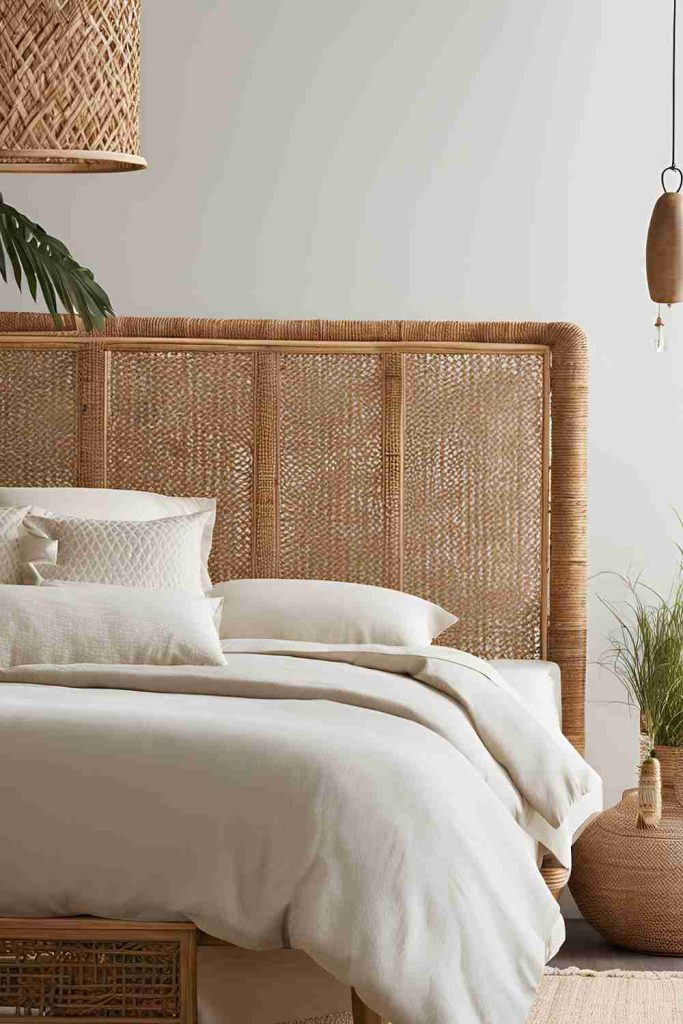
A woven cane headboard is an elegant, natural option that works well in both bohemian and traditional bedrooms. The texture of the woven cane creates a beautiful and breathable surface, adding both style and functionality.
How to Create a Woven Cane Headboard:
- Materials Needed: Cane webbing, plywood, wood trim, staples, and scissors.
- Step-by-Step Instructions: Start by cutting the plywood to the desired size of your headboard. Attach wood trim around the edges of the plywood to create a frame. Next, stretch the cane webbing over the plywood and secure it using staples. Make sure the webbing is taut and smooth, and trim any excess material from the edges.
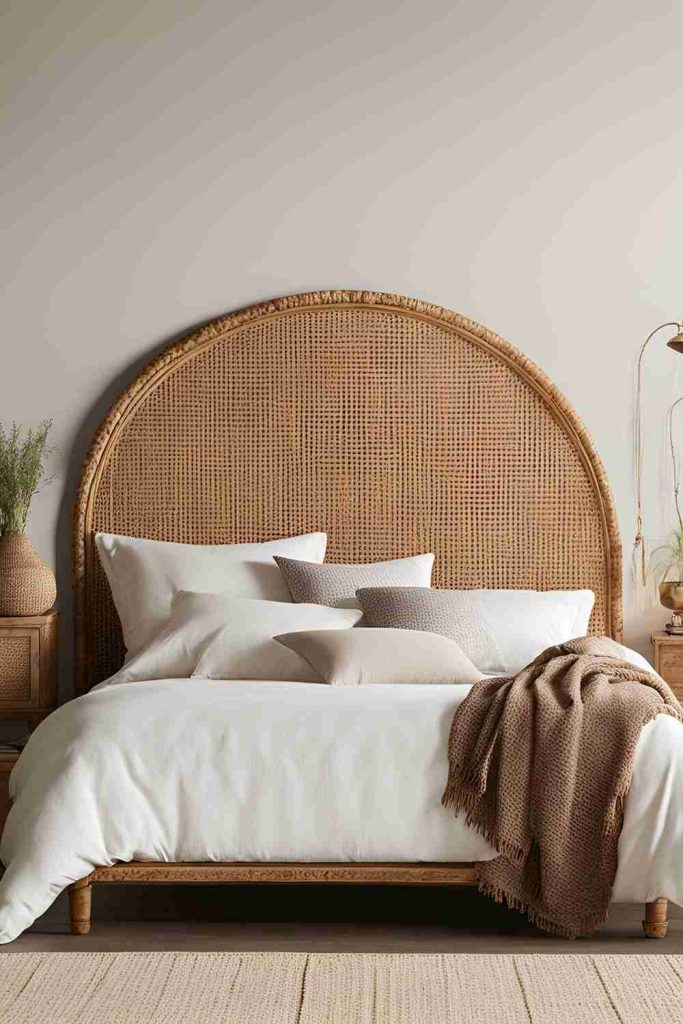
A woven cane headboard is perfect for creating a serene, natural atmosphere in your bedroom. It pairs beautifully with natural wood furniture and light, airy fabrics.
20. Painted Wooden Headboard
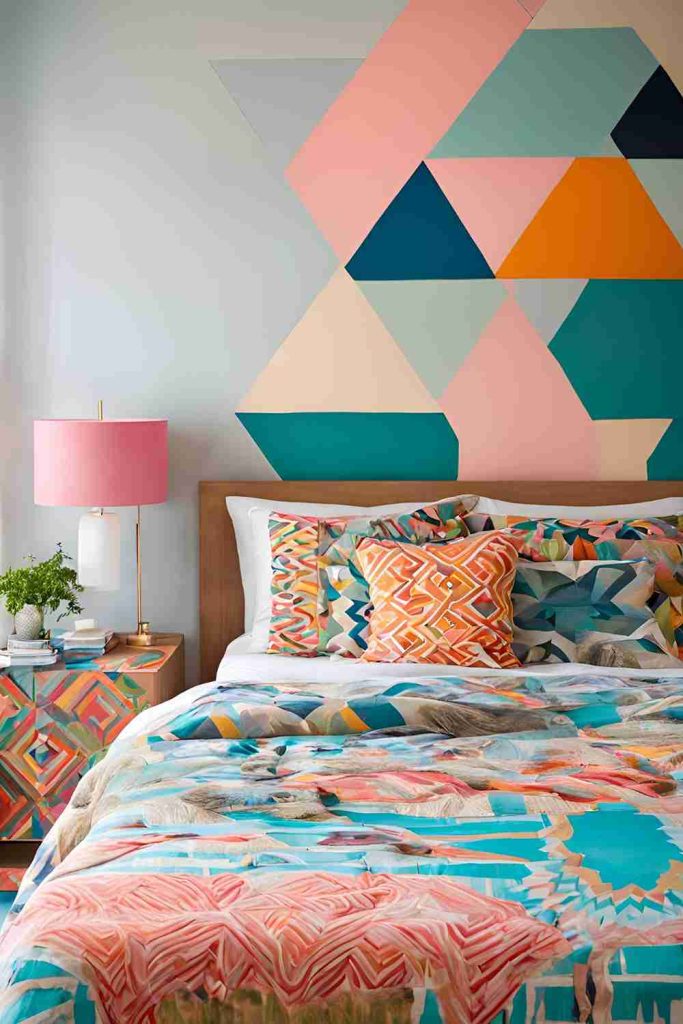
For those who want to infuse a little creativity into their bedroom, a painted wooden headboard can serve as a bold and colorful focal point. Whether you choose bold geometric patterns or a soft, pastel hue, a painted wood headboard is sure to make a statement.
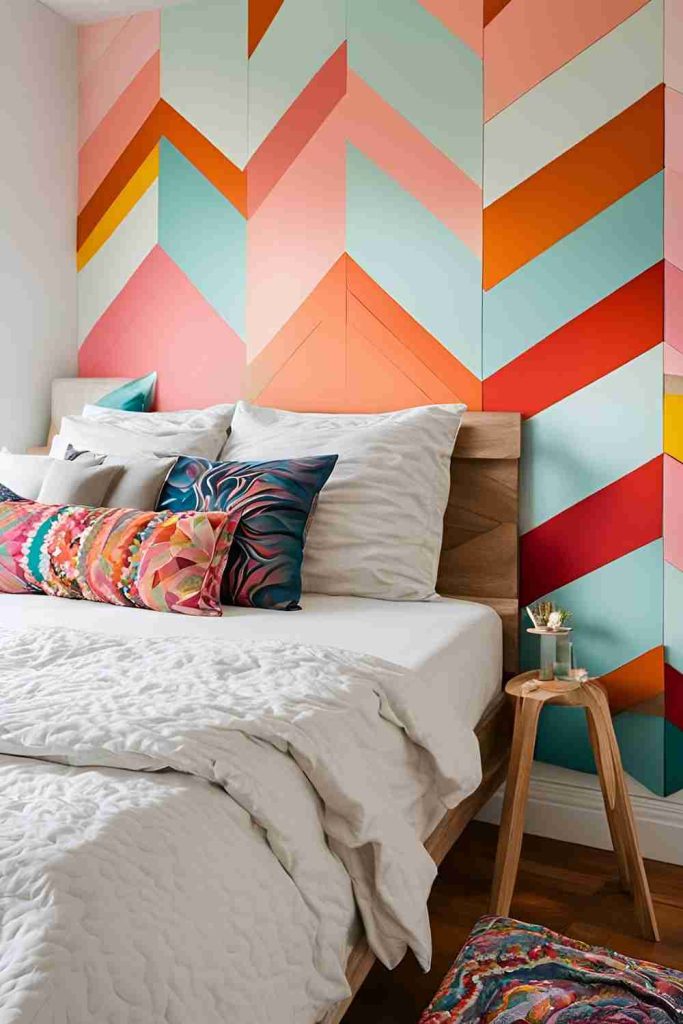
How to Create a Painted Wooden Headboard:
- Materials Needed: Wooden planks, paint (variety of colors), saw, paintbrush, and a drill.
- Step-by-Step Instructions: Cut the wooden planks to the size of your desired headboard. Sand the edges smooth and then paint each plank in your chosen colors or patterns. You can create a striped effect, a geometric design, or a simple gradient. Once the paint is dry, attach the planks to the wall or mount them on a frame.
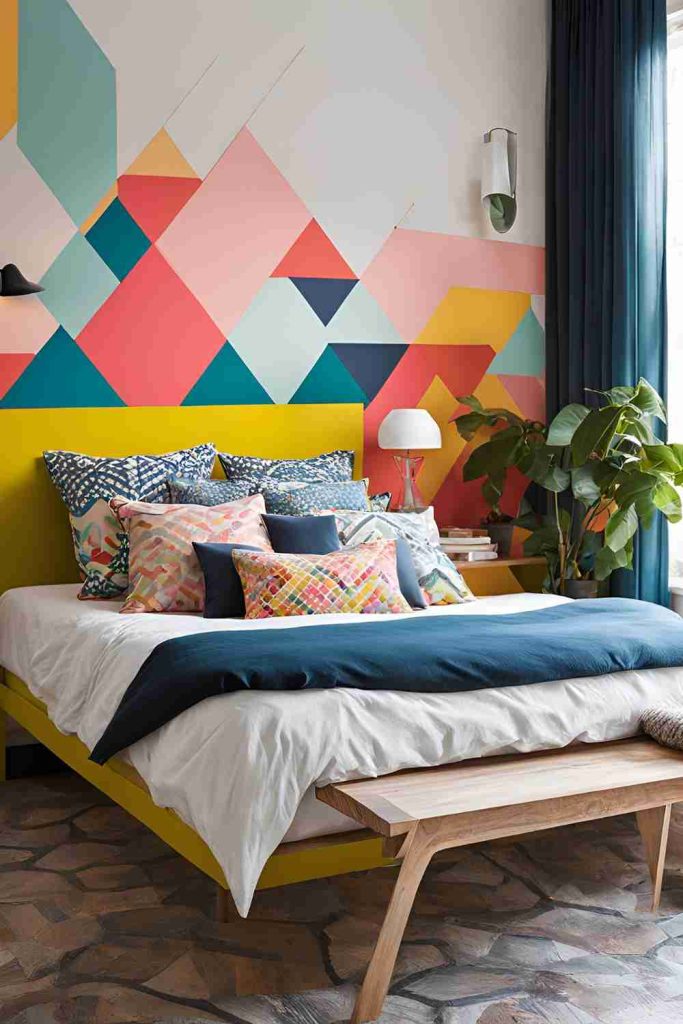
A painted wooden headboard is perfect for anyone looking to bring color and creativity into their bedroom. It’s an easy way to express your personal style and create a one-of-a-kind piece.
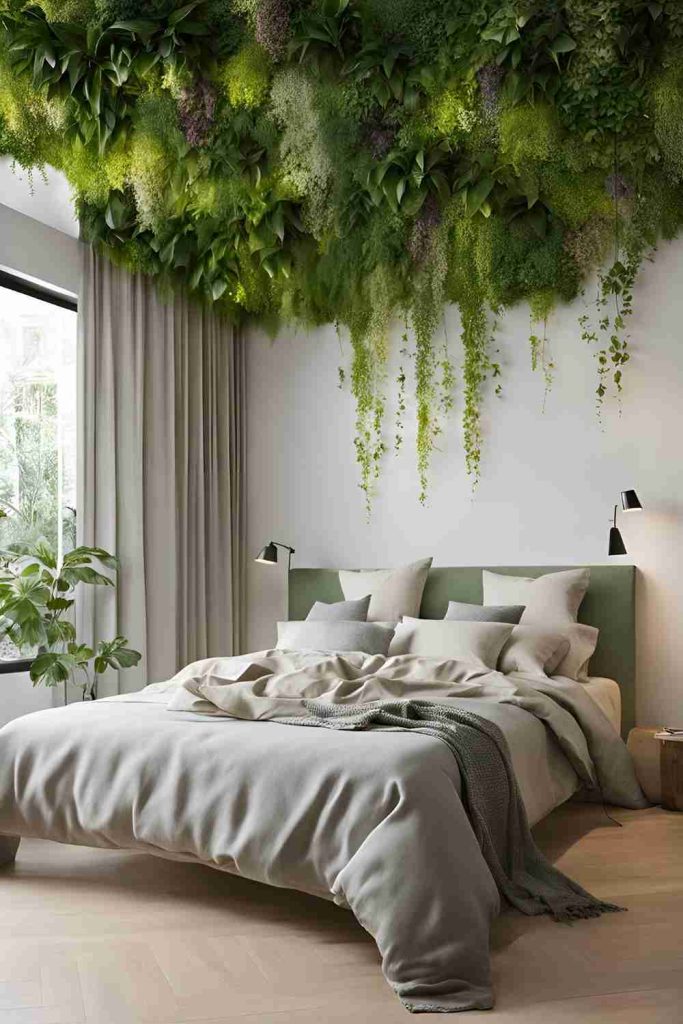
21. Vertical Garden Headboard
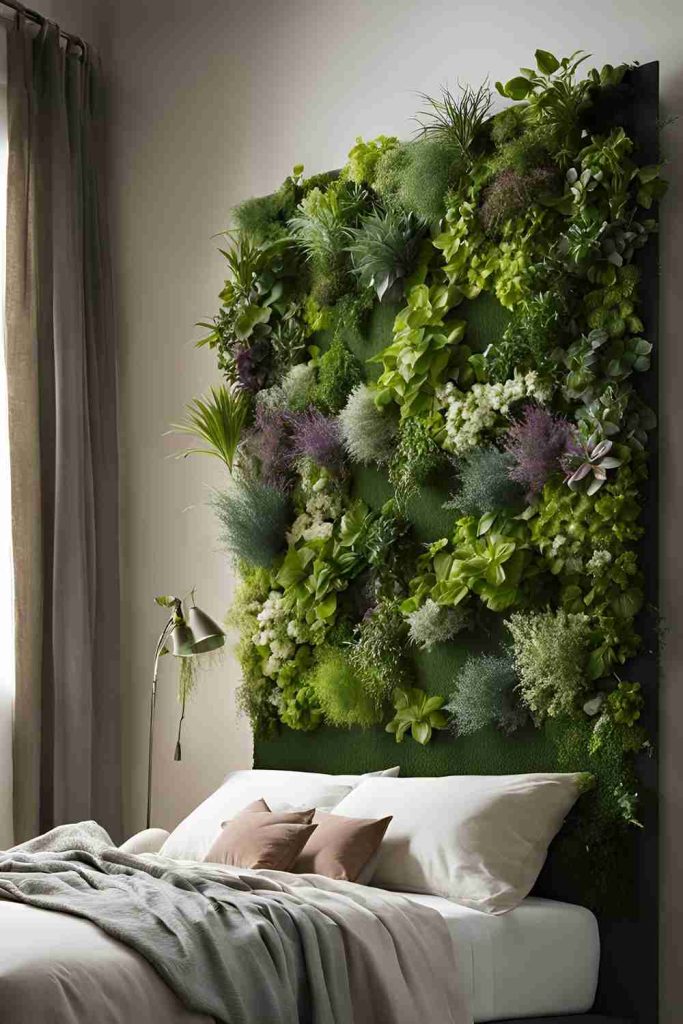
For an eco-friendly and calming atmosphere, a vertical garden headboard adds a touch of greenery to your space. This headboard is not only beautiful but also purifies the air, making it perfect for those who want to bring nature into their bedroom.
How to Create a Vertical Garden Headboard:
- Materials Needed: Planters, wall brackets, soil, plants, and a level.
- Step-by-Step Instructions: Start by mounting small planters on the wall above your bed. Fill each planter with soil and choose plants that are easy to care for, such as succulents or trailing vines. Arrange the planters to create a lush, green effect. This type of headboard works best in bedrooms with natural light.
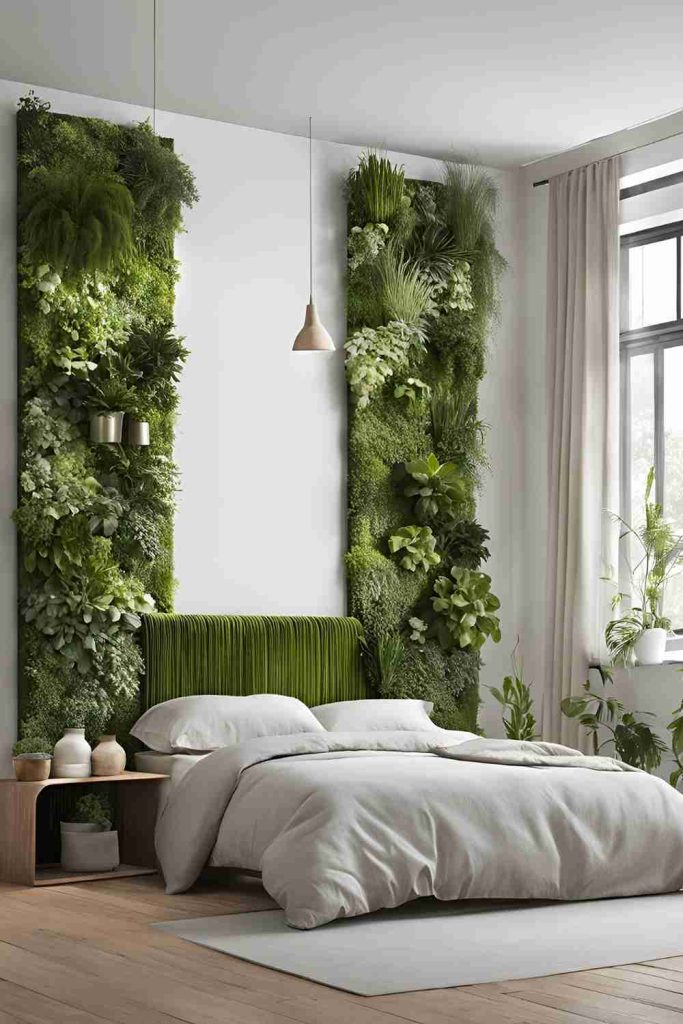
A vertical garden headboard is ideal for anyone who loves plants and wants to incorporate nature into their decor. It’s also a great way to improve air quality while adding beauty to your space.
Conclusion:
There you have it—21 DIY headboard ideas that will elevate your bedroom and inspire your creativity. Whether you prefer the elegance of an upholstered headboard, the simplicity of a floating shelf, or the uniqueness of a neon sign, there’s a design for every style and skill level.
By choosing one of these headboard ideas, you’re not just adding a functional piece to your room—you’re creating a personalized statement that reflects your taste and enhances the ambiance of your space. Each DIY project is an opportunity to infuse your personality into your bedroom decor while keeping costs down and enjoying the satisfaction of a job well done.
So, pick your favorite design and start transforming your bedroom into a stylish retreat. Happy crafting!
