How To Use Space Between Kitchen Cabinets and Ceiling
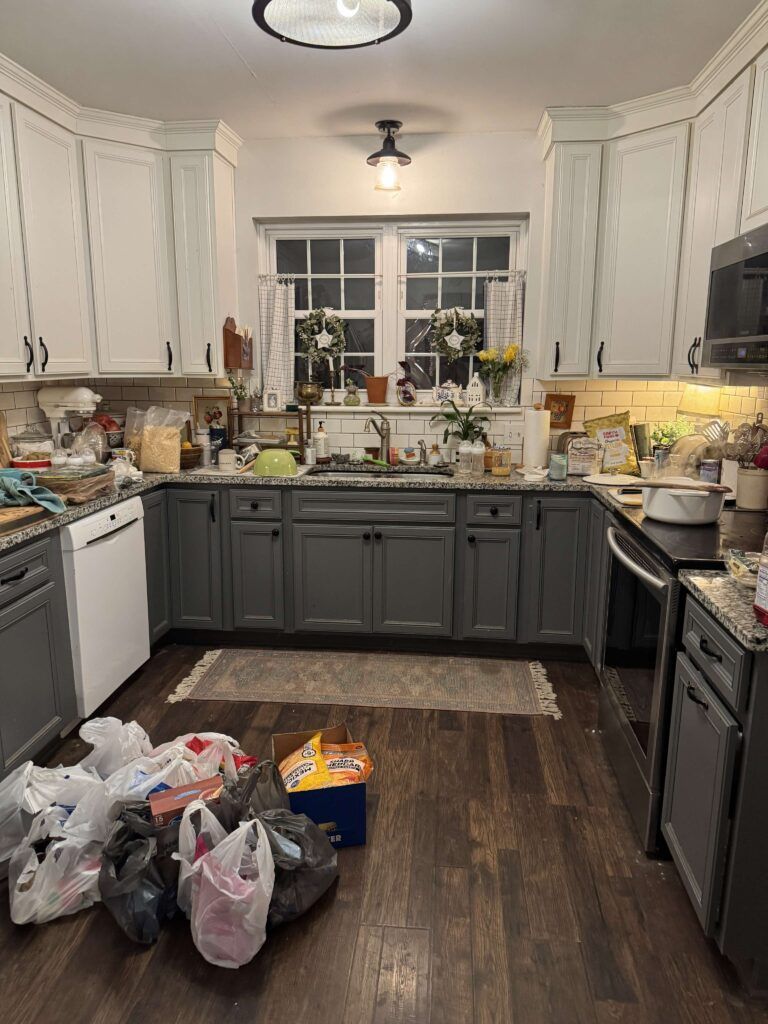
That empty gap between your cabinets and the ceiling can either become a dusty “dead zone” or the smartest storage spot in your whole kitchen. I learned this the hard way in my first place. I left it empty because I thought “clean and minimal” sounded nice. Two months later I looked up and saw a sad line of grease dust and one lonely, forgotten tray up there like it was in kitchen jail.
So yes, you can absolutely use that space, but the trick is using it in a way that stays easy, safe, and not ugly.
Step 1: Figure out what kind of gap you have
Before you buy baskets or start drilling shelves, stand back and look at your kitchen like a stranger walking in.
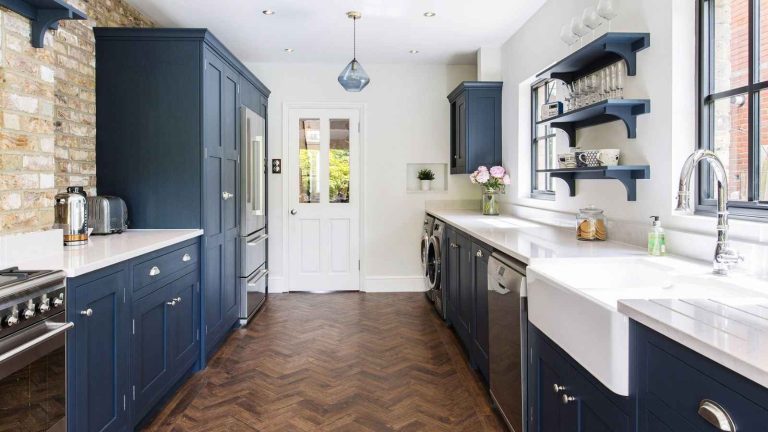
If your cabinets stop a little short of the ceiling, that space is usually best for decor that looks intentional or light storage.
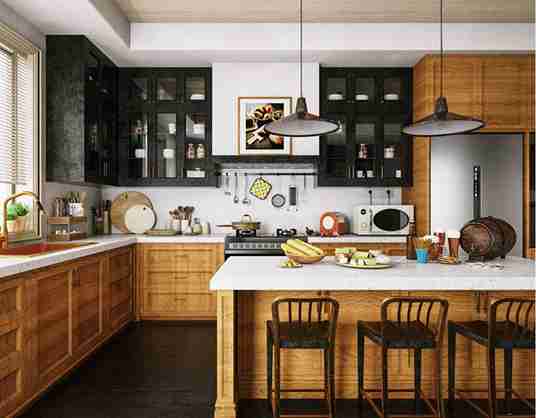
If your cabinets stop way below the ceiling, that space is big enough to become real storage and even a design feature, but only if you treat it like a zone, not a dumping ground.
Here is the easiest way to think about it:
A small gap needs a clean plan because it is always visible. A big gap needs a storage system because it will look weird if it stays empty.
Step 2: Decide what you want from that space
This part matters because the space above cabinets is not “normal storage.” It is high, it is annoying to reach, and if you store everyday things up there, you will hate your life by week two.
I use a simple rule:
If I need it weekly, it stays in the regular cabinets.
If I need it seasonally, it can live up top.
That means the best things to store between cabinets and the ceiling are:
Holiday serving trays, big roasting pans, extra paper towel packs, party platters, the slow cooker you use twice a year, backup pantry items, and those awkward appliances that are huge but not daily.
If you love to decorate, this is also a great place for a few big pieces that make the kitchen feel finished, like baskets, greenery, or large pottery.
Step 3: The most practical storage ideas that actually work
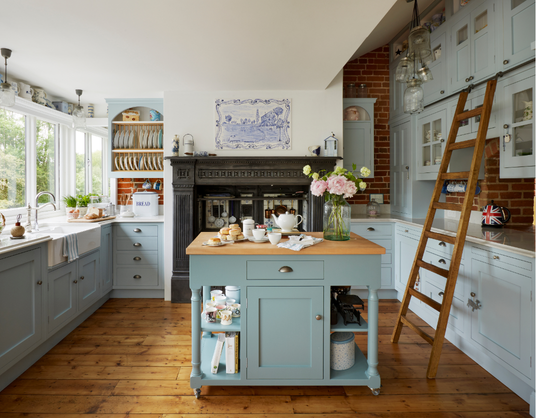
Baskets are the easiest win
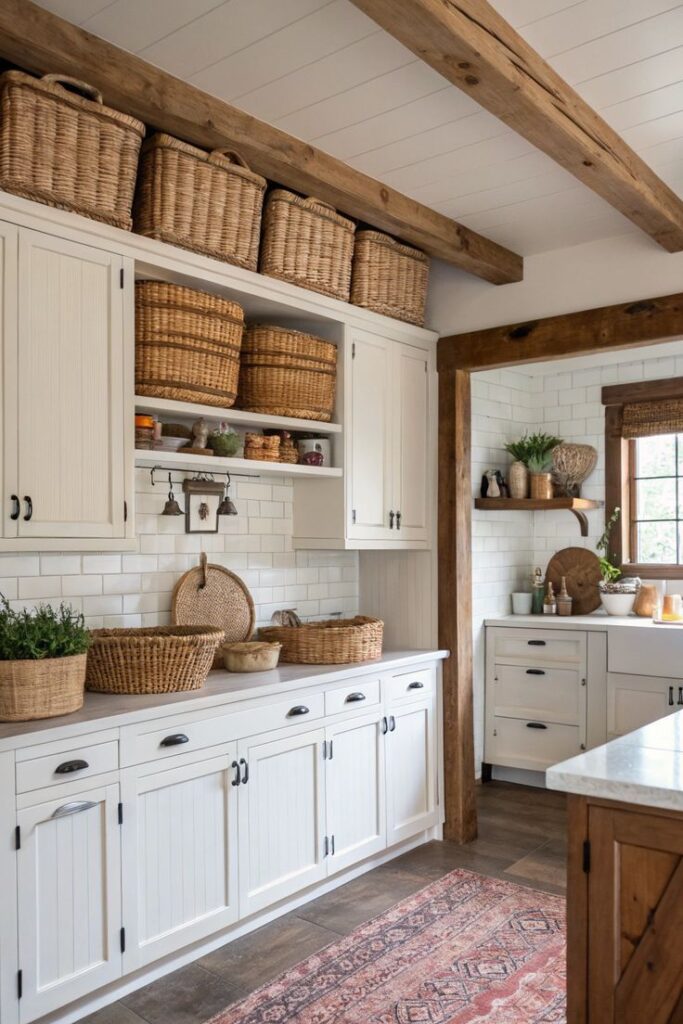
If you only do one thing, do baskets. They hide clutter, they look tidy, and they make the space feel styled even when it is doing real work.
I like baskets because they solve three problems at once:
They hide messy items, they make it easy to pull things down safely, and they stop that “random stuff parade” look.
Go for baskets that are similar in size and color. They do not have to match perfectly, but they should look like they belong together. If you mix ten different basket styles, it starts looking like you moved in yesterday and never recovered.
A little tip from me: put a label on the back or inside edge. Not the front. Front labels can look like pantry shelves. Hidden labels keep it clean but still save you from opening five baskets to find the Christmas plates.
Add a second level with simple risers or stackable shelves
If the gap is tall, you can double your storage by creating a second layer. This is especially helpful if you store lighter things like linens, disposable plates, or pantry backups.
Stackable wire shelves work well because you can slide a basket under and place another basket on top without everything collapsing. Just do not overload it with heavy cookware.
Create a “rare use” shelf line
If you are comfortable with a basic install, adding a shelf above cabinets can turn that awkward space into a real storage lane.
This works best when your cabinets are lower and the gap is tall, because a shelf makes the space feel intentional instead of empty.
A shelf is great for cookbooks you do not use daily, large serving bowls, or a line of matching containers. The biggest mistake is putting a shelf up and then filling it with random items. If you go shelf, go curated.
Hang a pot rack only if your kitchen can handle it
Hanging storage sounds genius until you bonk your head or it makes the kitchen feel crowded.
Pot racks work best when you have higher ceilings and enough space above the cabinets that the rack does not visually fight the room.
If your kitchen is small or already busy, skip it. Use baskets instead and keep the space calmer.
Magnetic strips and wall rails are great for daily tools
If the space between cabinets and ceiling includes a stretch of wall you can reach comfortably, a wall rail or magnetic strip can be a practical upgrade.
I love this idea for utensils and knives because it frees drawers and keeps the counter clearer. But only do it if you can actually reach it without climbing. If you need a stool, you will stop using it.
Step 4: Make it look good, not messy
The space between cabinets and ceiling is high, which means people see it from far away. That is why it has to look calm.
Here are the “no regrets” styling rules I follow:
Use fewer, bigger items
Small items look like clutter up high. Big items look intentional.
Instead of ten small décor pieces, do three larger ones, like a tall basket, a medium basket, and one plant or tray.
Repeat one thing from the kitchen
If your kitchen has warm wood, use woven baskets.
If your hardware is black, add black accents up top like a black tray or black planters.
If your kitchen is white and bright, use light neutral baskets and simple ceramics.
When you repeat one element, the space feels connected to the room instead of floating above it.
Leave breathing room
Not every inch needs to be filled. A little negative space makes it feel styled, not stuffed.
If you pack the top edge wall-to-wall, your kitchen will start feeling heavy.
Step 5: Lighting can make the whole area feel finished
If you want the space to feel intentional, lighting helps a lot.
LED strip lighting above the cabinets can create a soft glow at night and make the kitchen feel cozy. It also helps highlight décor if you choose to display items.
If you are more practical than decorative, lighting still helps because it makes the upper area feel cleaner and less shadowy.
Just keep the light warm. Harsh cool lighting can make the whole kitchen feel sterile.
Step 6: Keep it clean without hating your life
This is the part people forget. Whatever you put up there, you will eventually have to deal with dust and kitchen grease.
Here is what made my life easier:
I stopped putting open, detailed décor up there. I switched to baskets and a few wipeable pieces. Cleaning went from a full project to a quick wipe.
If you cook a lot, this matters even more. Grease dust builds up fast near the stove side.
A simple routine works best: a quick wipe every few weeks and a deeper clean a couple times a year when you switch seasonal items.
Common mistakes that make this space look worse
I have done at least two of these myself, so no judgment, just saving you time.
The first mistake is putting everyday things up there. You will hate climbing for them.
The second is mixing too many tiny décor items. It looks cluttered from across the room.
The third is leaving the space empty but not clean. Empty is fine, but dusty empty looks unfinished.
The fourth is adding storage that is not safe. Heavy items up high can be risky. Put heavy cookware in lower cabinets, always.
The easiest “done in one afternoon” plan
If you want a simple plan you can actually follow:
- Measure the gap.
- Decide what seasonal or rarely used items you want to store.
- Buy 3 to 6 similar baskets that fit the space.
- Put the rarely used items inside the baskets.
- Add one large decorative piece or plant if you want warmth.
- Leave a little breathing room.
This makes the space look intentional and keeps it functional without turning into clutter.
Quick FAQ
Should I store food up there?
Only shelf-stable backups in sealed containers. Heat and grease can be an issue near the ceiling in some kitchens, so keep it simple and sealed.
What if my ceiling is very high?
A very tall gap usually looks better with a planned solution like stacked cabinets, a soffit, or a tall display shelf. If it is too high to reach safely, treat it as visual design more than storage.
What if I hate cleaning up there?
Then lean into closed solutions, taller cabinets, or trim work. If that is not possible, use baskets that you can wipe easily and avoid open décor.